16
17
Slot R
Hole O
Pin A
Pin C
Pin B
Support
Cover
Ice
drawer
Cassette
Bottom rail
1.
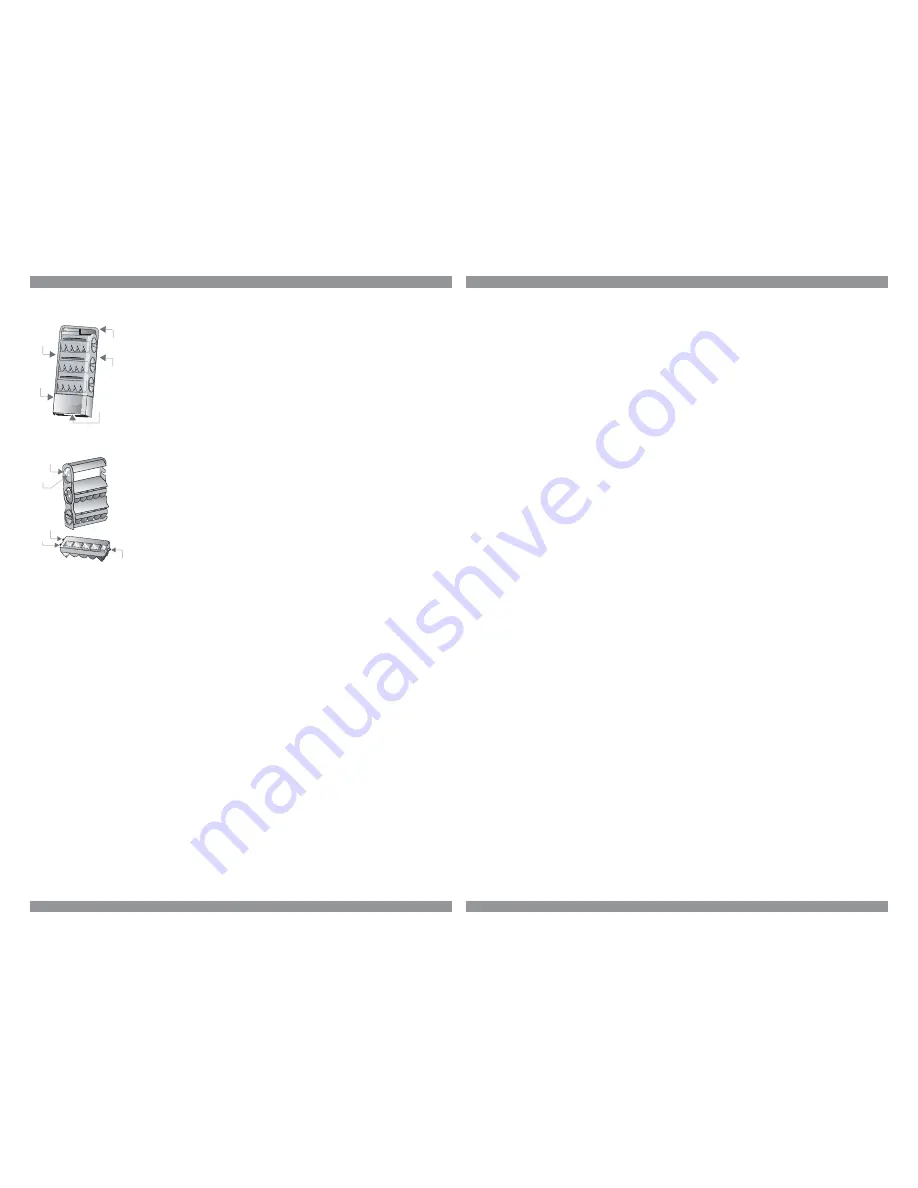
Remove the door bins, the ice drawer and the cassette.
2
.
In the freezer door, slide the Ice Factory to the far left side.
3.
To remove the Ice Factory, hold each side with both hands
and pull towards you.
Ice Factory Cleaning
4.
To remove the cassette components, push the C pin to the
outside releasing it from the cassette. Repeat these steps with
the three Ice trays.
5.
Wash the components of the Ice Factory using a sponge with
water and mild soap and then dry them completely.
To assemble:
1.
To assemble the cassette, slide Pin A through the hole, O.
make sure Pin B rests inside the slot, R. Push the Ice Factory
until Pin C is in place.
Attach the knob to the Ice Factory. Repeat these steps with
the 3 ice trays.
2
.
Insert the support bottom rail in the left side of the rear slot of
the freezer door.
3.
Push the upper part of the Ice Factory until the support is in
place.
4.
Slide your Ice Factory towards the right until reaching its
original position.
• If you need to lay down your refrigerator for transportation, make sure it lies
only on the left side (seen from the front).
• It is necessary that before removing your refrigerator the leveling legs are not in
contact with the floor so wheels can slide.
Note:
After moving your refrigerator follow the installation instructions so
compressor refrigerant gas settles.
Moving
Some noises are common to the operation of the refrigerator.
Crackling:
This noise can be heard when ice breaks. This same noise occurs when
ice trays are removed from the freezer and exposed to room temperature.
Compressor noise:
Characteristic of the motor. Means the compressor is running.
Gas expansion noise:
This noise is similar to the noise produced by water boiling.
Cooling system noises:
Sounds coming from the fan, indicates that the system is
functioning. Normally, it can be heard when closing the door.
Normal Noises
Some models have light bulbs in both the fresh food and freezer sections. To
replace the light bulb, follow these instructions:
1.
Disconnect refrigerator.
2
.
Removing the shelves and deli drawer may allow for easier access.
3.
Remove the temperature control by pulling it towards you (for models with
internal controls).
4.
Pull the light bulb cover towards you by holding the bottom portion and then
slide it downwards.
5.
Remove the light bulb by turning it counter clockwise.
6.
Replace the light bulb with an identical model.
7.
Replace the cover by following the above instructions in reverse order.
8.
To change the freezer bulb, slide it towards the bottom of the freezer and pull it
towards you. Follow the same instructions in reverse order to replace it.
Changing Light Bulbs


