Chapter 7
Page no. 586
JC-ELE-A-020.fm
GE Healthcare
Senographe DS
Revision 1
Service Information and Procedures Class A 2385072-16-8EN
Job Card ELE A020 - Declare and Set Printers (Filming Devices)
6
PROCEDURE
6-1
Test the Network Connection to the Printer
Once a network printer is connected to the network and set with an IP address, it must respond to TCP/
IP messages from another Host on the network (e.g., the AWS). Before declaring a printer on the AWS,
check the network connection:
Enter the following
ping
command after the prompt:
ping <network_printer_IP_address>
where
<network_printer_IP_address>
is the IP address of the network printer (e.g. 192.100.9.5)
The reply is of the following format:
<Network printer IP address>
is alive
Note:
When entering the printer IP address, do not enter leading zeros in any of the four numeric fields
separated by dots. For example, do not type in 192.100.009.005, but type 192.100.9.5 instead.
The "alive" answer from the system means that the Network printer can be reached from the Acquisition
Workstation system through the network.
If the system displays "unknown host", your printer may not be correctly declared on the network.
If the system displays "Network unreachable", you probably have given the printer an IP address incom-
patible with your Review Workstation IP address. Check that they belong to the same network,
192.100.9.X, for example.
6-2
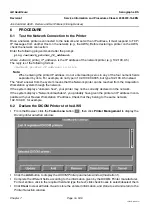
Declare the DICOM Printers to the AWS
•
From the Browser, click the
Tools menu
button
, then click
Printer Management
to display the
Dicom printer selection
window:
•
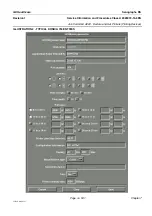
Click the
Add
button to display the
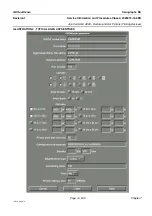
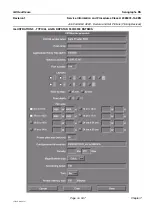
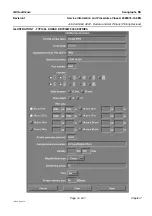
DICOM Printer parameters
window (Illustration 1).
•
Complete the different fields according to the information given by the DICOM Printer manufacturer.
For text entries, click in the required field and type the text; click check boxes to select/deselect them.
•
Click
Clear
to clear all fields,
Save
to store the entered information, and
Done
to exit and return to the
Printer Selection
window.


