17
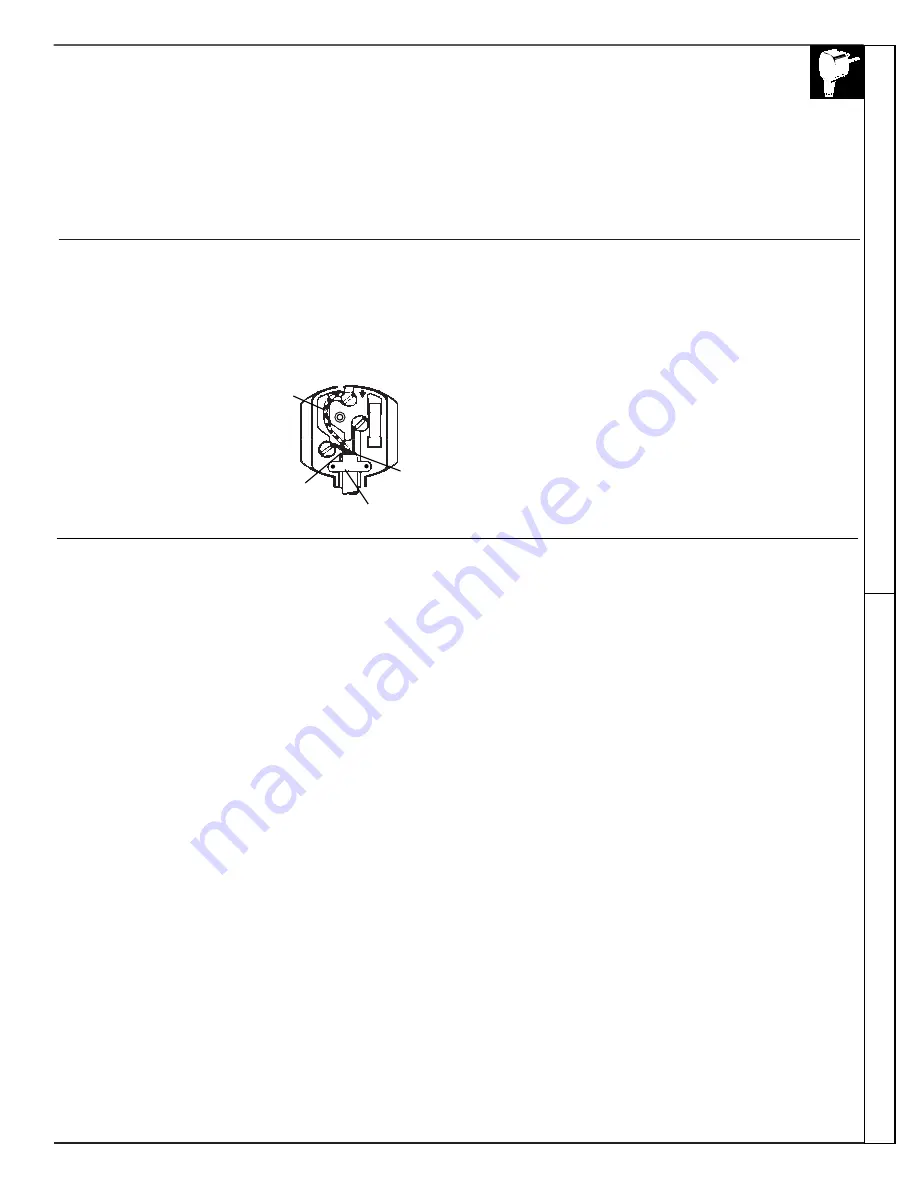
IMPORTANT: Fitting a Different Plug
The wires in the mains lead are coloured in accordance with the
following code: Green and Yellow-Earth; Blue-Neutral; Brown-Live.
If you fit your own plug the colours of these wires may not correspond
with the identifying marks on the plug terminals. This is what you
have to do:
1. Connect the green and yellow
(Earth) wire to the terminal
in the plug marked ‘E’ with
the symbol or coloured green
or green and yellow.
2. Connect the blue (Neutral) wire
to the terminal in the plug
marked ‘N’ or coloured black.
3. Connect the brown (Live) wire to
the terminal marked ‘L’ or
coloured red.
If the plug is the moulded-on type the fuse cover must be refitted
when changing the fuse. In the event of losing the fuse cover the plug
must not be used until a replacement fuse cover has been obtained and
fitted. A new fuse cover can be obtained from your nearest Service
Centre or local Electricity Board. The colour of the correct
replacement fuse cover is that of the coloured marks or insert in the
base of the plug.
In the event of replacing a fuse in the plug supplied with this
refrigerator a 13A ASTA approved fuse to BS1362 must be fitted.
With an alternative plug a 15A fuse must be fitted either in the plug or
adapter or the main fuse box.
E
1
3
AMP
L
N
Mains Lead Replacement
If the mains lead on this appliance needs replacing at any time, it must be replaced by a
special lead which is obtainable from your nearest Service centre. A charge will be made for
the replacement of the mains lead if you have damaged the lead.
Green
Yellow
Blue
Brown
Cord grip
INSTALLATION INSTRUCTIONS
FOR GREAT BRITAIN AND IRELAND ONLY
Electrical Requirements
We recommend that this appliance is connected to the mains supply via a suitable switched
socket in a readily accessible position. All appliances come complete with a fitted plug. The
plug on your Food Centre has a 13A fuse. If the plug does not fit your sockets, a new plug
can be fitted. Cut off the old plug and throw it away, do not insert it into a socket elsewhere
in the house as this could cause a shock.
WARNING: THIS APPLIANCE MUST BE EARTHED.
Pr
eparation
Installation Instructions
Summary of Contents for Side by Side 26
Page 71: ...NOTAS 71 Soluci n de problemas...


