– 17 –
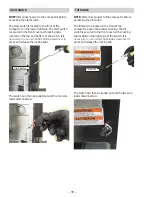
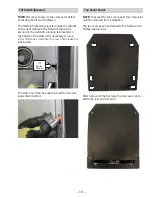
NOTE: Disconnect power to the compactor before
accessing the top limit switch.
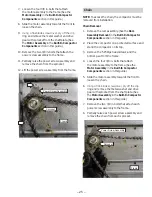
The top limit switch is located on the switch bracket.
It is necessary to remove the switch bracket and the
ON/OFF switch to access the top limit switch. (See
the Switch Bracket and ON/OFF Switch in the Built-
In Compactor Components section in this guide.)
The top limit switch is positioned on the right side
of the directional switch, furthest from the ON/OFF
switch. It is connected with blue and brown wires.
Both switches are attached to the inside of the
switch bracket with 2 Phillips head screws.
NOTE: Disconnect power to the compactor before
accessing the directional switch.
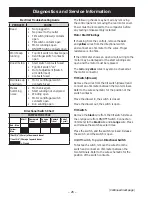
The directional switch is located on the switch
bracket. It is necessary to remove the switch
bracket and the ON/OFF switch to access the
directional switch. (See the Switch Bracket and ON/
OFF Switch in the Built-In Compactor Components
section in this guide.) The directional switch is
positioned on the left side of the top limit switch,
closest to the ON/OFF switch. It is connected with
blue, yellow, and red wires. Both switches are
attached to the inside of the switch bracket with 2
Phillips head screws.
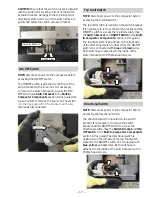
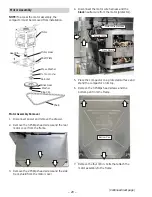
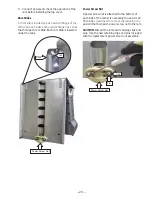
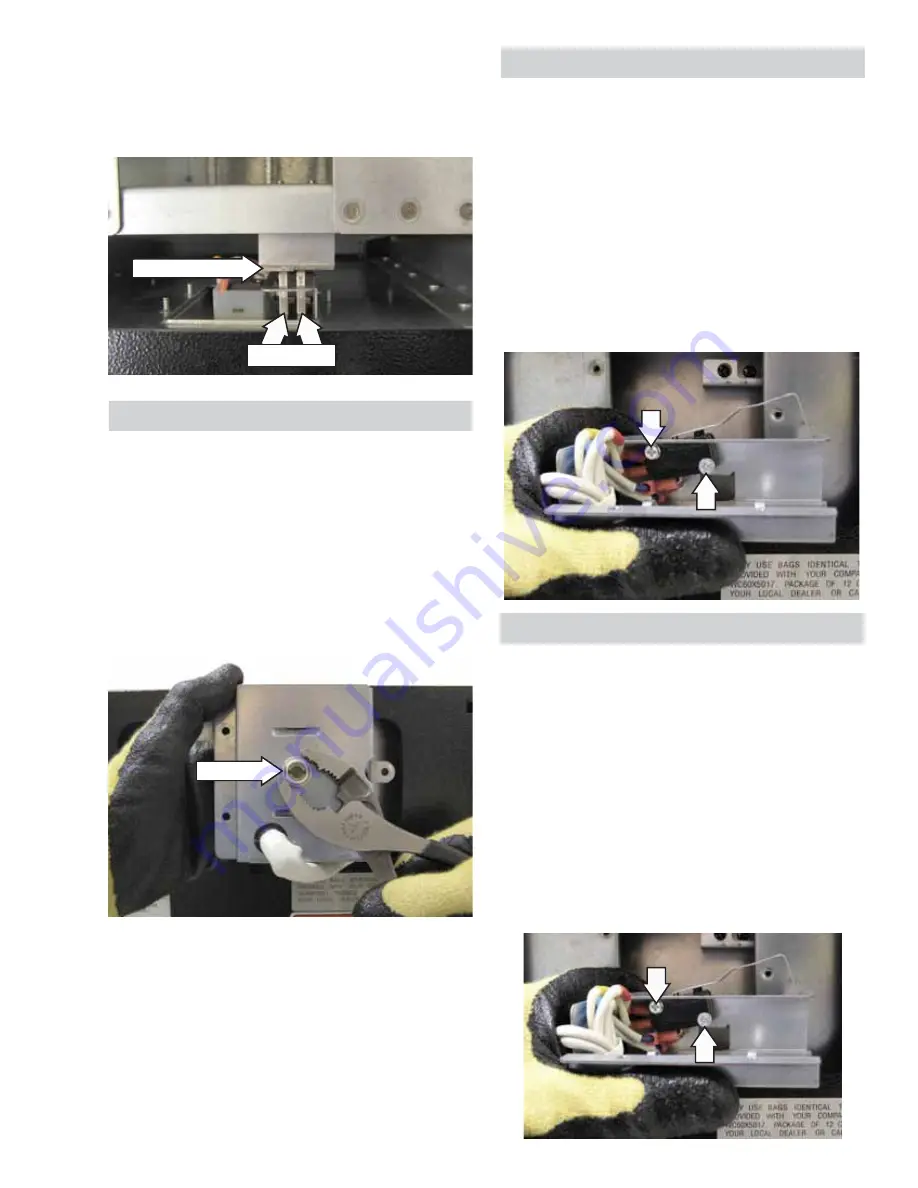
CAUTION: Ensure that the switch bracket is installed
with the switch arms resting in front of the switch
actuator bracket. Damage to the top limit and/or
directional switch will occur if the switch arms are
positioned below the switch actuator bracket.
Actuator Bracket
Switch Arms
Knurl-Nut
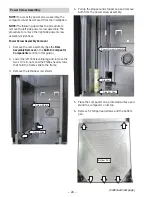
NOTE: Disconnect power to the compactor before
accessing the ON/OFF switch.
The ON/OFF switch is attached to the front of the
switch bracket with a knurl-nut. It is necessary
to remove the switch bracket to access the ON/
OFF switch (see Switch Bracket in the Built-In
Compactor Components section in this guide). Use
a pair of pliers to remove the knurl-nut. The switch
FDQWKHQEHSXOOHGRȺRIWKHEUDFNHWDQGWKHWZR
wire leads disconnected.
ON/OFF Switch
Top Limit Switch
Directional Switch


