

29-6325
17
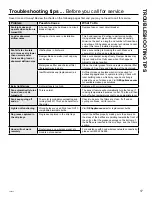
Troubleshooting tips ...
Before you call for service
Save time and money! Review the charts on the following pages first and you may not need to call for service.
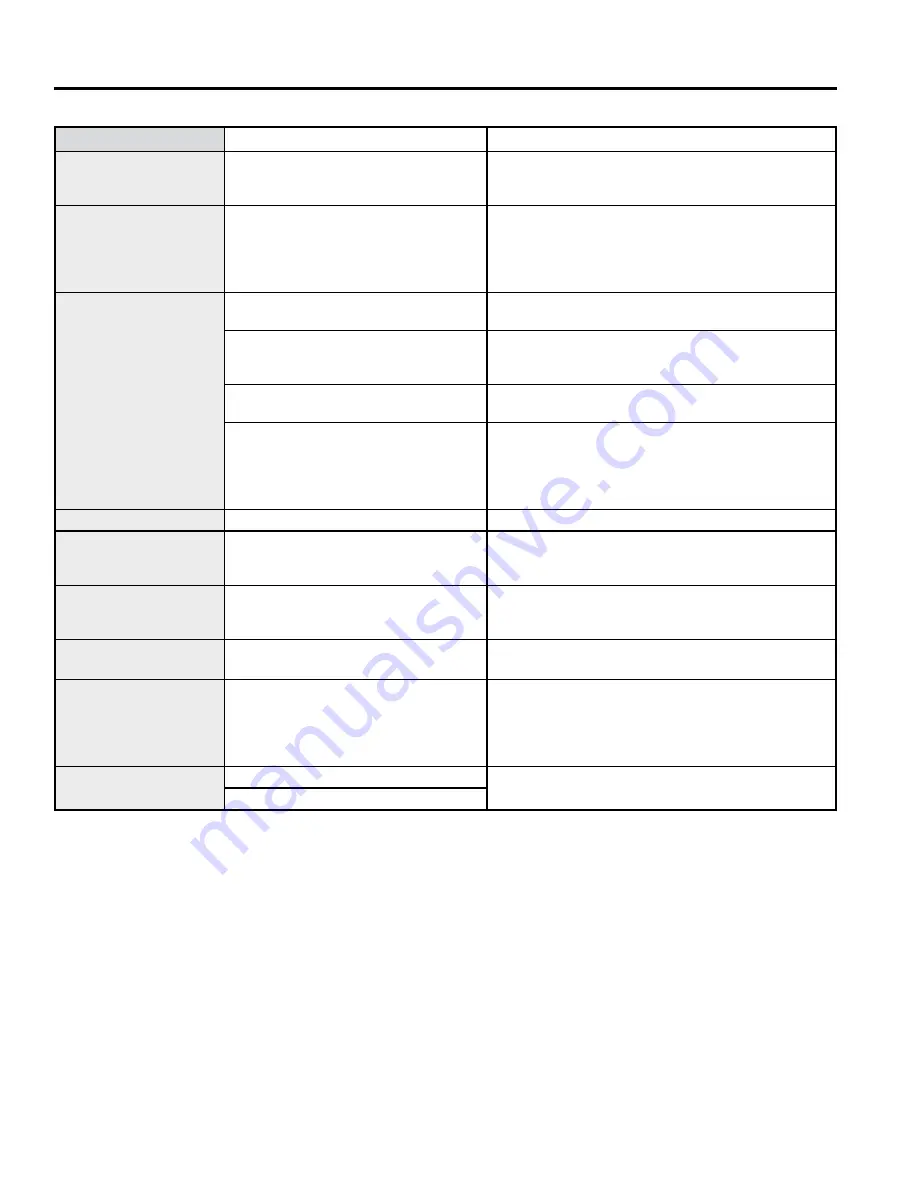
Problem
Possible Cause
What To Do
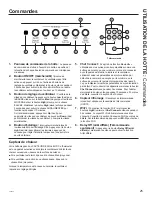
Fan/Light does not
operate when button is
turned ON
A house fuse may be blown or a circuit
breaker tripped.
Replace fuse or reset circuit breaker.
Loud or abnormal
airflow noise
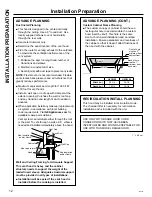
Wrong duct size used in installation.
This hood requires 8” ducting to perform optimally.
Using smaller duct pipe will cause reduced venting.
Minimize the duct run length and number of transitions
and elbows. GE Appliances service technicians cannot
correct this issue if installed improperly.
Fan fails to circulate
air or moves air slower
than normal and/or
fan is making loud or
abnormal airflow noise
Obstructions in duct work.
Make sure nothing is blocking the vent. Make sure
your wall or roof cap has a blade or door.
Damper blade on wall or roof cap may
not be open.
Make sure damper swings freely. Damper blades may
flip over and will not fully open when this happens.
Adjust to original position.
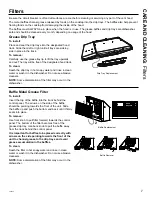
Metal grease filter and charcoal filter
(if present) may be dirty.
Clean the metal grease filter and replace charcoal filter
(if present). See Care and Cleaning of the Vent Hood.
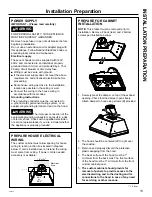
Insufficient makeup (replacement) air
Sufficient makeup (replacement) air is required for
exhausting appliances to operate to rating. Check with
local building codes, which may require or strongly
advise the use of makeup air. Visit
GEAppliances.com
for available makeup air solutions.
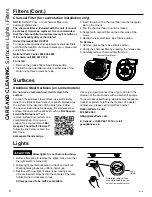
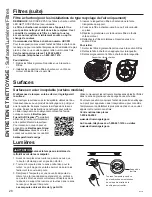
Early light failure
Light wattage is too high.
Replace with correct wattage.
Fan automatically turns
on and can not be
turned off.
This is normal.
The sensor feature will automatically turn the fan on if
cooking temperature becomes too hot. The fan will then
turn off when temperatures cool to an appropriate level.
Fan keeps going off
and on
The motor is probably overheating and
turning itself off. This can be harmful to
the motor.
Check to be sure the filters are clean. If off and on
cycling continues, call for service.
Lights not functioning
Wrong bulbs are used. Must use GU10
compatible dimmable bulbs.
Visit
GEAppliances.com
for replacement bulbs.
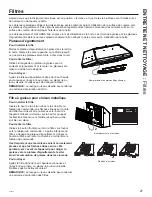
No grease captured in
the drip trays
No grease captured in the drip trays
Install the baffles properly making sure the arrows on
the sides of the baffles are pointing towards the front of
the unit so that the grease openings on the bottom of
the baffles are inserted in the drip trays, see the Filters
section.
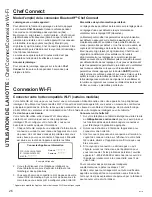
Hood will not work
remotely
Router issues, no wireless signal, etc.
For assistance with hood wireless network connectivity,
please call 800.220.6899.
Hood is not connected.
TROUBLESHOOTING TIPS


