
Instructions 80-1265-18 AH
Vacugene
Vacuum Blotting Pump
GE Healthcare
Unpacking
Unpack the units and accessories. Do not discard
any packing materials until each item has been
checked against the packing list supplied with the
instrument.
Inspect all items for transit damage. If damage has
occurred, contact your local GE Healthcare
office and advise the transport company concerned.
Installing and operating the pump
1
Place the VacuGene™ Pump within reach of an electrical outlet.
Note:
This instrument is for indoor use only.
2
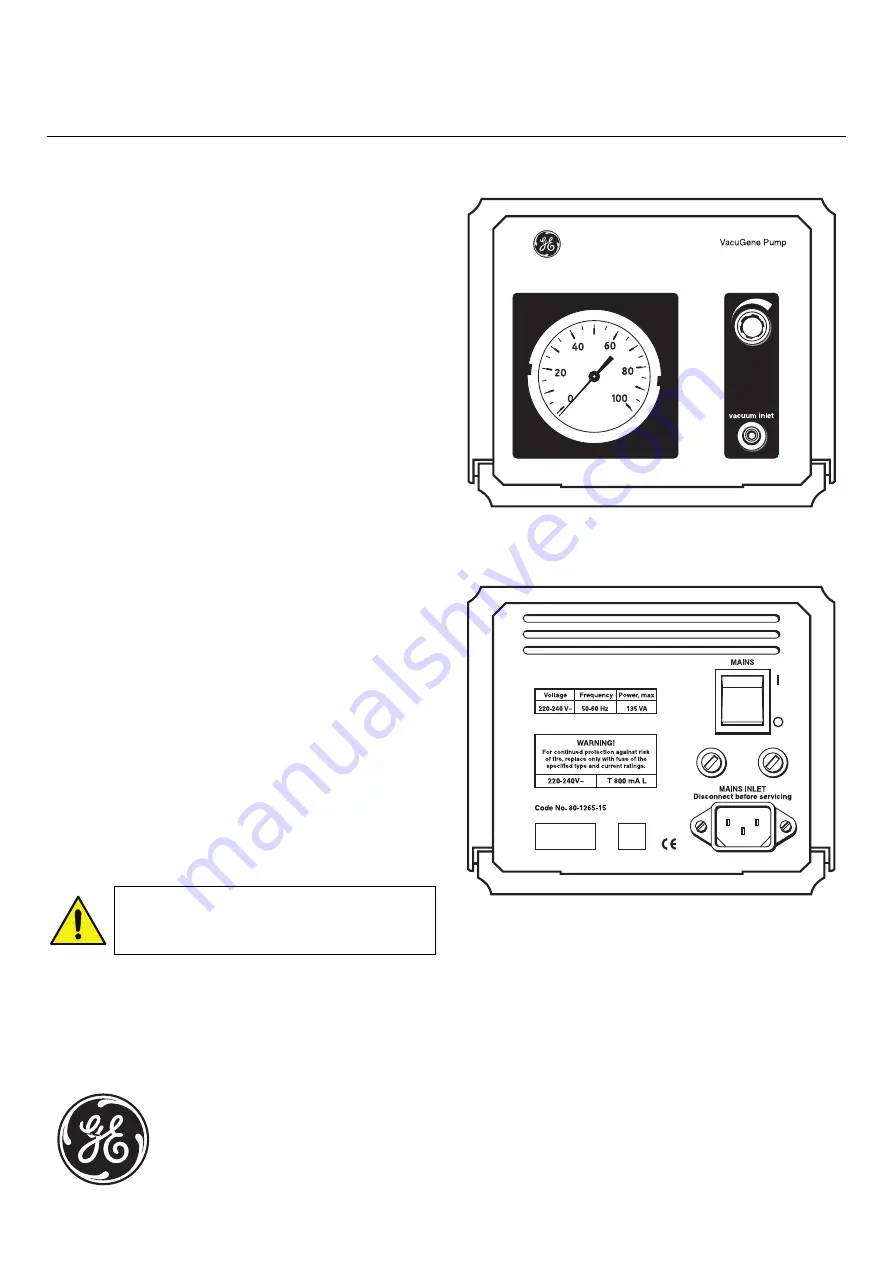
Check that the mains power switch on sawbuck panel of the
pump is OFF (in the 0 position).
3
The mains power inlet, fuses and mains ON/OFF switch are
located on the back panel of the vacuum pump.
4
Fit the mains cable into the mains power inlet and connect it to
the mains power supply. Ensure that the mains cable is plugged
into a fully grounded mains outlet.
5
The power inlet and power supply shall always be easily
accessible.
6
Ensure that all air inlets and outlets are free from obstruction.
7
Make sure the instrument is placed on a stable laboratory work
bench.
8
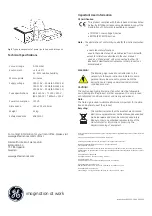
Using the tubing supplied with VacuGene XL Blotting Unit,
connect the pump inlet on the front panel to the connection on
the blotting unit. The needle valve controls the vacuum pressure
and the vacuum gauge gives readings in the range 0-100 mbar
with an accuracy of + 5%.
9
The low pressure VacuGene Vacuum Blotting Pump requires no
regular maintenance.
To protect the pump, the liquid trap supplied with the VacuGene XL
Blotting Unit should be installed between the pump and a blotting
unit. A “T” connector is provided to attach a second blotting unit to the
vacuum pump, if required.
.
Fig.1
Pump unit front panel.
Fig.2
Pump unit back panel.
WARNING!
All repairs should be done by personnel
authorized by GE Healthcare. Do not open any covers
or replace any parts unless specifically stated in the
instructions.
Vacuum
mbar


