18
Recording a Program
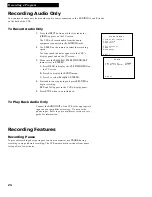
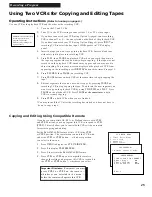
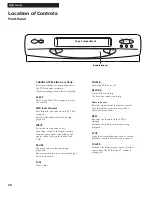
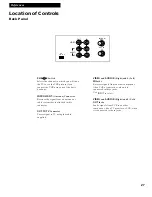
Your VCR provides different recording options. These options are explained in this section of the manual.
Recording Speeds
Press
SPEED
on the remote to select a recording speed (SP or SLP). The speed
you select appears on the TV screen. Tapes recorded in LP can be played in this
VCR.
SP (Standard Play)
gives the best quality recording. That is why most
prerecorded, rental tapes are recorded in SP. Fewer programs can be recorded
on the tape. Special effects such as pause, frame advance, slow motion, and
picture search work well in this speed.
SLP (Super Long Play)
gives three times the recording time of tapes recorded
in SP. Special effects such as pause, frame advance, slow motion, and picture
search work well in this speed.
Normal Recording
To Make a Recording
Turn on the TV and tune it to the VCR viewing channel, either 3, 4, or the TV’s
video input channel.
1.
Insert a tape with safety tab in place.
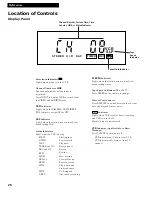
The cassette-in indicator
lights in the VCR’s display panel.
2.
If using one of the basic hookups, make sure the
VCR
indicator appears in
the VCR’s display panel. If not, press
TV•VCR
to turn it on.
3.
Select recording speed using
SPEED
on the remote.
The tape speed indicator appears in the VCR’s display panel and on the TV
screen.
4.
Select the channel to be recorded.
The channel number appears in the VCR’s display panel and on the TV
screen.
5.
Press
RECORD
to begin recording.
REC
and
D
appear in the VCR’s
display panel while the VCR is recording.
Watch a TV Channel While VCR is Recording a Different Channel
For some cable box hookups, this recording feature may not apply. Contact
your local cable company for assistance.
1.
Follow steps
1
through
5
above.
2.
If using one of the basic hookups, press
TV•VCR
to switch to the TV
channel. The
VCR
indicator will turn off in the display panel.
3.
Select the channel you want to watch with the TV’s channel buttons.
4.
Press
STOP
when recording is finished.
Recordings
Recording Time
Cassette
SP SLP
T-120
2Hrs
6Hrs
T-160
2Hrs 40Min
8Hrs

