Step 5- Remove five ¼” hex head screws
from the top of the evaporator cover.
Step 6- Tilt the top if the evaporator cover out
and disconnect the deli pan fan and damper
connector (on select models). Remove the
evaporator cover.
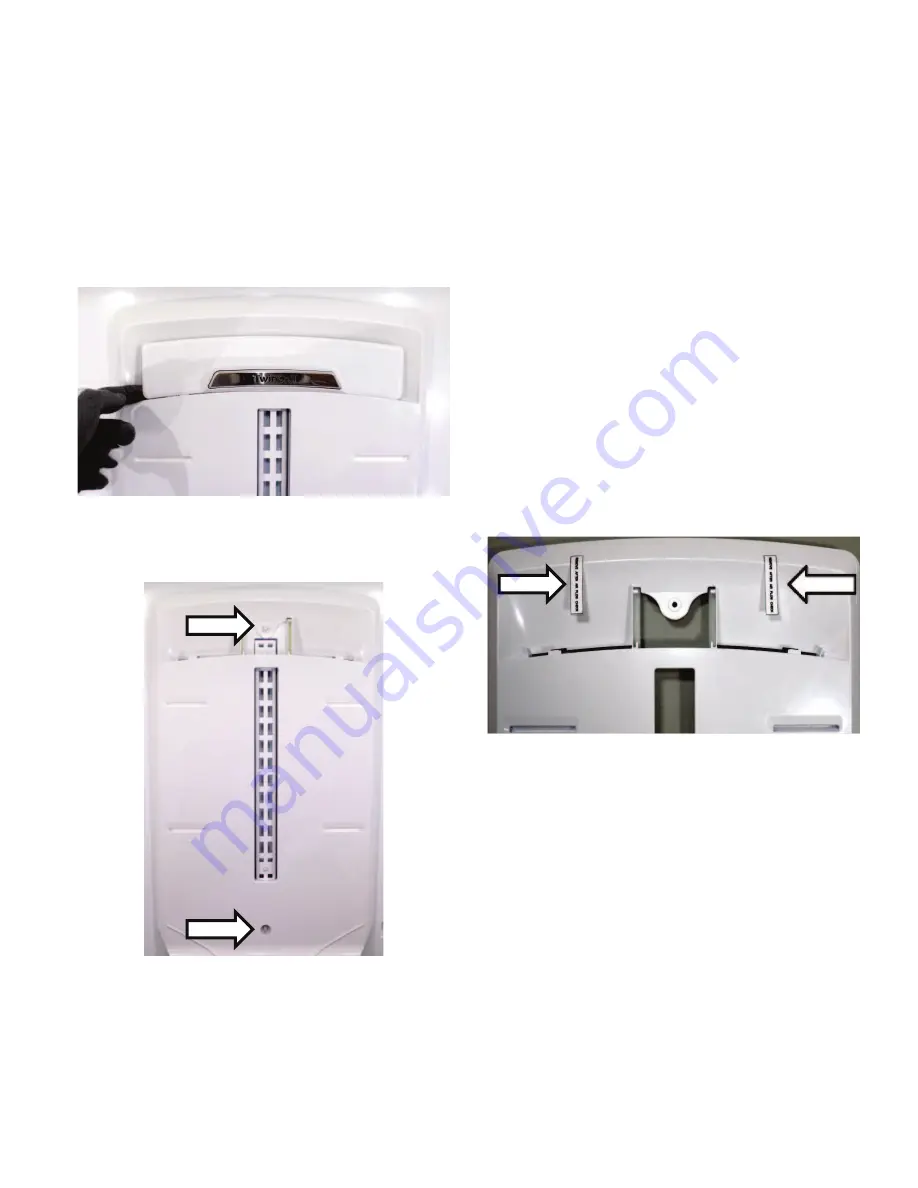
Step 7- Pull out on the bottom of the diverter
and remove the diverter.
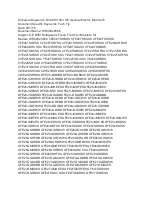
Step 8 - Remove two ¼” hex head screws and
pull out then discard the duct tower assembly.
Step 9 - Inspect the foam gaskets on backside
of the new duct tower to ensure the gaskets
are in place and sections are not missing.
Step 10 - Install the new duct tower assembly.
Check that the assembly is pushed firmly
against the cabinet wall for proper seal before
reinstalling the two ¼” hex head screws.
Step 11- Reinstall evaporator cover.
Step 12 - Connect evaporator fan connector
and fan harness cover. Reinstall deli pan slides
and cover.
Step 13 - Reinstall deli pan slides and cover.
Step 14 – Reapply power to the refrigerator.
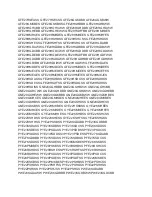
Step 15 - Verify fan operation with the airflow
check strips (shown below). Proper operation
can be verified by using test 47 in service
mode. Remove the check strips once correct
operation is verified (airflow check strips
should be blowing upward).
Step 16 – Reinstall the diverter by inserting the
top of the diverter into the duct cover then
pushing in on the bottom of the diverter.
Step 17 – Reinstall the drawers and shelves.
239D5090P001


