
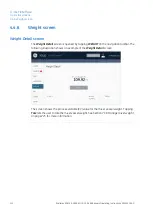
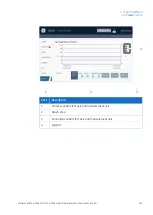
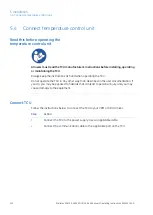
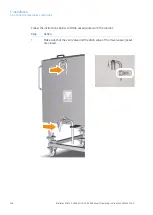

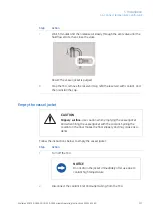
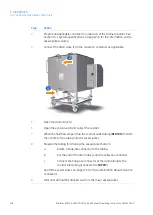


Follow the instructions below to fill the vessel jacket with the coolant.
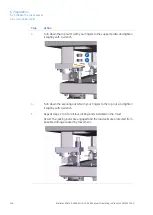
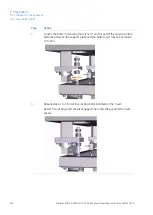
Action
Step
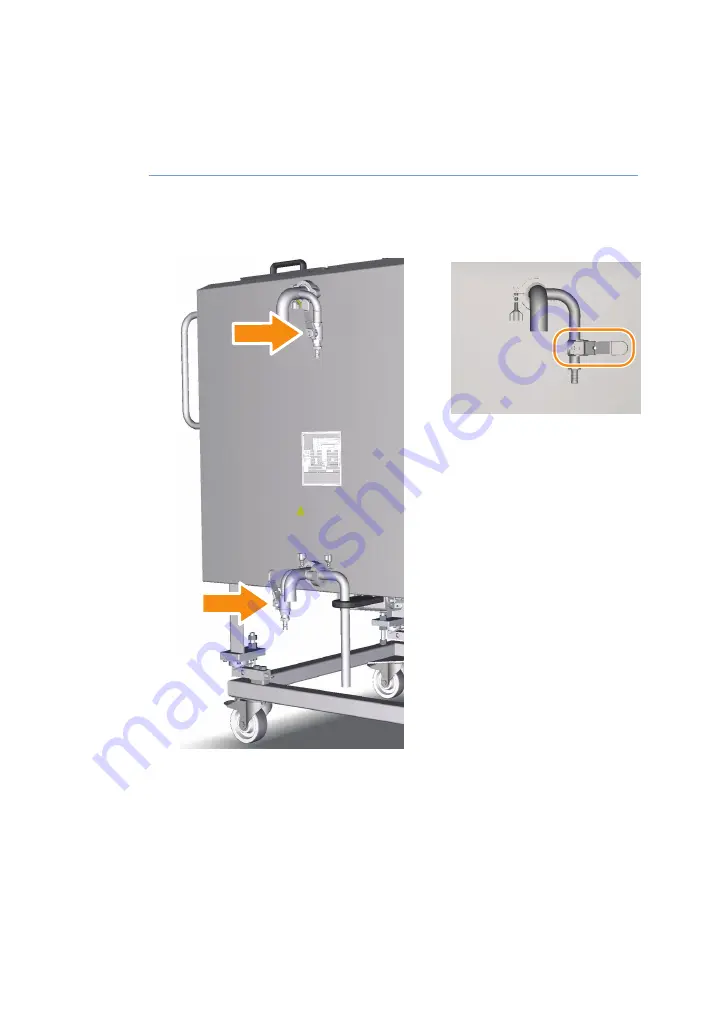
Make sure that the vent valve and the drain valve of the mixer vessel jacket
are closed.
1
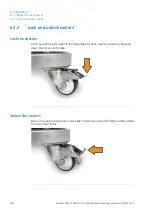
124
Xcellerex XDM 50-1000, XDUO 100-1000 mixers Operating Instructions 29251615 AD
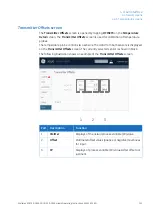
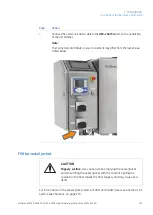
5 Installation
5.4 Connect temperature control unit
Summary of Contents for Xcellerex XDM Series
Page 2: ...Page intentionally left blank...
Page 6: ...Page intentionally left blank...
Page 320: ...Page intentionally left blank...
Page 321: ...Page intentionally left blank...


