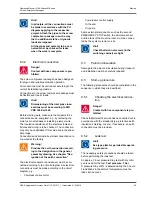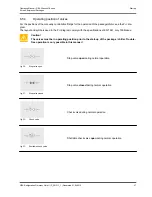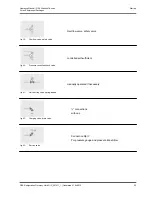
The direction of the arrow given for the oil pump
must correspond to the direction of rotation of the oil
pump motor.
Caution!
Since the slide ring shaft seal of the oil
pump is dependent on the direction of
rotation and can be damaged when
this direction is wrong, checking must
be reduced to a very short running
period (less than 2 seconds).
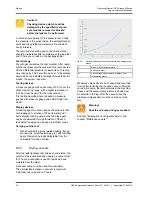
The adjusted differential pressure between the oil
pump pressure side and the unit final pressure is
checked with the oil pump rotating in the correct
direction. It must not fall below the prescribed set
value in the P+I diagram.
While the compressor is not running and the oil has
not yet reached the operating temperature, the differ-
ential pressure can be slightly higher than the indica-
ted value.
The differential pressure can be changed by rotating
the spindle on the oil pressure control valve. (The dif-
ferential pressure is increased by turning it inwards
and vice versa).
8.5.6
Checking the fault monitoring
1. Disconnect the incoming feeder of the compres-
sor drive motor from the mains supply when
checking the safety device (e.g. remove LV/HBC
fuse links).
2. Apply voltage to the control device.
3. Check the built-in pressure transducer and
resistance thermometer for correct wiring.
To do so, loosen the relevant contacts. The mes-
sage "Broken wire <sensor XXX>" appears on
the display of the control. Check that the display
is correct after the contact has been re-estab-
lished.
Further information can be found in the con-
troller manual.
4. Check limit values.
Limit value = see parameter list
5. Switch on the screw compressor package/chiller
from the controller.
6. "Oil circuit monitoring failure” must be indicated
after a starting delay time of 20 sec.
7. Reconnect the oil pump motor to the mains sup-
ply.
8. Check the excitation of the solenoid valves of the
adjusting device for capacity control in the
Mini-
mum direction
.
9. Simulate the minimum end position of the control
slide and check the switching function of main
switch and star-delta contactor (for motors with
star-delta starting).
10. Checking the switching function of the solenoid
valve by forcing the digital outputs.
11. Check the "Oil circuit monitoringfailure".
only for
external oil pump
After 6s, the of the compres-
sor drive motor must be shut off. To do so, the
valve (70) must be throttled in such a manner
that the alarm value for oil difference pressure as
stated on the parameter list is ot reached.
12. Set the motor current limitation acc. to nominal
motor data. See parameter list!
8.5.7
Checking of the safety pressure
limiter
1. Setting of the shut-off values as per the panel
data report
2. Switch on the compressor package
3. Initiation of the shut-off value
4. Check the reaction:
–
Compressor must shut off immediately
–
Fault report on the display of the control unit
8.5.8
Checking of the emergency-OFF
button.
Hint!
Upon actuation, the emergency-Off
button must immediately shut off the
compressor.
1. Actuation of the emergency-OFF button.
2. Check the reaction:
–
Compressor must shut off immediately
–
Fault report in the display of the control
3. Resetting of the emergency-OFF actuation to
end the test.
Operating Manual | GEA Grasso M-Series
Screw Compressor Packages
Start-up
GEA Refrigeration Germany GmbH | P_261511_1 | Generated 01.04.2015
61
Summary of Contents for Grasso M-Series
Page 88: ......

