1.
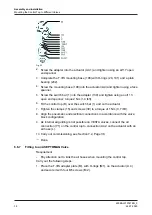
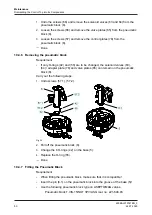
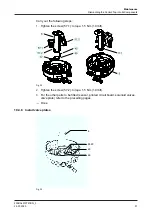
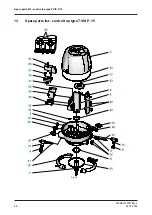
Undo the screws (66) and remove the solenoid valves (63 and 64) from the
pneumatic block (8).
2.
Loosen the screws (66) and remove the valve plates (65) from the pneumatic
block (8).
3.
Loosen the screws (57) and remove the control plates (78) from the
pneumatic block (8).
®
Done
10.4.6 Removing the pneumatic block
Requirement:
•
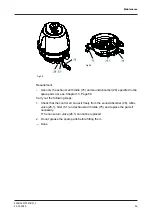
If only O-rings (42) and (55) are to be changed, the solenoid valves (63),
(64) / adapter plate (78) and valve plates (65) can remain on the pneumatic
block (8).
Carry out the following steps:
1.
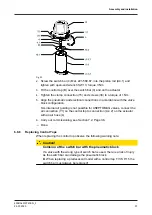
Undo screws (57.1), (57.2).
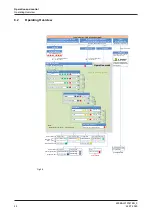
Fig.34
2.
Pull off the pneumatic block (8).
3.
Change the 6 O-rings (42) on the base (5).
4.
Replace the O-ring (55).
®
Done
10.4.7 Fitting the Pneumatic Block
Requirement:
•
When fitting the pneumatic block, make sure that it is compatible!
•
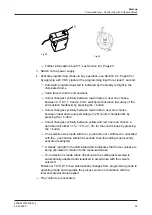
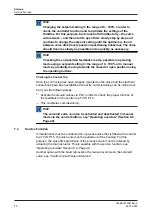
Insert the pin (8.1) on the pneumatic block into the groove of the base (5)!
•
Use the following pneumatic block type on ASEPTOMAG valves:
–
Pneumatic block T.VIS-15/NOT 3PV/ASG mat. no. 221-646.93
Maintenance
Dismantling the Control Top into its Components
430BAL010747EN_3
50
24.07.2020
Summary of Contents for T.VIS P-15
Page 65: ...Appendix 430BAL010747EN_3 24 07 2020 65 ...
Page 66: ......

