36
Operating Instructions
Safety Instructions
Installation Instructions
Tr
oubleshooting T
ips
Consumer Support
Care and cleaning of the range.
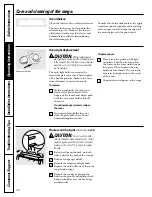
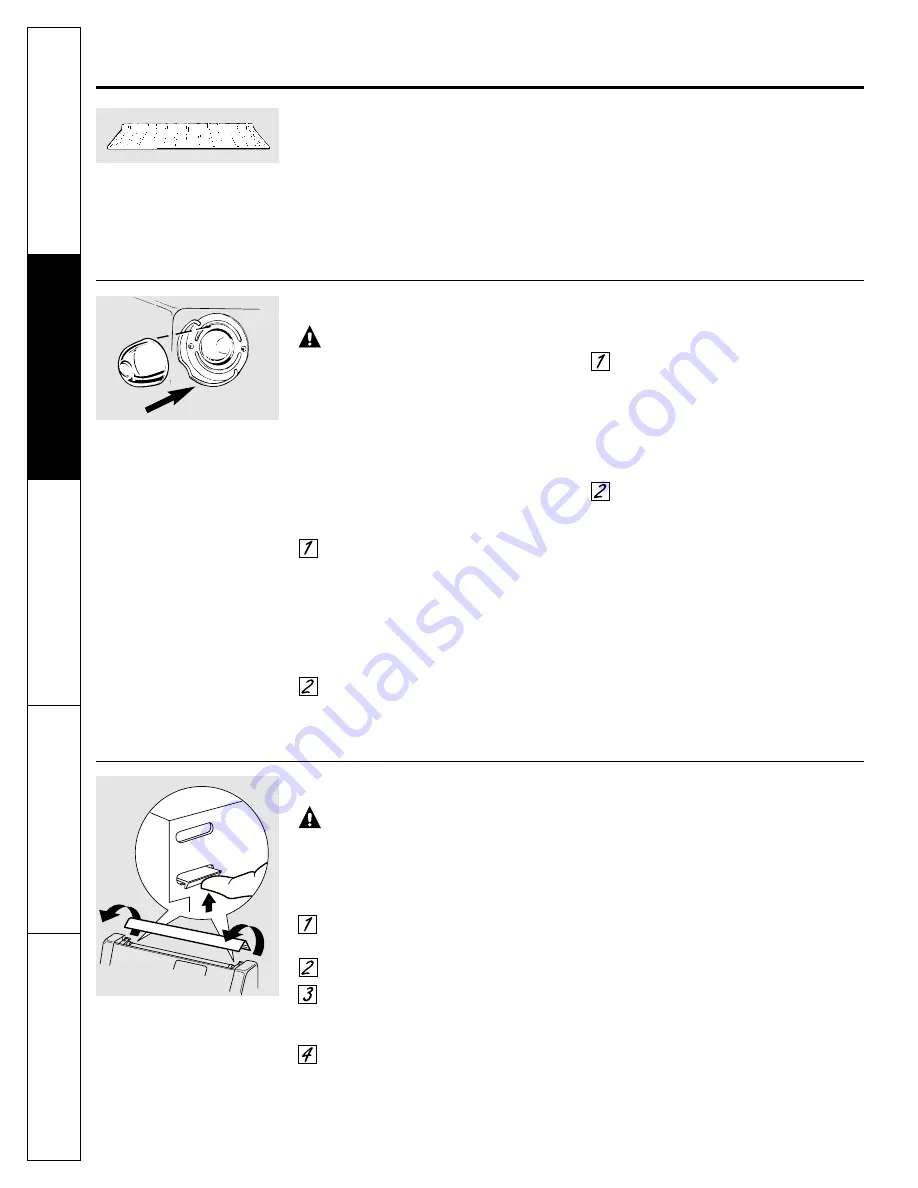
Oven Light Replacement
CAUTION:
Before replacing your
oven light bulb, disconnect the electrical power
to the range at the main fuse or circuit breaker
panel. Be sure to let the light cover and bulb
cool completely.
The oven light bulb is covered with a
removable glass cover that is held in place
with a bail-shaped wire. Remove the oven
door, if desired, to reach cover easily.
To remove:
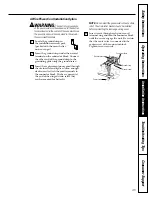
Hold a hand under the cover so it
doesn’t fall when released. With
fingers of the same hand, firmly push
back the wire cover holder. Lift off
the cover.
Do not remove any screws to remove
the cover.
Do not touch hot bulb with a wet
cloth. Replace bulb with a 40-watt
household appliance bulb.
To replace cover:
Place it into the groove of the light
receptacle. Pull the wire forward to
the center of the cover until it snaps
into place. When in place, the wire
holds the cover firmly. Be certain the
wire is in the depression in the center
of the cover.
Connect electrical power to the range.
Oven Shelves
Clean the shelves with an abrasive cleanser.
The oven shelves may be cleaned in the
self-cleaning oven. However, the shelves
will darken in color, lose their luster and
become hard to slide if cleaned during
the self-cleaning cycle.
To make the shelves slide more easily, apply
a small amount of vegetable oil or cooking
oil to a paper towel and wipe the edges of
the oven shelves with the paper towel.
Wire cover holder.
Fluorescent Top Light
(on some models)
CAUTION:
Do not touch the bulb
with wet hands or when the bulb is hot. Never
wipe the light area with a wet cloth. Electrical
power must be shut off if you have to replace
the bulb.
Raise the clips on the back, on both
sides, and free the back of the canopy.
Roll the canopy up and off.
Remove the fluorescent light bulb.
Replace the bulb with one of the same
length and wattage.
Replace the canopy by placing the
front in the groove and rolling it back.
Snap it into place over the back clips
on both sides.

