25. Always ensure the lid is closed and do not lift it
while the water is boiling. Scalding may occur if
the lid is removed during the brewing cycles.
26. Avoid spillage on the connector
27. This appliance is intended to be used in
household and similar applications such as:
– Staff kitchen areas in shops, offices and other
working environments;
– Farm houses;
– By clients in hotels, motels and other
residential type environments;
– Bed and breakfast type environments.
28.The heating element surface is subject to
residual heat after use.
29. Save these instructions.
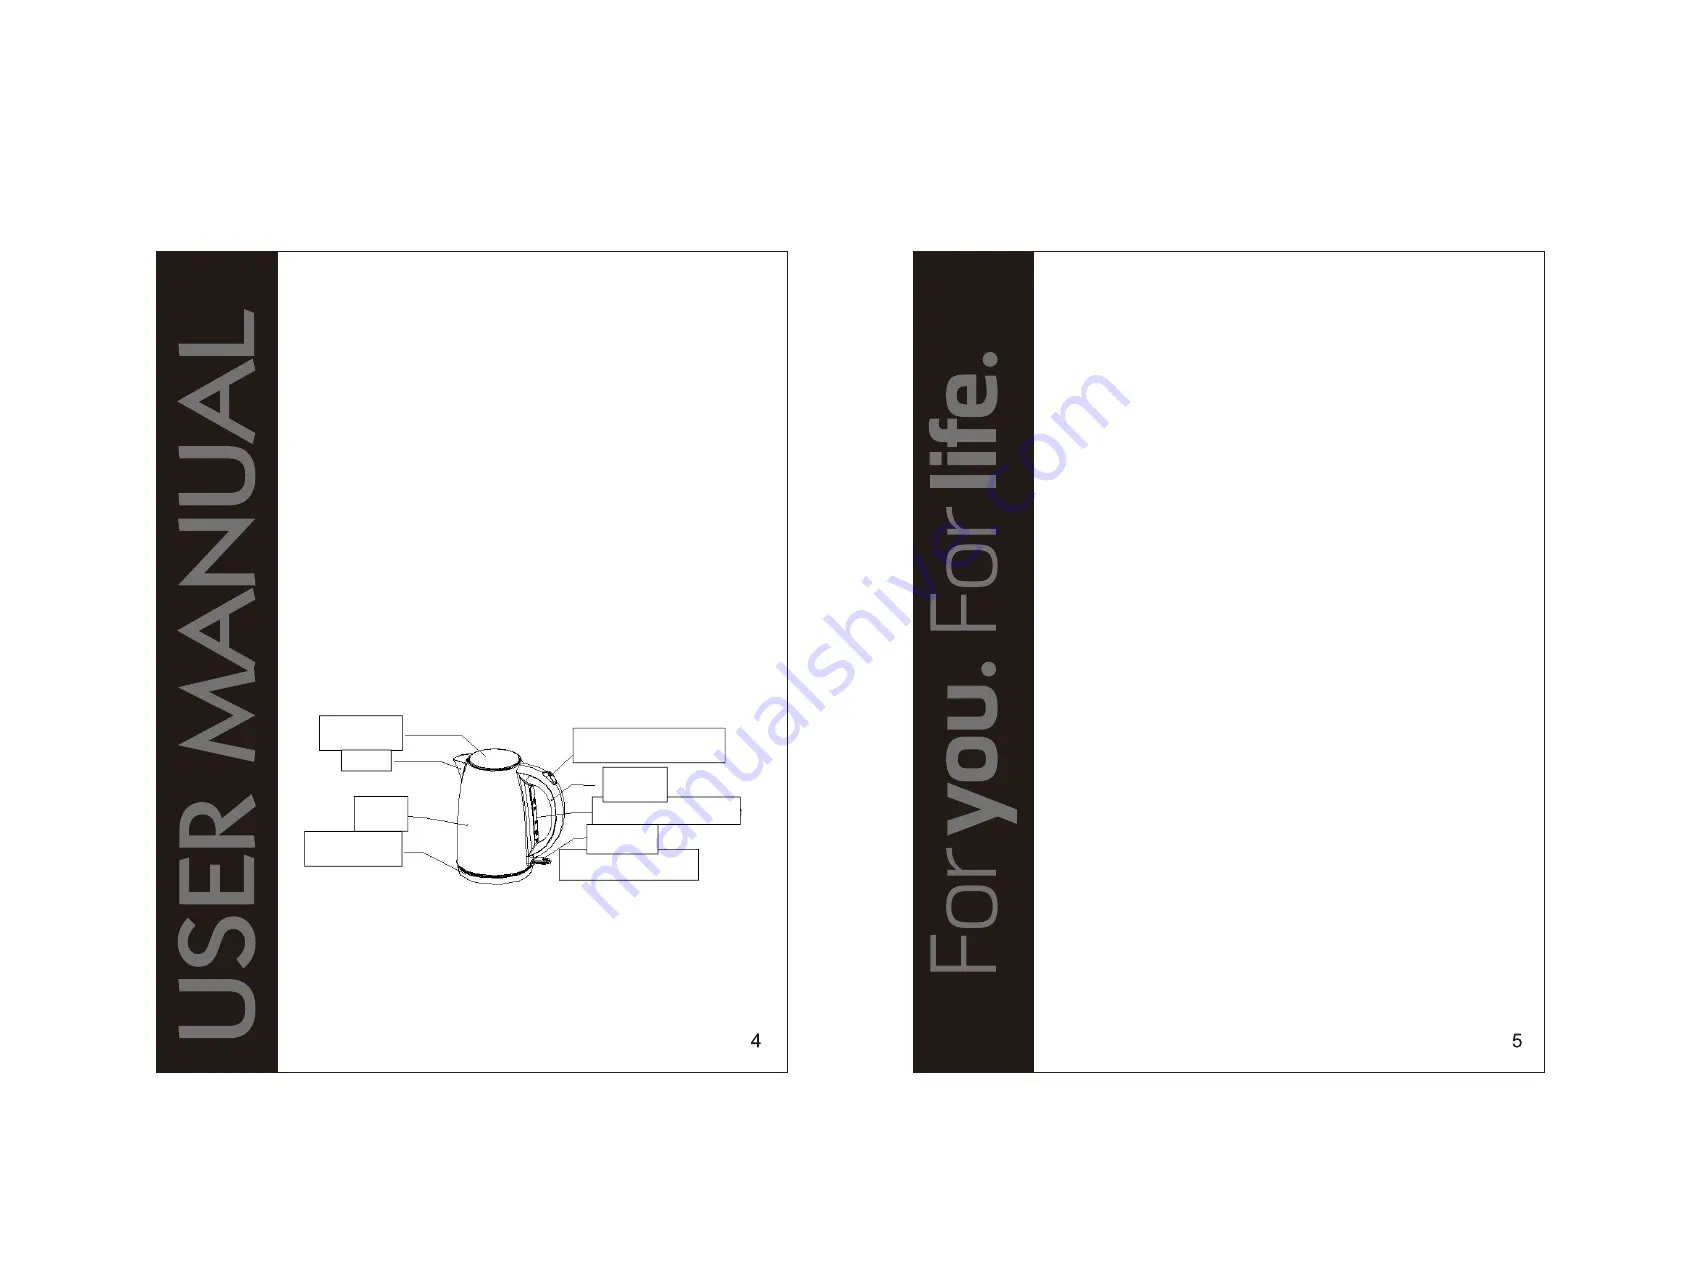
KNOW YOUR ELECTRIC KETTLE
Lid release button
(With indicator)
Switch
Water level gauge
Handle
Kettle lid
Power base
Body
Spout
BEFORE USING YOUR KETTLE
If you are using the kettle for the first time, it is
recommended that you should clean your kettle
before use by boiling the Max capacity of water
once and then discarding the water twice. Wipe the
surface with a damp cloth.
NOTE
: The max capacity of kettle is 1.7L.
USING YOUR ELECTRIC KETTLE
1. Place the kettle on the flat surface.
2. To fill the kettle, remove it from the power base
and open the lid by pressing down lid release
button, then fill the kettle with the desired amount of
water and close the lid. The water level must be
within the Min and the Max level. Too little water will
cause the kettle switching off before the water has
boiled.
NOTE:
Do not fill the water over the maximum level,
as water may spill out of the spout when boiling.
Ensure that the lid is firmly in place before plugging
the power outlet.
3. Position the kettle on the power base.
4. Connect the plug into a power outlet. Press down
the switch and the indicator will light up, and then
the kettle starts to boil the water. The kettle will
switch off automatically once the water has boiled.
If necessary, it will take you 30 seconds to wait
before pressing the switch again to re-boil the water.
You may shut off the power by lifting switch up or
directly lift the kettle from the power base at any
moment to stop boiling process.
NOTE
: Ensure that switch is free of obstructions
Summary of Contents for GK38021UK
Page 1: ...STAINLESS STEEL KETTLE GK38021UK ...
Page 2: ......
Page 6: ...8 9 ...
Page 7: ...10 11 ...
Page 8: ...12 13 ...


