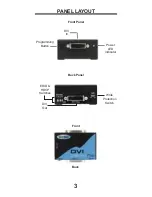
CONNECTING AND OPERATING
THE DVI DETECTIVE PLUS
1.
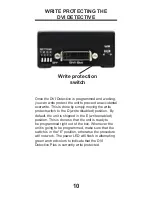
Before proceeding, please ensure that the
write protect switch is in the E (write enabled)
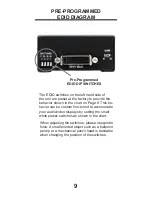
position and all SETTING DIP SWITCHES
are in the OFF (down) position Please see the
diagram on the page 8.
2.
Connect the display to the DVI Out port on
the DVI Detective Plus. Turn on the display to
ensure that an EDID is being transmitted.
3.
Plug the supplied 5V DC power supply into the
DVI Detective Plus. The power LED should
be glowing either solid RED (an EDID is not
programmed) or solid GREEN (an EDID is
properly programmed).
4.
Once you are ready to program the EDID,
press and hold the Program button on the front
panel of the DVI Detective Plus until the unit’s
LED begins to rapidly fl ash green. Once the
recording sequence is initiated, release the
button and wait until the LED glows a solid
green color. A successful EDID programming
sequence is indicated with a green LED while
an unsuccessful EDID record is indicated with
a red LED.
NOTE: If the unit does not initiate the recording
sequence (indicated by a fl ashing green LED),
please unplug the display and 5V DC power supply
from the unit and repeat steps 2 and 3. If a solid red
LED is indicated after several unsuccessful recording
attempts, it is possible that the EDID recorded from
the display is bad. Please refer to the section, USING
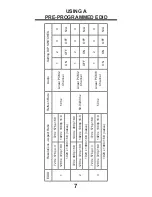
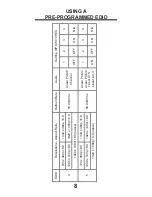
A PRE-PROGRAMMED EDID on page 6 and 7 for
instructions on how to use one of the built in EDIDs.
4


