page | 3
Page Title
Introduction
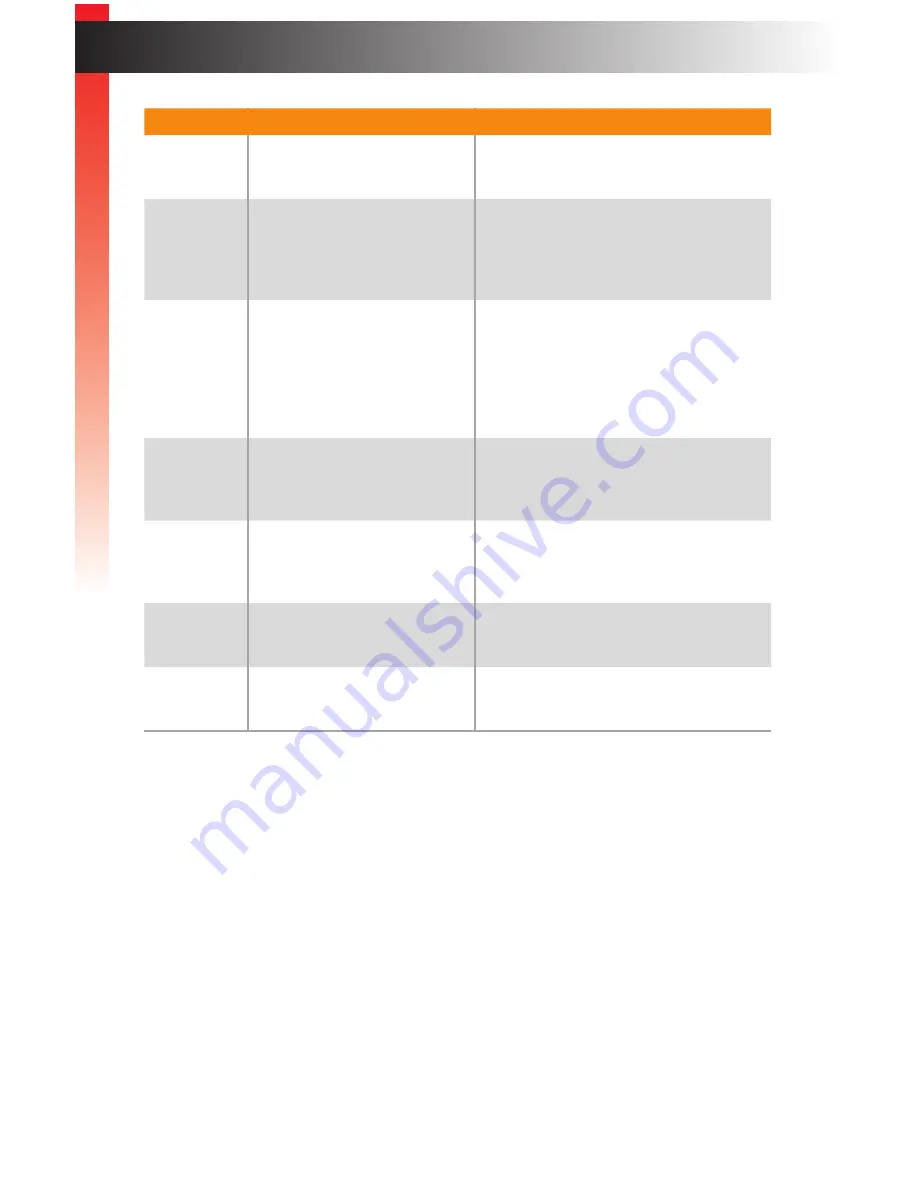
ID
Name
Description
1
USB
Connect a USB device to each of these
USB
ports.
2
Source selection (1 - 4)
Press these buttons to select the
video / audio / USB source.
See
Switching Sources (page 19)
for
more information.
3
Solo (USB, Audio)
These buttons allow separate (unlinked)
selection of USB an audio sources.
When either button is illuminated, the
Source selection (1 - 4) buttons select
the USB or audio source instead of the
Video A source.
4
OSD buttons
Use these buttons to control the built-in
On-Screen Display (OSD). See
OSD
Menu (page 39)
for more information.
5
Display mode
Press these buttons to select the desired
display mode. See
Selecting the Display
Mode (page 18)
for more information.
6
Reset
Use a sharp-pointed object to depress
this button and reset the unit.
7
Power
This LED indicator will glow solid blue
when power is applied to the unit.
Ge
tting S
tar
ted
Summary of Contents for EXT-DVIK-MV-441
Page 1: ...EXT DVIK MV 441 User Manual 4x1 DVI KVM Multiview Switcher Release A3 Preferred ...
Page 7: ...This page left intentionally blank ...
Page 10: ...This page left intentionally blank ...
Page 11: ...1 Getting Started 4x1 DVI KVM Multiview Switcher ...
Page 20: ...This page left intentionally blank ...
Page 21: ...4x1 DVI KVM Multiview Switcher 2 Basic Operation ...
Page 88: ...This page left intentionally blank ...
Page 89: ...3 Advanced Operation 4x1 DVI KVM Multiview Switcher ...
Page 122: ...This page left intentionally blank ...
Page 123: ...page 113 4 Appendix 4x1 DVI KVM Multiview Switcher ...
Page 129: ...page 119 Appendix Updating the Firmware 6 Click the Manage a Product button ...
Page 131: ...page 121 Appendix Updating the Firmware 8 The Update tab will be displayed ...


