5
ACAM-001
FULL HD ACTION CAMERA WITH WATERPROOF CASE
GEMBIRD EUROPE B.V. http://www.gembird.eu
1.3 Installation and remove of the memory card
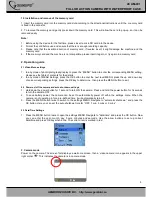
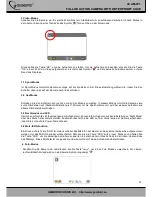
1. Insert the memory card into the memory card slot according to the directional instructions until the memory card
is fixed in the card slot.
2. To remove the memory card, gently press down the memory card. This will allow the card to pop-up, so it can be
removed easily.
Note:
1. Before using the device for the first time, please insert a microSD card into the device.
2. Format the card before use and ensure that there is enough recording capacity.
3. Please note that the insertion direction of memory card, if reverse insert, it might damage the machine and the
memory card.
4. If the memory card and the machine is not compatible, please insert it again, or try again in a memory card.
2. Operation guide
2.1 Video Menu settings
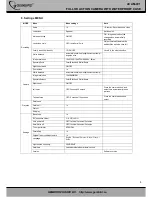
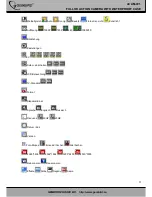
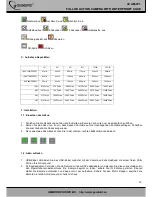
1. In any mode of photo/photography/replay to press the “MENU” button to enter the corresponding MENU setting,
please see the table of contents for the details.
2. In any mode of MENU Settings, press the OK button to enter the next level MENU, press the up and down key
choose corresponding settings, press the OK key to determine , then press the MENU button to exit.
2.2 Power on/off the camera and auto shut down settings
1. Hold down the power button for 1 second to turn ON the camera. Press and hold the power button for 3 seconds
to turn the camera OFF.
2. To save battery power, the camera can be set to automatically power off within the settings menu. When the
camera is not operating in for a pre-defined time, it will automatically turn off.
3. Press the MENU button twice to switch to the settings MENU, Navigate to “automatic shutdown”, and press the
OK button. Here you can set the auto shutdown time for “OFF, 1 min, 3 mins or 5 mins”.
2.3 Date/Time Settings
1. Press the MENU button twice to open the settings MENU, Navigate to "date/time” and press the OK button. Now
you can enter the year, month, day, hours, minutes and seconds. Use the arrow buttons to set up correct
date/time and press OK key when done. The current item is marked in red.
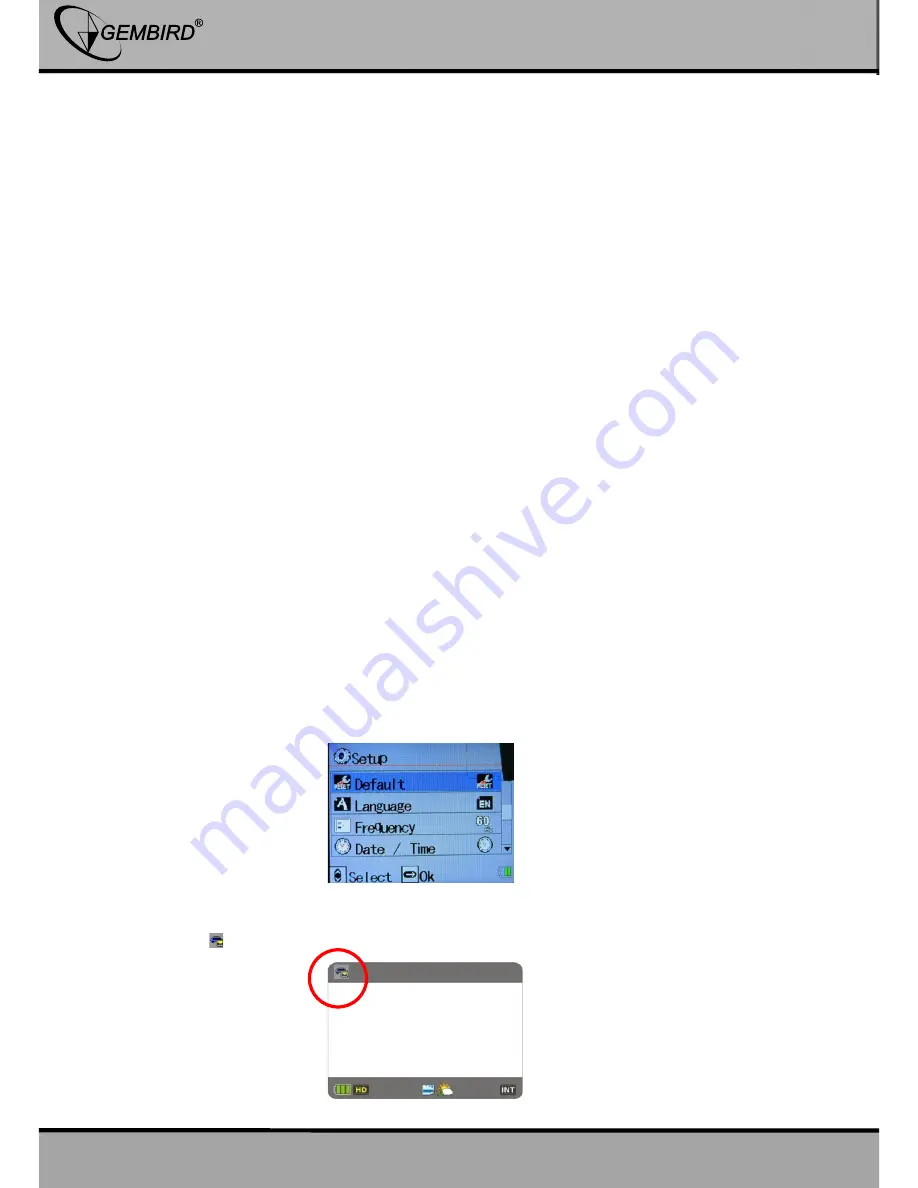
3. Camera mode
Power on the camera. The screen first displays a welcome screen, then a ‘video camera’ icon appears in the upper
right corner " ". This indicates the camera is in camera mode.


