POLY-TUBE REMOVAL
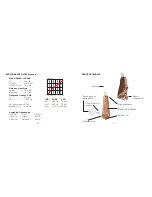
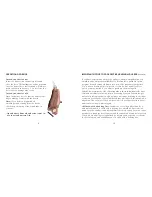
Removing the poly-tube
Turn the tubing (at connector base) left or right
ninety degrees from its original position.
Be sure to turn the tubing at the base where the
tube inserts in to the device, otherwise damage to
the tubing could occur. The tubing position should
change from directly behind the device to paral-
lel to its side. With a slight back and forth twisting
motion, pull apart the device and poly-tubing.
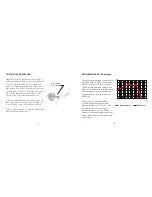
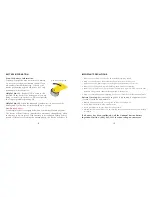
Cleaning the poly-tube
Slowly insert the cleaning filament end of the
Simplicity multi-tool into the sound port of the
dome flex-tip. Insert the filament line into the
opening of the dome. Push the filament through
the dome completely to ensure all debris has been
removed. If you are unable to clear the blockage,
please contact ReadyWear customer support (see
page 18 for info).
POLY-TUBE CLEANING
Cleaning the sound dome
After the poly-tube has been removed, the dome
flex tip will need to be separated from the tube.
Remove the dome flex-tip from the poly-tube
by gently twisting the poly-tube and pulling the
dome tip. Do not pull the dome by the outer edge,
hold the dome at the base where it connects to the
tubing. With the dome removed, insert the fila-
ment line into the opening of the dome. Push the
filament through the dome completely to ensure
all debris has been removed.
Reinserting the poly-tube
Reinsert the flex dome on to the poly-tube, then
insert tubing connector into opening of the device
with a slight back and forth twisting motion and
push into place. Rotate the poly-tube back to its
original position. View the DVD included with this
device for demonstration of these procedures.
10
11


