DO NOT OPERATE THIS SANDER WITHOUT AN ADEQUATE DUST COLLECTION SYSTEM PROPERLY INSTALLED AND RUNNING.
OPERATING THIS SANDER WITHOUT ADEQUATE DUST COLLECTION CAN LEAD TO EQUIPMENT MALFUNCTION OR DANGEROUS
SITUATIONS FOR THE OPERATOR OR OTHER INDIVIDUALS IN THE WORKSHOP.
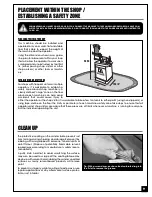
The 4" diameter dust outlet allows for connection to a dust
collector (not included).
Be sure to use appropriate sized hose and fittings (not
included) and check that all connections are sealed
tightly to help minimize airborne dust.
Note: Minimum recommended dust collection CFM require-
ments for this sander is 1100 CFM.
If you do not already own a dust collection system consid-
er contacting your General® International distributor for
information on our complete line of dust collection systems
and accessories or visit our Web Site at www.general.ca.
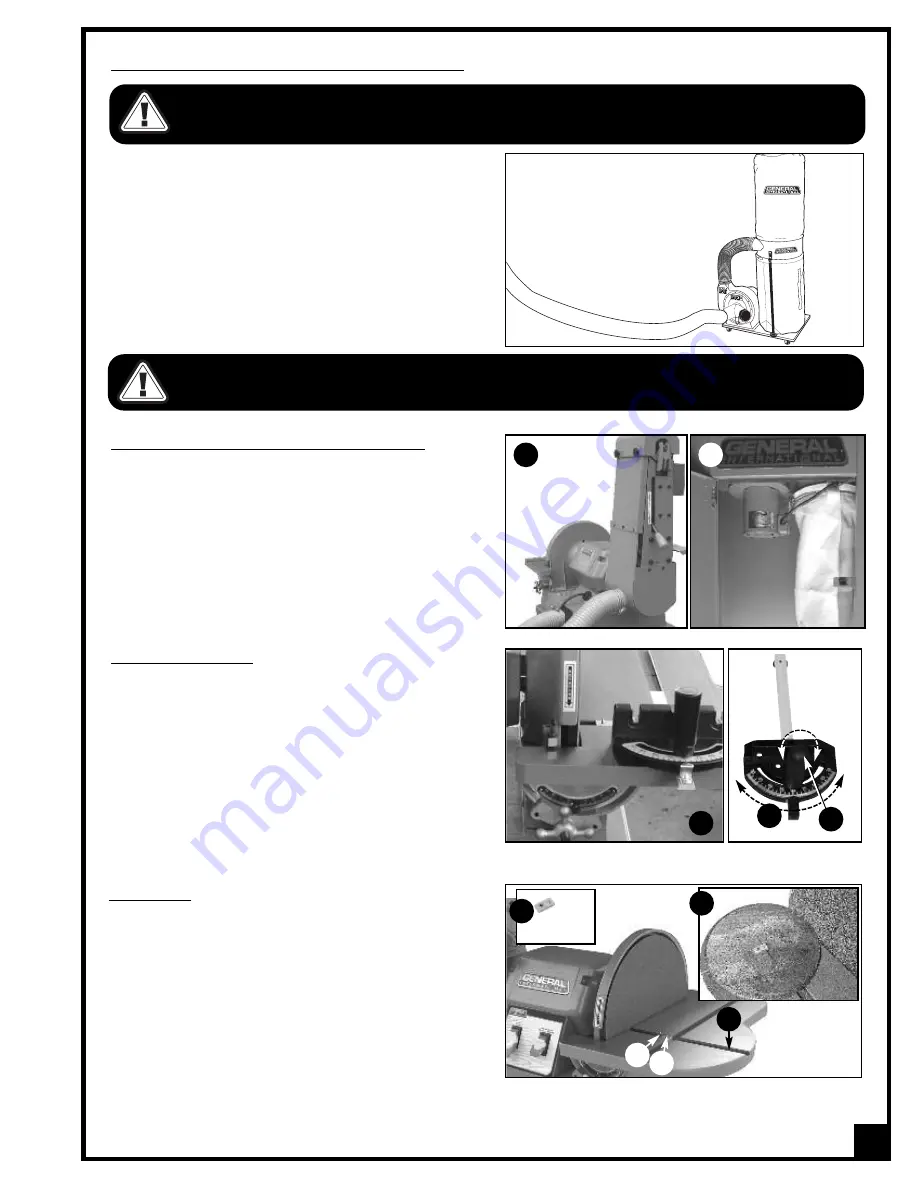
CONNECTING TO A DUST COLLECTOR (MODEL 15-035 M1 ONLY)
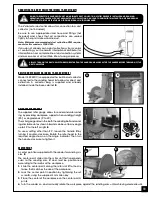
Model 15-0035DC is equipped with a built-in dust collector
connected to the sanding head,
A
to allow for direct dust
extraction. A collector bag is supplied and already
installed inside the base cabinet
B
.
BUILT-IN DUST COLLECTOR (MODEL 15-035DC M1 ONLY)
A
B
USING THE MITER GAUGE
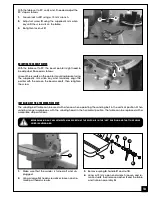
The supplied miter gauge allows for easier and safer sand-
ing by providing workpiece support when sanding straight
(90°) or angled ends (0° to 30°).
The miter gauge rides in the both the sanding belt and sand-
ing disc table slot as shown in
A
and can be set to any angle
up to 30° to the left or right
B
.
To use a setting other than 90°, loosen the handle
C
by
turning it counter-clockwise. Rotate the miter head to the
required angle shown on the angle indicator. Then turn
the handle clockwise to tighten it.
B
A
CENTER POINT
A center point
A
is supplied with the sander for sanding cir-
cles,
B
.
The center point slides into the miter slot that is perpendi-
cular to the sanding disc
C
and must be positionned
according to the radius of the workpiece.
1.
Slide the center point along the miter slot
C
to the dis-
tance that matches the size of the workpiece.
2.
Lock the center point in position by tightening the set
screw
D
, using the supplied 3 mm Allen key.
3.
Place the center of the workpiece on the center point’s
pin
E
.
4.
Turn the sander on, and manually rotate the workpiece against the sanding disc until achieving desired results.
D
A
C
E
B
ALWAYS TURN ON THE DUST COLLECTOR BEFORE STARTING THE SANDER AND ALWAYS STOP THE SANDER BEFORE TURNING OFF THE
DUST COLLECTOR.
11
C
Summary of Contents for 15-035 MI
Page 27: ...Notes 27...

