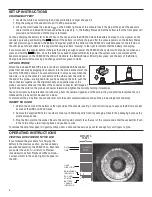
4. Screw the mirrored viewing tip onto the camera head (Callout 2) by turning it clockwise, as shown by the image at right at the
bottom of the previous page. Keep turning until the viewing tip is as far from the probe tip as possible. In this position, it can
rotate freely.
5. Press the
button to activate the two-side facing LEDs.
6. Slowly turn the mirrored viewing tip counterclockwise to move it toward the probe tip. Once the threads of the tip grip the
camera head, continue turning only until the two LEDs are clearly visible
through the gap in the tip’s housing.
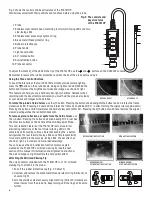
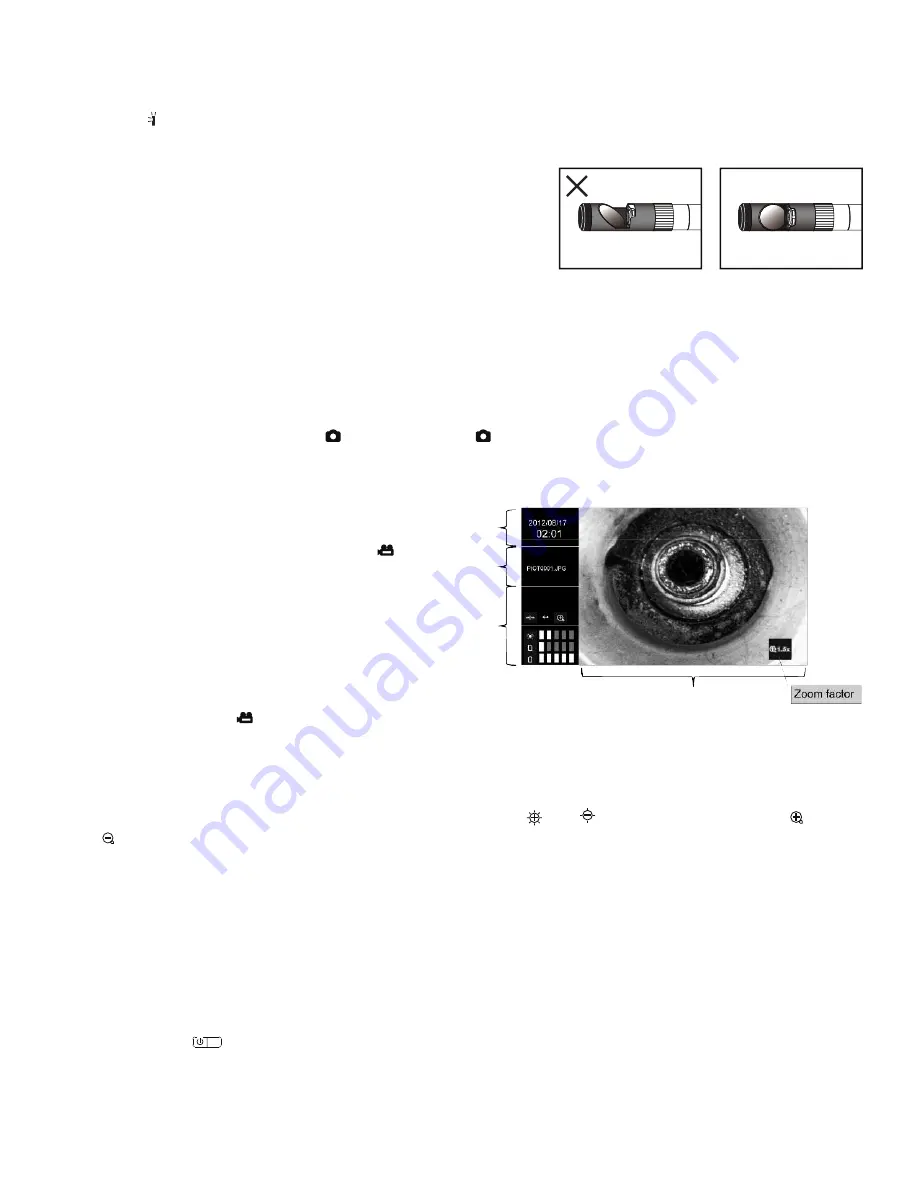
7. Secure the tip with your thumb and forefinger and use your other hand to
turn the alignment ring clockwise. Keep turning the ring until its leading
edge contacts the mirrored viewing tip, locking it in place. The pair of
images at right illustrate the incorrect (left) and correct (right) orientation
of the mirror with respect to the LEDs.
8. Remove the blue circular protective film from the mirror by pulling on its tab with a tweezers.
Before using the DCS2000 system, carefully read the Operating, Maintenance & Troubleshooting Tips section of this manual on p. 13
to understand how to use a borescope probe properly and avoid using it improperly. To protect the delicate camera-tipped end of the
P16181HP probe, reinstall the rubber lens cap after each inspection session. Don’t forget to remove the cap from the tip of the probe
before using it again.
TAKING PICTURES AND RECORDING VIDEOS
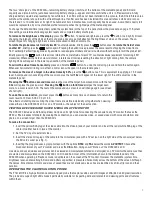
To take a picture, make sure the DCS2000 is in Preview mode (with live video appearing on the LCD), optimize the display brightness
and zoom level for the target, and press the
button. Pressing the
button briefly places a green border around the video frame
of the LCD to confirm that a picture was taken. It also creates a .jpg file of the field of view at that moment and stores it on the
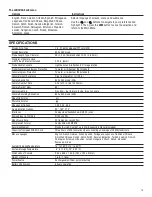
SD card. The alphanumeric name of the stored picture file, which begins with “PICT” and has the suffix “.JPG”, is displayed for
2 minutes in the metadata panel at the left of the LCD (see photo below). The DCS2000 automatically returns to Preview mode after
taking a picture.
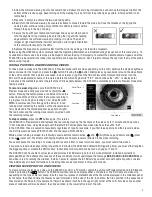
To record a video clip
, make sure the DCS2000 is in
Preview mode and briefly press (but do not hold) the
button. Pressing the button places a red border around the
video frame of the LCD to confirm that a video recording is
in progress. It also begins creating an .avi video file (with
MPEG-4 compression) for storage on the SD card. A red
running clock indicating the duration of the clip recorded so
far is displayed in the metadata panel (see photo at right).
The red border and the running clock remain on-screen until
the recording is stopped.
To stop recording
, press the
button again. This returns
the DCS2000 to Preview mode and replaces the red running clock by the file name of the video clip for 1 minute and 30 seconds
(1:30). Like photo files, video files begin with the letter PICT; unlike photo files, video files have the suffix “.AVI”.
In the DCS2000, files are named consecutively, regardless of type. For example, if you first take a picture and then record a video,
the first file would be named PICT0001.JPG and the second PICT0002.AVI.
While a video is being recorded, the following console buttons remain active:
and
(brightness up and down) and
(zoom
in) and
(zoom out). The effects of changing brightness and zoom level are reflected in the video recording.
You cannot pause the recording of a video clip and resume it later; to cover two time spans, you must record two videos.
If you plan to record video clips lasting longer than 15 minutes (the DCS2000’s default APO triggering time), you must either lengthen
the triggering time or disable the APO function. Instructions for doing both can be found on pages 11 and 12.
The DCS2000 will be unable to store videos and pictures if its SD memory card is full, write-protected, installed incorrectly or
damaged. When the instrument senses any of these conditions, it will superimpose the message
NO SD CARD
or
SD CARD FULL
on
live video in red. To remedy the situation, install a new card, replace the full SD card by another card with spare capacity, or delete
files individually or in bulk. Instructions for deleting files can be found later in this user’s manual.
VIEWING SAVED PHOTOS AND VIDEOS
To view a picture or play back a video on the DCS2000’s LCD or a TV monitor, switch the unit out of Preview mode and into Playback
mode by pressing the
button. The DCS2000 will then recall and display either a still photo or the first frame of a video clip,
depending on the type of file last saved. In both cases, four pieces of metadata about the file will be displayed in the metadata panel:
its file name, the date and time the file was saved, its format, and the size of the file. In addition, the file’s position in the sequence of
files stored on the SD card (for example, 16/16) will be shown in white in the upper right corner of the LCD. For video clips, another
piece of metadata will also be shown: the clip’s duration, in the lower left corner of the LCD.
ESC
9
✓
Date/Time
File Name
Function
Live Video


