


union;
Mount the screw feeder, blade and disk, and then screw on the lock nut.
5.3
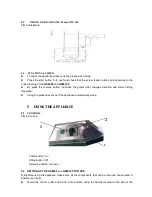
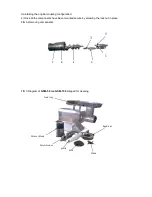
FILLING THE MINCER(see fig5)
When using the mincer it is important that you stand in the correct position.
Do not position yourself
so that any part of your body comes
In direct contact with the mincer when working.
FIG 5-fitting the mincer
N.B
The mincer must be filled when working. The procedure to follow is:
1. Place the food in the tray;
2. Start the mincer using the start button.
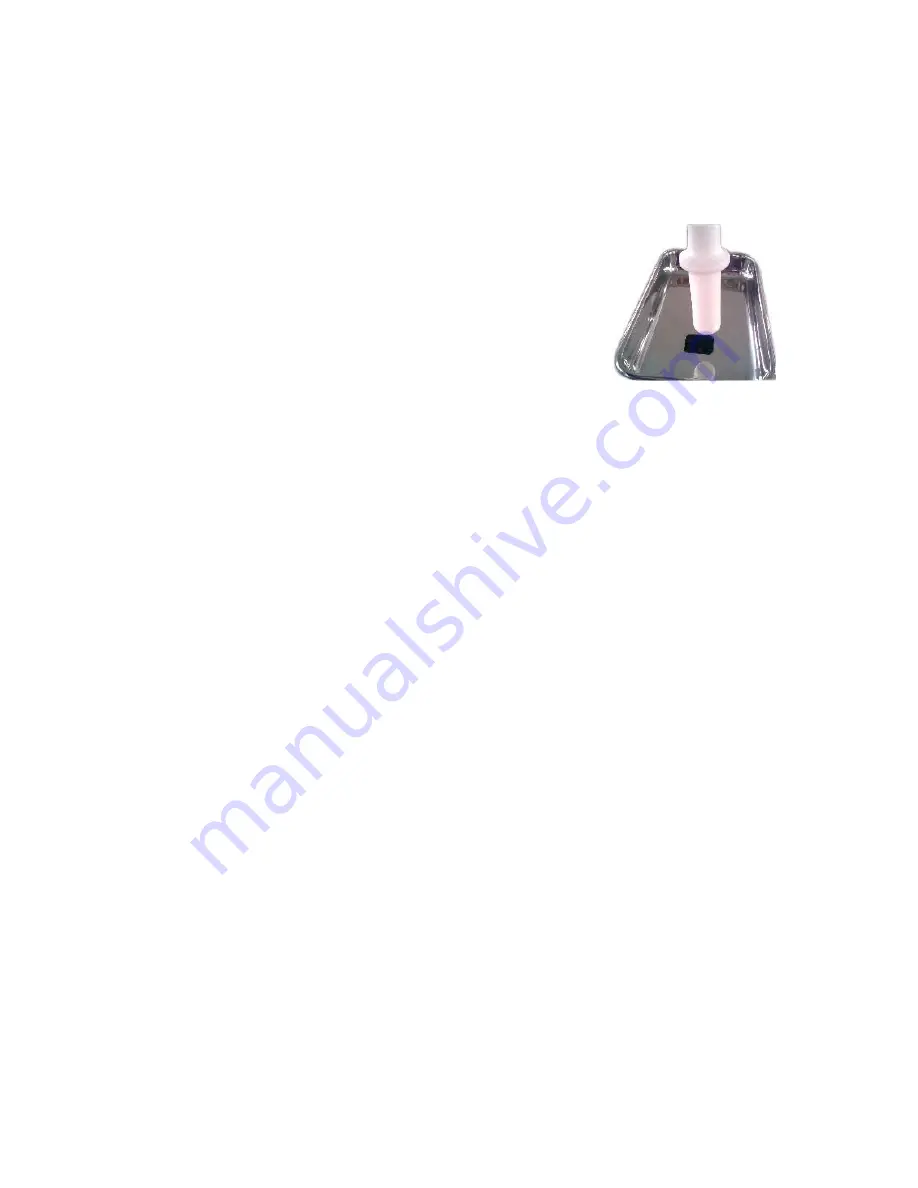
3. Raise the pestle;feed the meat into the
tube;Without forcing use the pestle to push
the meat into the opening.
4. If the meat suitably cut beforehand there should be no
problems with the screw feeder,however,if there are problems
tighten the lock nut until the meat is cut to desired size.
5. So both the disk and blade last longer and to maintain their sharpness in time:
- When all the meat has been minced turn off the appliance;
- Blade and disk must always be coupled.
6. Do not tighten the lock nut excessively;
7. Press the stop button when you have finished using the appliance, then strip the appliance and
thoroughly clean both the opening and all other components.
6
REGULAR CLEANING
6.1
GENERALITIES
The appliance clean must be cleaned at least once a day or if necessary more than once.
Scrupulously clean all the various components of the
GSM-50
and
GSM-100
whether they
come in direct contact with the food product or not.
Never clean the
GSM-50
and
GSM-100
with a pressurized water-jet, industrial cleaner, and
brushes or any other type of cleaning utensil that could damage the surface of the appliance.
Before cleaning you must
remove the electricity supply plug isolating the appliance
from the main power circuit.
6.2
PROCEDURE TO FOLLOW FOR CLEANING THE APPLIANCE
- remove the pestle and food tray;
- unscrew the lock nut: No.1 and remove the disk: No.2, blade No. 3, screw feeder No.4, unscrew in the
direction indicated by the arrow No.5.
- unscrew the knob and remove the mincer No.6, always in the direction indicated by the arrow.
Now all the components can be washed( see fig 6 )using warm water ( 50
℃
) and a neutral detergent.
To clean the main structure use a damp cloth remember to frequently rinse
The grater roller mounted on the
GSM-50
and
GSM-100
Should be brushed. Carefully clean the
punched holes. Make sure all the components are completely dry before remounting them.
N.B. to remount the
GSM-50
and
GSM-100
follows the above diagrams:
1) Mount the mincer block and block it in position using the knob; the pin on the knob must be inserted
into the opening No.7;
2) Insert the screw feeders No.4 into the mincer block make sure it is positioned correctly;
3) Mount the blade No.3 onto the square pin on the screw feeder and then mount the disk No.2


