


GK340 3
<-------------- PIANO 1 -------------->
t
u
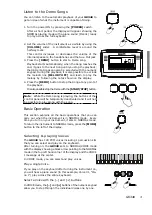
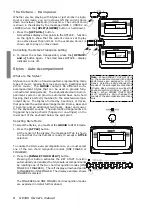
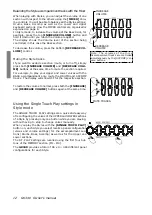
Listen to the Demo Songs
You can listen to the automatic playback of your
GK340
to
get an idea of what the instrument is capable of doing.
1. Turn the power ON by pressing the
[POWER]
switch.
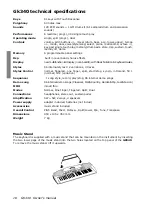
After a short period, the display will appear showing the
NORMAL playing mode with a piano sound (Piano1) ready
to play across the full keyboard.
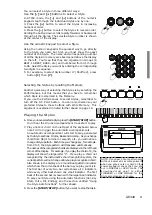
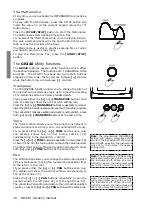
2. Set the volume of the instrument as a whole by using the
[VOLUME]
slider. A comfortable level is around the
halfway mark.
This control increases or decreases the volume of the
internal speakers, the headphones and the Aux. Out jack.
3. Press the
[DEMO]
button to start a Demo song.
4. Press the
[DEMO]
button to stop the Song at any point of
the playback.
It is also possible stop the Demo with the
[START/STOP]
button.
Note
: While the Demo song is playing, the buttons of the
control panel will be temporarily deactivated and it will not
be possible to play along with the song.
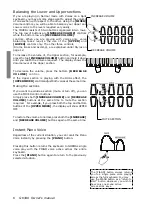
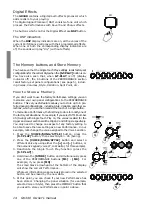
Basic Operation
This section explains all the basic operations that you can
carry out when the instrument is in NORMAL mode. Every
time you turn on your instrument, it sets to NORMAL mode.
To return the instrument to NORMAL mode, press the
[MODE]
button to the left of the display.
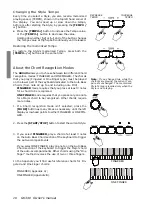
Selecting & playing Voices
The
GK340
has 129 PCM voices including 1 percussion kits
that you can select and play on the keyboard.
After turning on, the
GK340
sets to NORMAL/VOICE mode
with the display showing a black arrow pointing to the NORMAL
mode in the top left hand corner of the display and the VOICE
1 message at the center.
In VOICE mode, you can select and play voices.
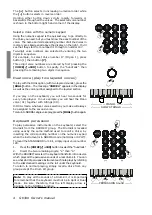
Play a single Voice
If you play on the keyboard after turning the instrument on,
you will hear a piano sound (in this example, Voice 01, Pia-
no 1) play across the entire keyboard.
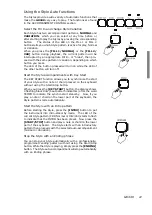
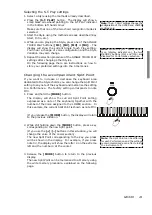
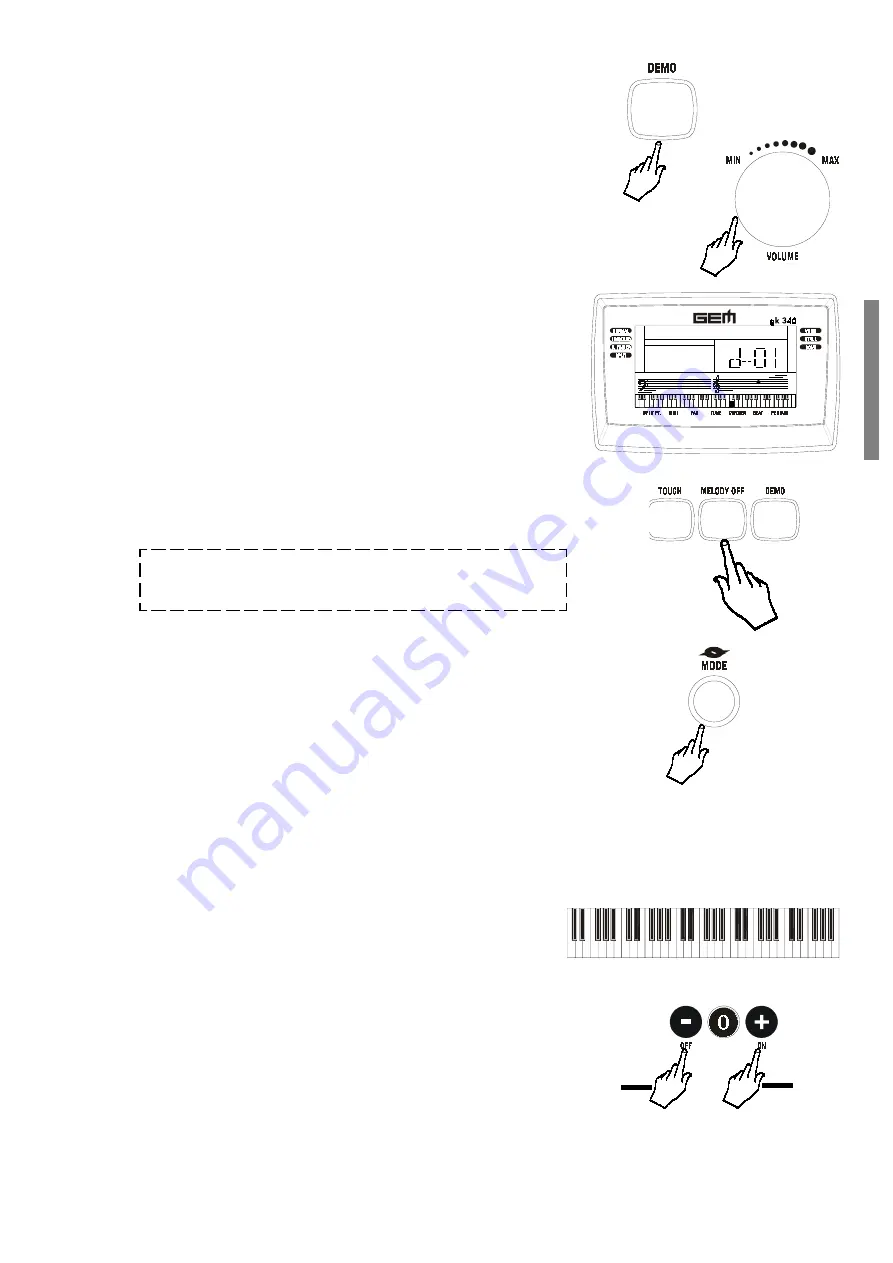
Select a Voice with the [] and [+] buttons
In VOICE mode, the
[]
and
[+]
buttons of the numeric keypad
allow you to step through the individual Voices one by one.
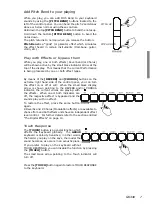
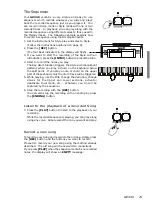
Playback starts automatically; when the Song reaches the
end, it goes to the next Song until you stop the playback;
the 96 Demo Songs can also be selected with the numeric
keypad. During the playback, it is also possible to exclude
the melodic line
[MELODY OFF]
and learn to play the
melody by following the notes shown on the display.