Generalmusic Promega 2 Page 23
Try setting different levels of reverb for each section. When youve finished, turn off the
REVERB SEND button to stop it flashing. This returns the instrument to normal mode.
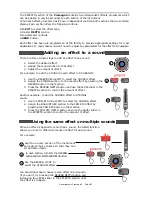
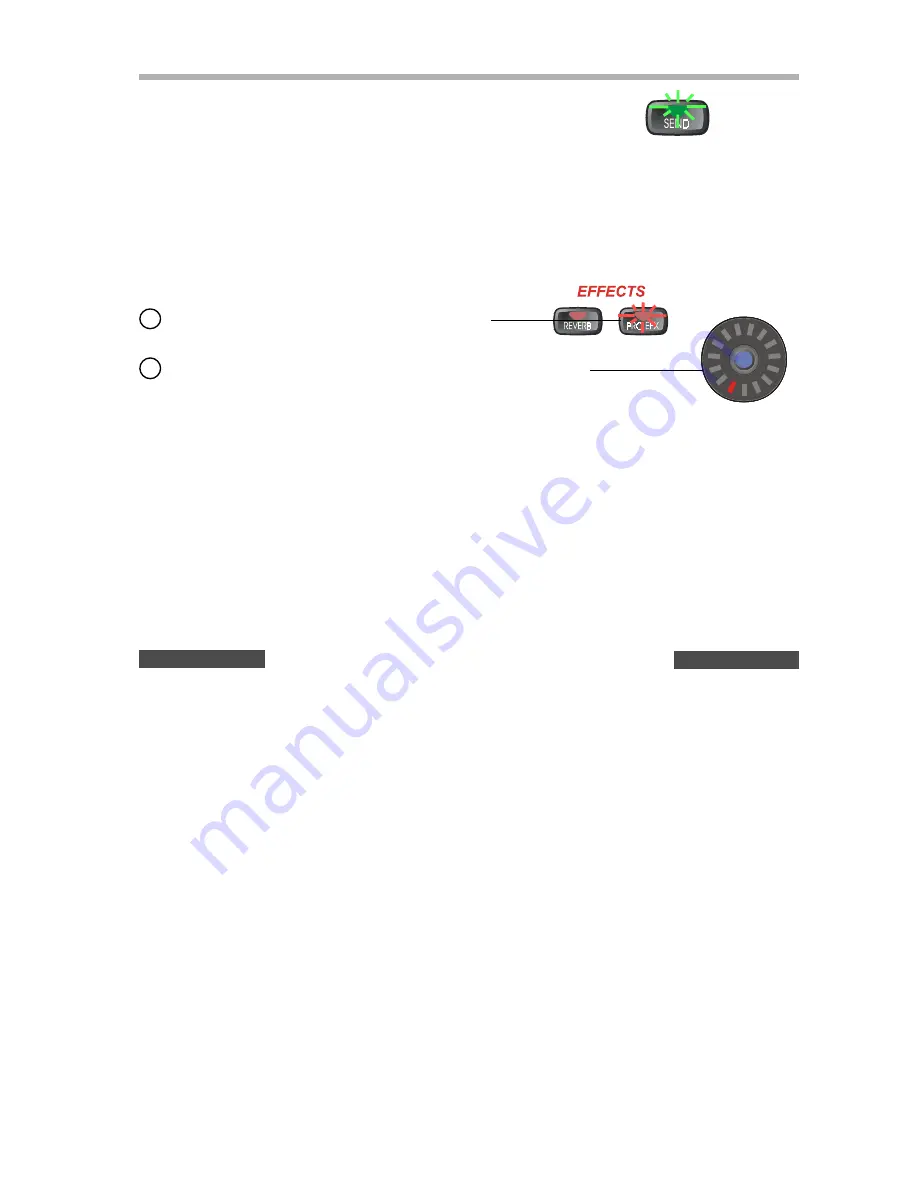
Lets take this example even further by adding a delay from the PRO EFX section.
Now press the REVERB SEND button, (it starts to flash). Youll notice
that the display in each section has changed. Each section is now
telling you how much reverb is being applied to it. Adjust the value of
each section to zero using their respective LEVEL sliders. You should
now hear no reverb at all.
J
J
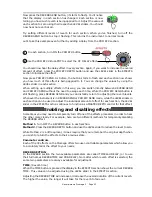
You should now hear the delay effect in every section. Again, if you want to increase the overall
amount of effect, press the PRO EFX DEPTH button and use the LEVEL slider in the EFFECTS
section to increase the effect.
Now press PRO EFX SEND. As before, the button starts to flash and each section now shows
you how much of this effect is being applied to it. You can change the values by using the
LEVEL slider in each section.
When setting up multiple effects in this way, you can switch directly between REVERB SEND
and PRO EFX SEND without the need to escape each time. While the PRO EFX SEND button is
still flashing, press REVERB SEND and you can instantly return to adjusting the reverb levels.
Whenever the instrument is in REVERB SEND or PRO EFX SEND mode, while the LEVEL sliders in
each section can be used to adjust the individual amount of effect for each section, the LEVEL
slider in the EFFECTS section continues to function as a MASTER DEPTH control for that effect.
In each section, turn ON the PRO EFX button
1
1
1
1
1
2
2
2
2
2
Enabling and disabling effects
Sometimes you may need to temporarily turn off one of the effects processors in order to hear
the other more clearly. For example, here are two different methods for temporarily disabling
the REVERB effect.
Method 1
. Turn OFF the REVERB button in each section.
Method 2
. Press the REVERB DEPTH button and use the LEVEL slider to reduce the level to zero.
While Method 2 is a little quicker, it does require that you remember the original depth when
you wish to return the effects to their previous state.
Parameter controls
Each of the 30 effects on the Promega offers two user-controllable parameters which allow you
to accurately tailor the effect to your needs.
REVERB SECTION
In the REVERB section the two available parameters are called TIME and DELAY, (or to use
their full names REVERB TIME and PRE-DELAY). No matter which reverb effect is selected, the
same two parameters are always available for adjustment.
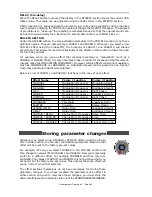
TIME
, (Reverb time)
When the TIME button is pressed the display in the EFFECTS section shows the current REVERB
TIME. This value can be adjusted using the LEVEL slider in the EFFECTS section.
Adjusting the REVERB TIME will increase or decrease the overall duration of the current reverb.
The higher the value, the longer it will take for the reverb to fade out.
Use the PRO EFX Virtual-POT to select the ST. DELAY effect


