


16
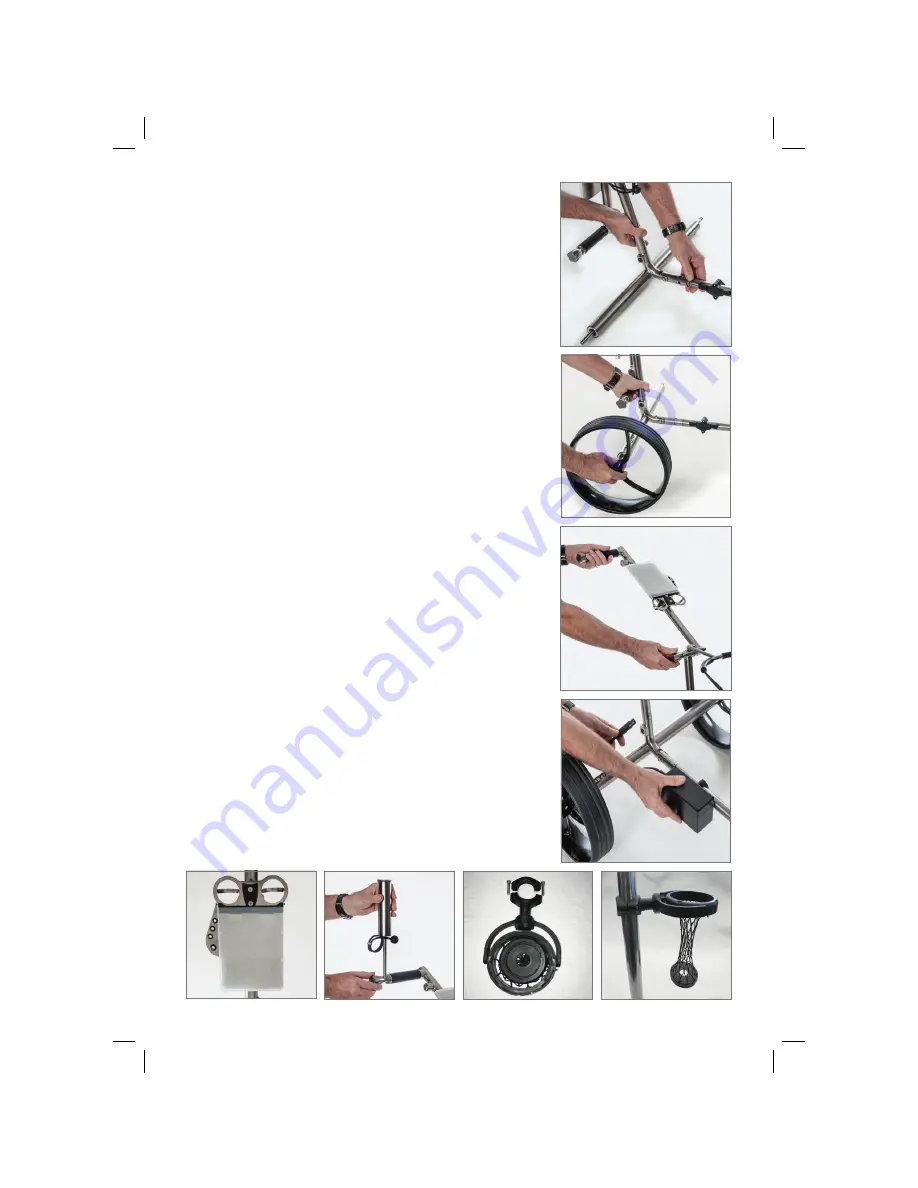
Assembling the trolley:
■
Fit the longitudinal axis to the drive axis (Fig. 1).
■
Fit the drive (rear) wheels: Push in the pin on the
wheel hub and click the wheel into place (Fig. 2).
Important:
Click once = freewheel mode (smooth
manual operation). Click twice = motor mode. Ensure
that both wheels have been correctly fitted by liste-
ning for the number of clicks. The tire profiles should
face the direction of travel (like front wheel) (Fig. 2).
■
Attach the caddy frame and adjust to desired height
(Fig. 3).
■
Lower bag rest: Lift and turn in the direction of travel.
■
Upper bag rest: Click into desired position and secure.
■
Insert the battery into the holder and plug in the
cable (Fig. 4).
■
Scorecard holder: Screw onto the caddy frame.
Tighten the screws using the Allen key (Fig. 5).
■
Umbrella holder: Fix to the handle in the desired
position using the locking screw (Fig. 6).
■
Beverage holder: Screw on to the caddy frame.
Tighten the screws using the Allen key (Fig. 7+ 8).
■
Place your golf bag on the trolley and secure it
to the two holders using the elastic strap.
Initial start-up
1
2
3
4
5
6
7
8
User Manual_Genius 2020_Print.indd 16
User Manual_Genius 2020_Print.indd 16
23.12.19 18:36
23.12.19 18:36


