Beamage Series User Manual
Revision 9.0
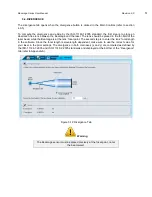
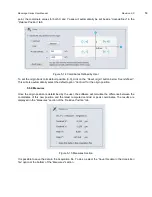
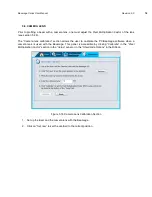
55
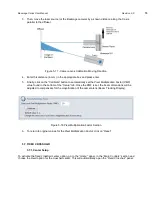
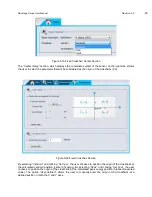
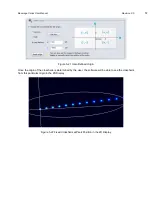
3. Then, move the laser source (or the Beamage camera) by a known distance along the X axis,
parallel to the diffuser.
Figure 5-17 - Camera Lens Calibration Moving Direction
4. Enter this distance (in mm) in the appropriate box and press enter.
5.
Finally, click on the “Calibrate” button to automatically set the
Pixel Multiplication Factor (PMF)
value
found in the bottom of the “
Setup
” tab. Once the PMF is set, the beam dimensions will be
adjusted to compensate for the magnification of the camera lens (Beam Tracking Display).
Figure 5-18 Pixel Multiplication Factor Section
6. To return to original values for the
Pixel Multiplication Factor
, click on “
Reset
”
5.7. FIXED CROSSHAIR
5.7.1. Center Setup
To activate the fixed crosshair center option, go to the
“
Home
” panel, in the “
Main Controls
” section and
choose the
Fixed
option for the crosshair center. This will automatically open the
“
Fixed Crosshair
”
panel.

