10
3.4.8 Connecting to a Datalogger using LogView
1)
With a Datalogger profile configured and selected in the Project Explorer (see Figure
9 above), click on the “
Open Connect
” button on the LogView Toolbar.
2)
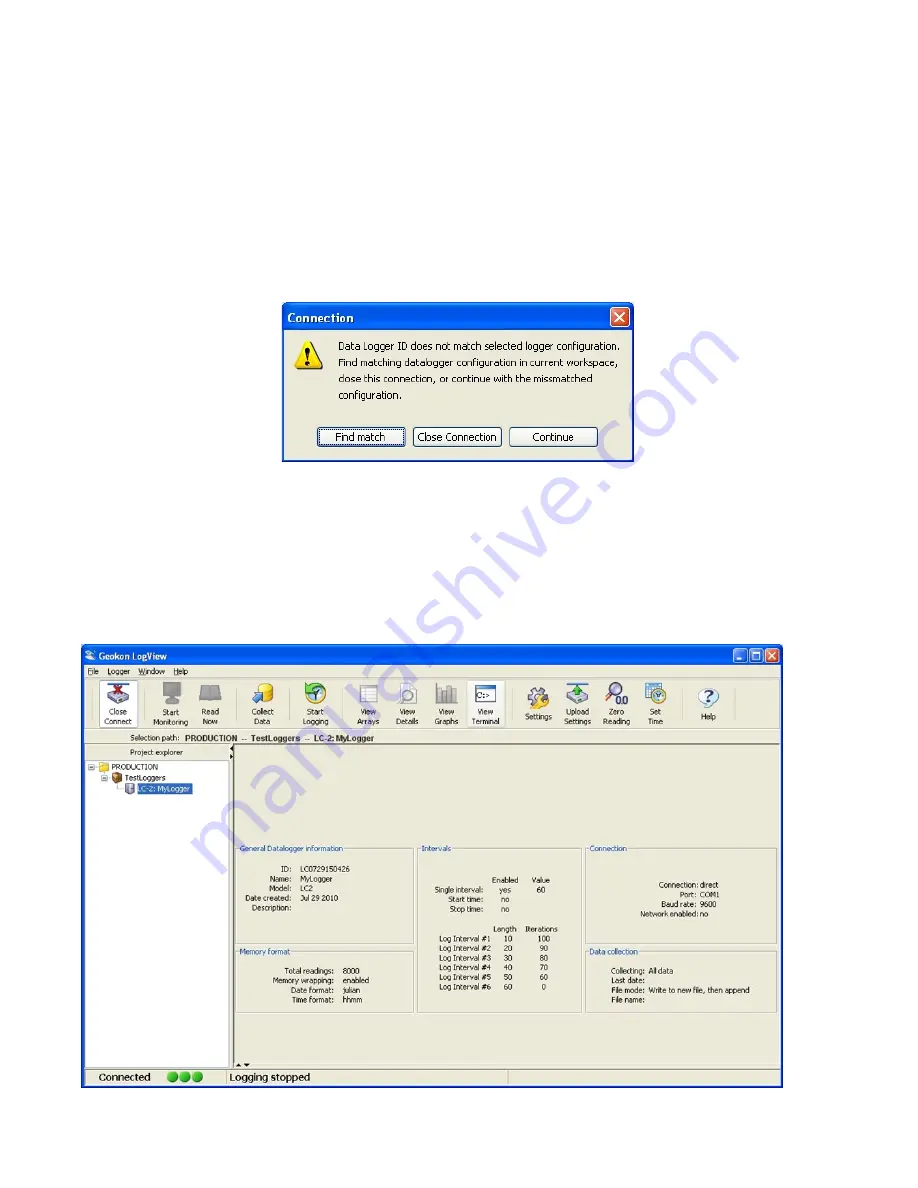
When connecting to a new datalogger for the first time, the message shown in Figure
10 may be displayed after a few seconds. This is normal and is only an indication that
the datalogger does not match the configuration created in the Project Explorer. Click
on “Continue” to finish connecting to the datalogger.
Figure 10 - Datalogger Connection Mismatch
3)
Click on the “
Upload Settings
” button on the LogView Toolbar to synchronize the
datalogger with the LogView configuration (see Figure 11).
4)
LogView is now connected and configured correctly for the LC-2 datalogger. Sensors
can now be added to the datalogger in a similar fashion as adding Dataloggers to
Projects. Sensor settings are accessed via the context menu from the Project Explorer.
Figure 11 - Datalogger Connected


