2.
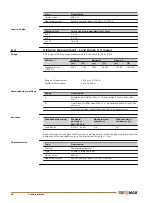
Using the tribrach footscrews, level the instrument with the electronic level.
3.
Access the electronic level and laser plummet by using the key-combination <FNC>
+<.> or by starting GeoMax Toolkit and go to MAIN MENU screen and select
Level.
4.
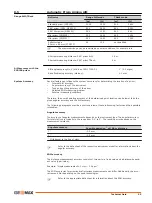
The laser plummet is switched on automatically when the Level up screen is
entered. Adjust the laser plummet intensity. Inspection of the laser plummet should
be carried out on a bright, smooth and horizontal surface, like a sheet of paper.
5.
Mark the centre of the red dot on the ground.
6.
Turn the instrument through 360° slowly, carefully observing the movement of the
red laser dot.
☞
The maximum diameter of the circular movement described by the centre of the
laser point must not exceed 3 mm at a distance of 1.5 m.
7.
If the centre of the laser dot describes a perceptible circular movement, or moves
more than 3 mm away from the point which was first marked, an adjustment may
be required. Inform your nearest GeoMax authorised service workshop. Depending
on brightness and surface, the diameter of the laser dot can vary. At 1.5 m, it is
about 2.5 mm.
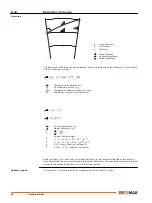
6.2.7
Servicing the Tripod
1
2
3
1.
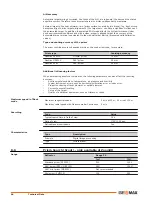
Tighten the leg cap screws moderately with the allen key supplied.
2.
Tighten the articulated joints on the tripod head just enough to keep the tripod legs
open when lifting the tripod off the ground.
3.
Tighten the screws of the tripod legs.
☞
The connections between metal and timber components must always be firm and
tight.
6.3
Format
Formatting deletes all formats, firmware and languages. All settings are reset to default.
1.
Select Apps from the MAIN MENU.
2.
Select Format from the APPS menu.
Before selecting Format, to format the System, ensure that all important data is first transfer-
red to a computer. Keys, uploaded firmware and languages are deleted by formatting.
Service the tripod
step-by-step
Description
Access
☞
Apps
49


