19
All the elements are on the same table away from any
source of interference (television, portable phones, etc.)
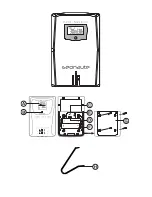
1. Place the batteries into the sensor according to the indi-
cated orientation. Check that information is displayed on
the sensor screen.
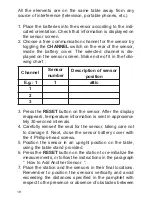
2. Choose a free communication channel for the sensor by
toggling the
CHANNEL
switch on the rear of the sensor,
inside the battery cover. The selected channel is dis-
played on the sensor screen. Make note of it in the follo-
wing chart :
3. Press the
RESET
button on the sensor. After the display
reappears, temperature information is sent in approxima-
tely 30-second intervals.
4. Carefully reinsert the seal for the sensor, taking care not
to damage it. Next, close the sensor battery cover with
the 4 Phillips-head screws.
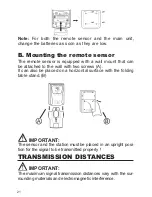
5. Position the sensor in an upright position on the table,
using the table stand provided.
6. Press the
RESET
button on the station to re-initialize the
measurements, or follow the instructions in the paragraph
“ How to Add Another Sensor ”.
7. Place the station and the sensors in their final locations.
Remember to position the sensors vertically and avoid
exceeding the distances specified in the pamphlet with
respect to the presence or absence of obstacles between
Channel
Sensor
number
Description of sensor
position
attic
E.g.: 1
1
2
3
1

