9
SHOCKS
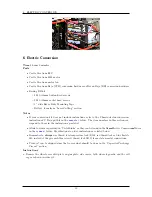
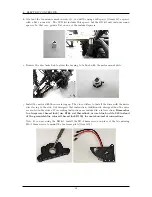
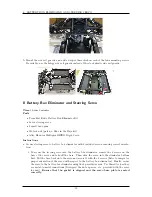
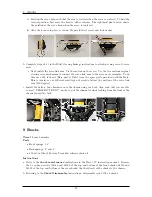
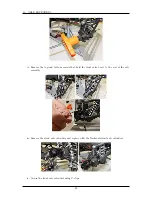
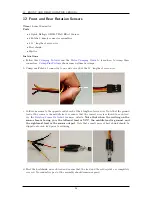
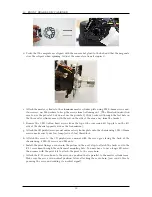
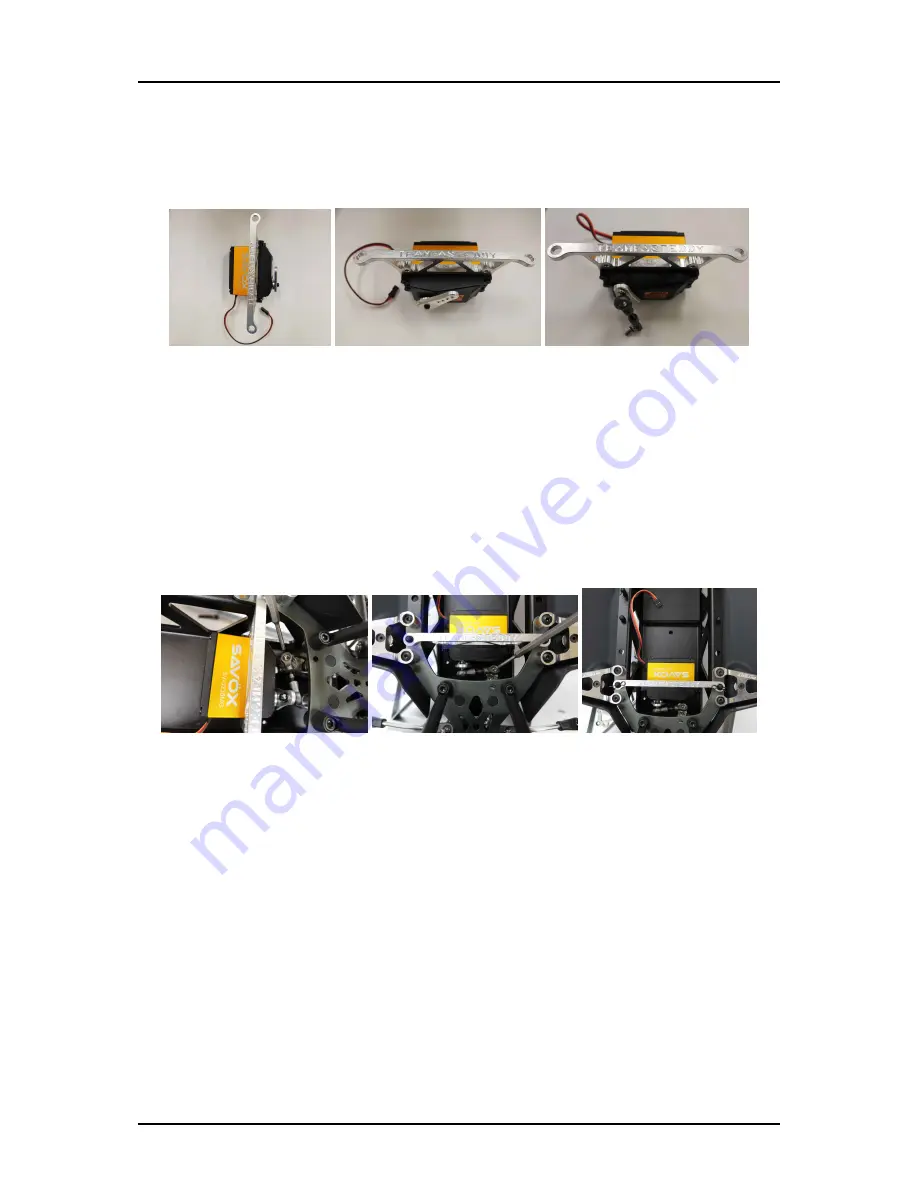
ii. Position the servo horn such that the arm is vertical when the servo is centered. To find the
vertical position, first move the horn to either extreme. The rightmost photo below shows
the position of the servo horn when the servo is centered.
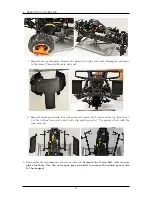
iii. After the horn is in place, screw on the provided set screw and lock washer.
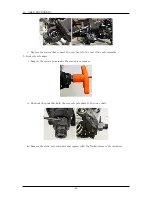
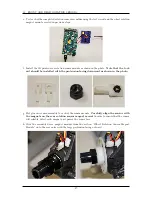
b. Complete steps 14-15 in the Billet Steering Linkage instructions to attach steering servo to servo
saver
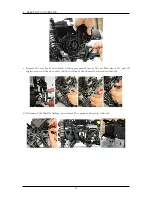
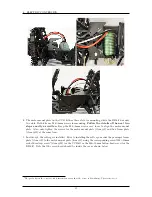
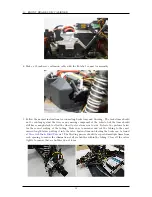
i. Next, install the servo link arm. Use thread lock on the screw. Use the tie arm from original
steering servo mechanism to connect the servo link arm to the servo saver assembly. To do
this use a M3 lock nut (Baja part # Z663) from the spare parts provided with the Baja.
This is crucial as any different sized lock nut would obstruct the motion of the servo link
arm (180 degrees).
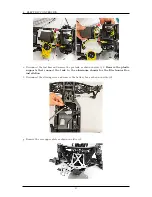
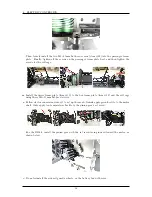
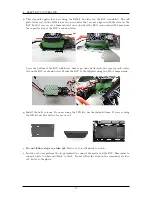
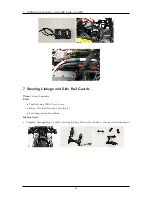
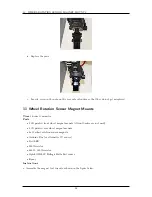
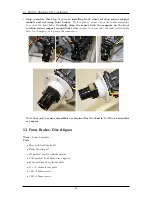
c. Install the battery box eliminator onto the chassis using two body clips, such that you are able
to read “TEAM FAST EDDY” on the top of the eliminator when looking from the front of the
chassis toward the back.
9 Shocks
Time
2 hours 0 minutes
Parts
•
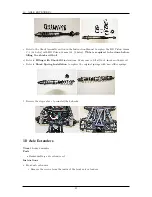
Front springs: 5.8”
•
Back springs: 2” and 4”
•
2 59 ml bottles of Factory Team 60w silicone shock oil
Instructions
a. Refer to the
shock maintenance
instructions in the Baja 5SC instruction manual. Remove
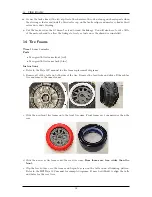
the 2 cap head screws (94510 and 94520 at the top and bottom of the front shocks; 94510 and
94512 at the top and bottom of the rear shocks) that hold each of the shocks to the chassis.
b. Referring to the
Shock Disassembly
instructions, disassemble each of the 4 shocks.
20
Summary of Contents for AutoRally
Page 1: ...AutoRally Chassis Instructions Version 1 4 June 2018 Georgia Institute of Technology...
Page 2: ......
Page 79: ...27 APPENDIX A PARTS Futaba FUTM1725 Charger for Futaba 4PV Glitch Capacitor GPS antenna 75...
Page 80: ...27 APPENDIX A PARTS GPS antenna cable GPS box fan Hallogic OH090U Hall Effect sensors 76...
Page 88: ...27 APPENDIX A PARTS 1 M3 4mm screw 27 7 3 GPS Box 8 M3 8mm screws 4 M3 hex nuts 84...
Page 89: ...27 APPENDIX A PARTS 2 M1 4 fan screws 2 M1 4 fan nuts 2 M3 25mm screws 85...
Page 92: ......

