First steps
Geotab will have sent you an email confirmation of your installation. Open the email and
follow the included link to log in and view your Geotab GO Device from the web.
Note: Remember that your company name entered in the previous steps is your database name.
You will use this information when you log in.
1. Add your vehicle:
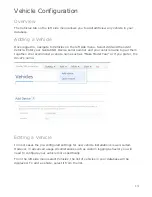
Once logged in, navigate to
Vehicles
from the left hand side options. Now, select
Add
and then
Add Vehicle
. You will be asked to name your vehicle and for your Geotab GO
Device serial number to pair them together. We recommend a vehicle name such as
“Make Model Year” or if you prefer, the driver’s name.
2. Go for a drive:
The best way to see all the great features available to you is by taking your Geotab
GO Device out on its first trip.
3. View your trip:
Log back in to Geotab, select
Maps
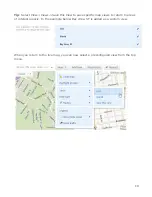
on the left hand side options. Choose your vehicle,
the map will now show its current location. Select
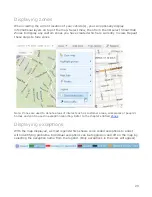
Trips History
to see where the
vehicle traveled today.
Where to learn more
●
Attend one of Geotab’s free online training events by contacting your authorized
Geotab reseller to register.
●
Visit our online technical support community which is available 24/7. Visit the
to post your questions, read commonly asked questions and get help from
experienced IT professional focused exclusively on Geotab products.
●
Learn more about specific features and benefits by watching online training videos
on YouTube. These short, 2-3 minute videos walk you through some of the most
important topics to allow you to take full advantage of Geotab. Visit our channel at
http://www.youtube.com/mygeotab
.
Supported browsers
As Geotab continues to innovate, many modern features of the web are integrated into
our products. In order use all the advanced functionality on MyGeotab, a modern browser
is required.
11


