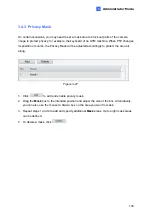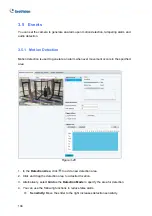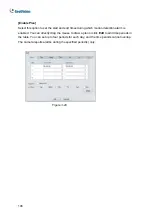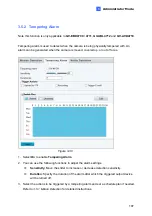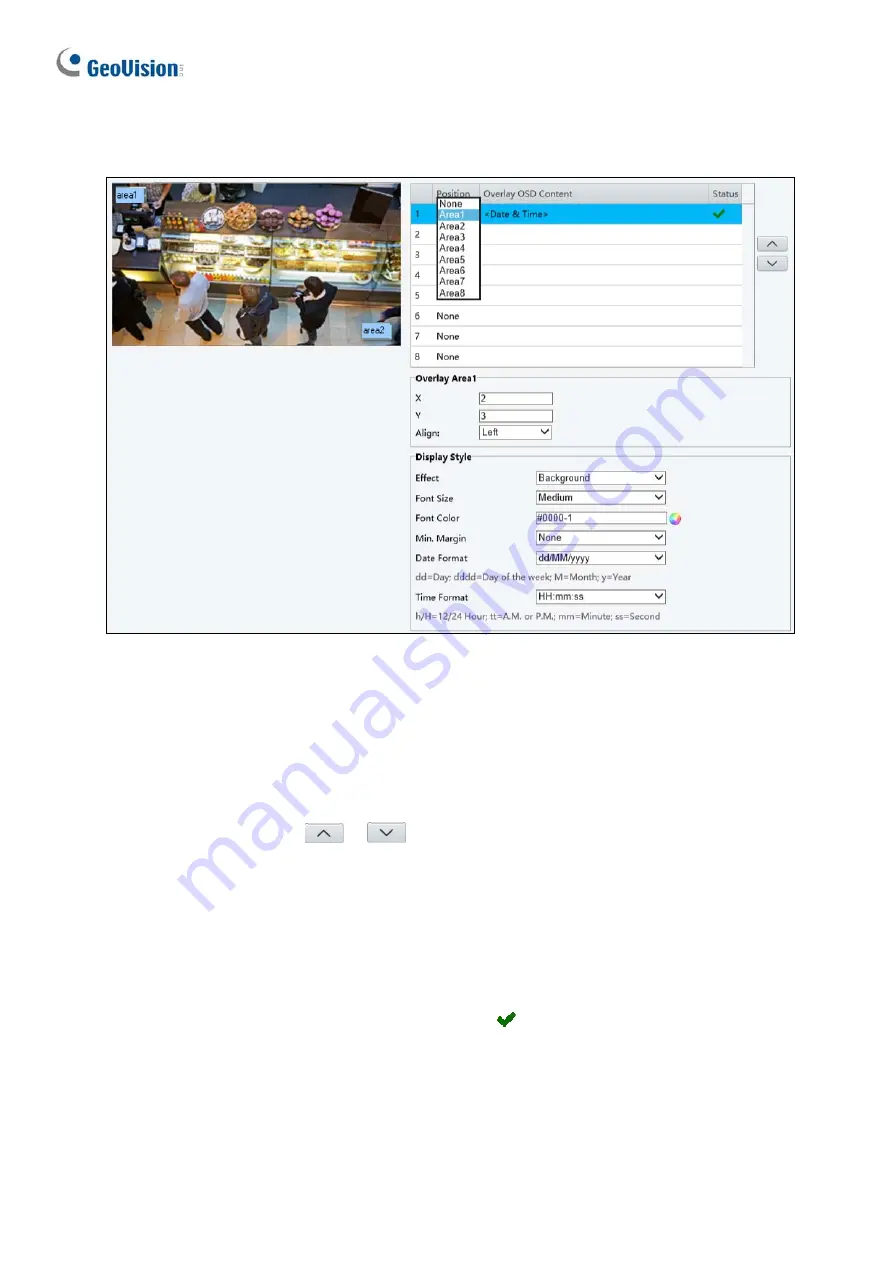
3.4.2.2 For GV-EBD2702
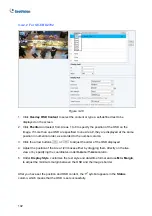
Figure 3-26
1. Click
Overlay OSD Content
to select the content or type a self-defined text to be
displayed on the screen.
2. Click
Position
and select from Areas 1 to 8 to specify the position of the OSD on the
image. If more than one OSD are specified to one Area #, they are displayed at the same
position in numerical order, as accorded to the number column.
3. Click the arrow buttons
or
to adjust the order of the OSD displayed.
4. Adjust the position of the Area 1/2/3 boxes either by dragging them directly on the live
view or by specifying the coordinates under
X-Axis
/
Y-Axis
column.
5. Under
Display Style
, customize the text style and date/time format and use
Min. Margin
,
to adjust the minimum margin between the OSD and the image’s border.
After you have set the position and OSD content, the
symbol appears in the
Status
column, which means that the OSD is set successfully.
102

