

P.5
P.4
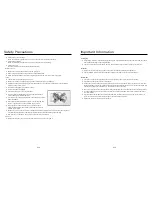
安全注意事項
●
臭氧洩露!
在工作程式結束前請勿強行打開消毒櫃門,以免臭氧洩漏。
●
燙傷危險!
在工作程式結束前請勿強行打開消毒櫃門,以免燙手。
●
火災危險!
請勿將易燃物品放入消毒櫃內。
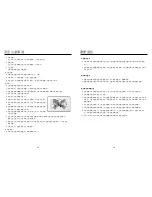
首次使用前:
●
請確認消毒櫃的 4顆安裝螺釘已經擰入到位、可靠。
●
打開櫃門,去除所有籃架、滑輪上的固定紮線。
●
首次使用(或長時間未使用後再次使用),應取出所有碗籃,用清水進行清洗。
使用時:
●
必須確保電源插座的接地極有效接地。
●
關好櫃門後,才能使用消毒櫃,否則有臭氧洩漏或紫外線輻射。
●
請勿讓兒童或身體虛弱的人操作使用消毒櫃,否則容易導致燙傷、觸電或其他意外發生。
●
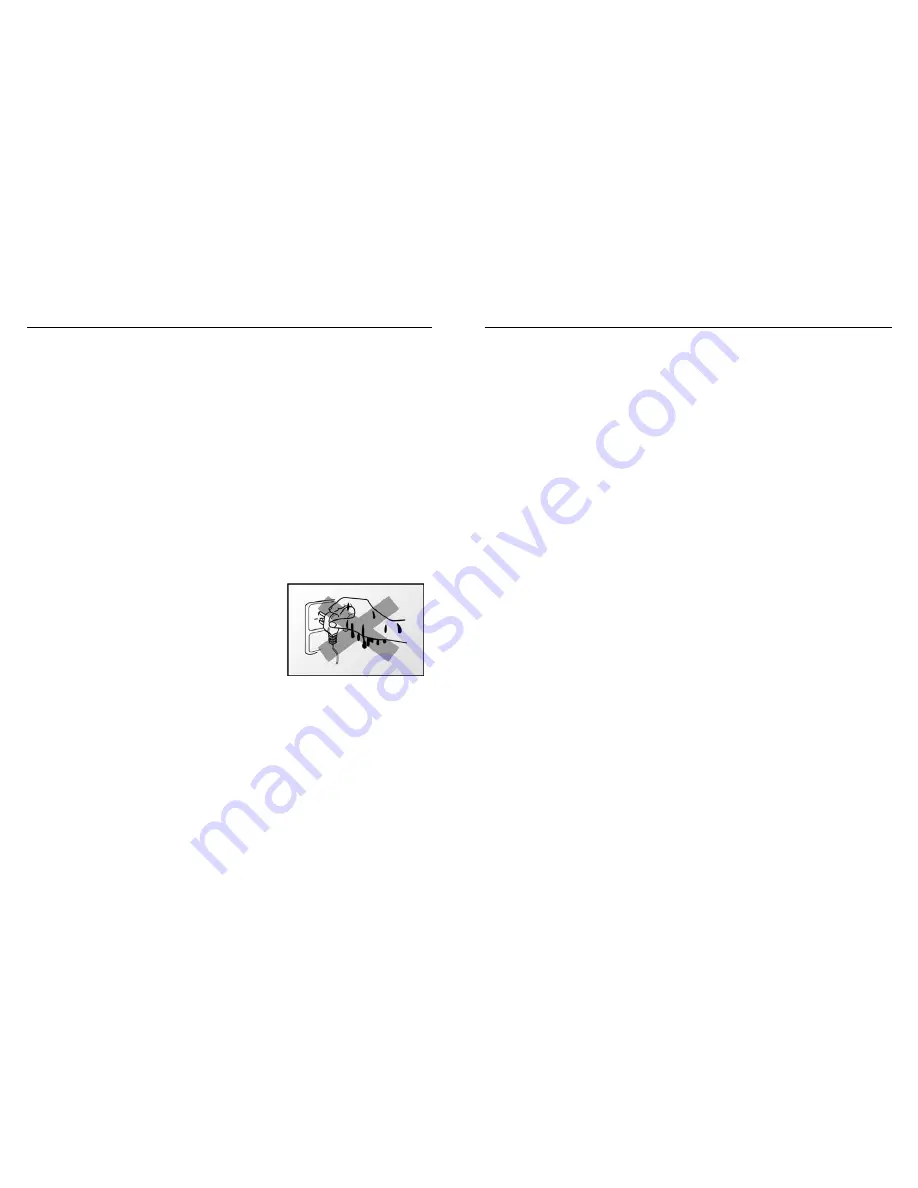
請勿用濕手插上或拔出電源插頭。
●
請勿用力拽拉電線拔出插頭。
●
請勿將小型物件放在筷叉網籃以外的區域,防止掉落下層。
●
請勿將塑膠食具放入消毒櫃的下層,防止光波輻射高溫損壞
食具。
●
因塑膠製品成分的複雜性,僅可將適用於微波爐的耐高溫塑
膠食具放入消毒櫃上層進行消毒。
●
如在使用過程中發現臭氧洩漏,應馬上停止使用,通知專業
人員進行維修。
●
如在使用過程中發現可以不經過任何透光物體(如玻璃等)直接看到紫外線光管發出的光線時,
應馬上停止使用,並通知專業人員進行維修。
●
應把食具上的水倒淨後才能放進櫃內,在消毒櫃工作結束20分鐘後才能打開櫃門,以免臭氧洩
漏或燙傷。
●
不得把毛巾、鞋等非食具放入消毒櫃內。
使用完畢後:
●
如果您長期不使用消毒櫃時,應將電源插頭拔下。
重要資訊
新電器的包裝
●
所有的包裝材料都是環保的和可回收的。請以環保的態度處置這些包裝材料以保持一個良好的環
境。
●
請勿讓兒童玩耍塑膠薄膜和包裝箱,這可能會產生窒息事故,所以請讓包裝材料遠離兒童,包裝材
料不是玩具。
舊電器的處理
●
當舊的消毒櫃無法再使用時就應丟棄它。拔下電源線插頭,剪斷電源線。
●
舊的消毒櫃中包含可再利用的有用材料。請協助正確處理或回收利用而對環境保護作出貢獻。
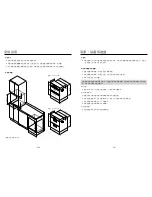
使用新的消毒櫃之前
●
該消毒櫃是專為家庭廚房使用設計的,所以它只能使用於家庭廚房,且不可用於其他目的。
●
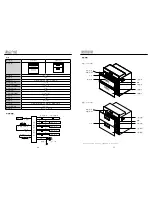
該消毒櫃的安裝方式是嵌入式安裝。
●
請仔細閱讀隨機附帶的文件,它們包括重要的機器安裝、使用以及安全說明。同時請妥善保管好所
有文件,以便今後查閱或轉交給下一位機器的使用者。當不遵守這些說明出現問題時,我司亦不承
擔任何責任。
●
為了確保您能正確地、安全地使用消毒櫃,請同時仔細閱讀您所購買灶具的使用說明書。
●
如果發現消毒櫃有明顯的損壞,請勿通電。請您立即與當地的客戶服務中心或經銷商聯繫。
●
只有經過專業培訓的,並具有維修資質的維修人員,才能對該消毒櫃進行維修。其他人員未經允
許,不得擅自拆開消毒櫃進行維修,以免造成嚴重後果。
●
作為一個使用者,您對家中使用的消毒櫃負有保養和正確使用的責任。
Summary of Contents for DSR-409BK
Page 3: ...P 5 P 4 4 20...


