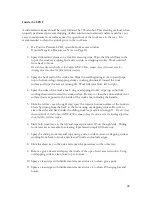
Light Bulb Replacement
The “T-8” fluorescent bulb used in the LFGI can be purchased at any hardware store.
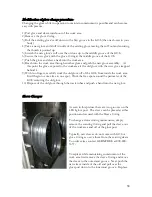
1. Make sure the light switch is turned off.
2. Remove the external bolts that hold the housing to the outside of the viewing panel.
3. Check to make sure that the problem isn't something so simple as a poor contact. This
can usually be corrected by giving the bulb a gentle turn a few degrees and then back to
the lock position.
4. Hold the old bulb firmly at one end, and rotate it one quarter-turn clockwise. This
should put the end prongs in line with the loading slot.
5. Slide the bulb free.
6. Lower the end of the bulb carefully out of the socket. When one end is free, pull slightly
and the other end should come out also.
7. Set the old bulb aside and lift a new bulb into the fixture.
8. Hold the bulb horizontally, and rotate the new bulb until the prongs on each end are
lined up with the grooves in the socket.
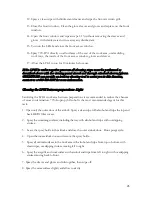
9. Insert the prongs in the socket and rotate the bulb a quarter-turn in a counterclockwise
direction. The bulb should click into place on each end.
10. Test the light at the switch. If the light still doesn't come on you may need to replace the
ballast. Contact GERMFREE @ 800-888-5357 for this replacement part.
11. Replace the light housing and secure the bolts.
30
Summary of Contents for LFGI-3USP
Page 1: ...Laminar Flow LFGI CAI or CACI User Manual ...
Page 33: ...33 ...
Page 51: ...SECTION IV UNIT DIAGRAM Made in the USA and available for purchase on the GSA 51 ...
Page 55: ...55 ...
Page 59: ...59 ...
Page 63: ...Fig 2 Air recycle plenum connection tip removed 63 ...
Page 85: ... 863 248 2800 www sensocon com 20 Installation and Operation Manual Series A3 A4 ...


