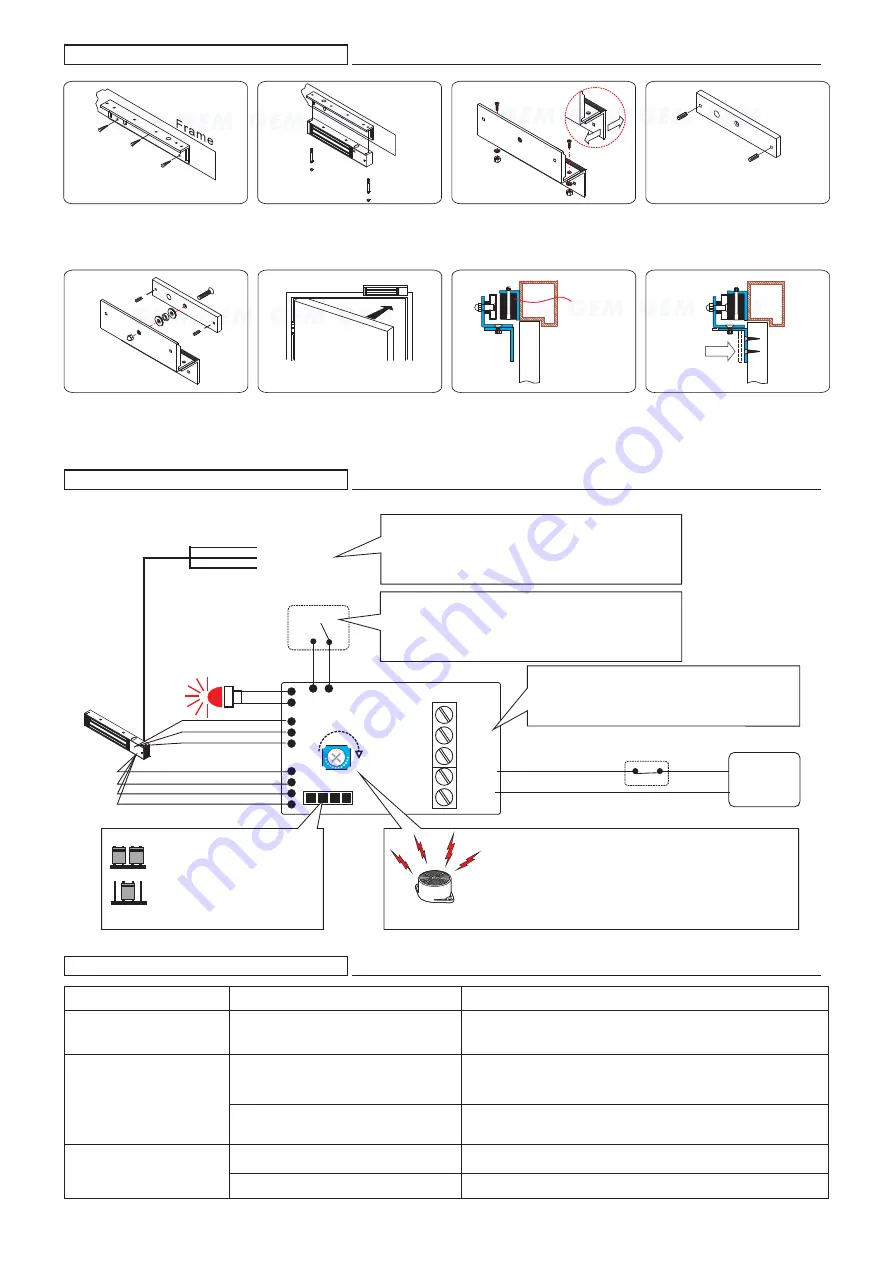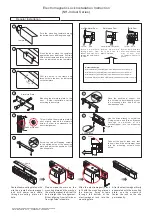
With LZ bracket for In-swinging doors
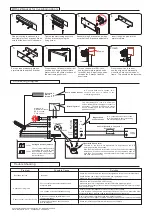
Connecting Diagram
+
+
-
-
N.O.
COM.
N.C.
Power
Input
Power
supply
Trigger
SPDT
relay
3A@12VDC
Status LED:
GREEN: Unlocked
RED : Locked
Off: No power
Coil
Sensor input
Timer Adjust
Shorten
12Vdc
24Vdc
Voltage Selection jumpers
Check jumper settings before
connecting the lock to 24 VDC
input power. Damage to the
lock may result from incorrect
jumper settings.
N.C. output while door is unlocked ;
N.O. Output while door is locked by
the electromagnetic lock.
Magnet bond
sensor output
Control Device N.C. contact or
Access Relay
Door Held Open Alarm
"Door Held Open Alarm
Door Held Open Alarm
"
"
If the "
timer is set for 5 seconds, the following
will happen: If the door has been opened , but has remained open for
more than 5 seconds then an audible alarm will sound until the door
has been closed correctly.
The time for the
is depending on the "VR
timer adjust"within 90 seconds..
The electromagnetic lock will automatic
unlock internally after the triggers connect to
each other. The time for the door to relock
back is depending on the "VR timer adjust"
within90 seconds.
N.C. output while door is opened ; N.O.
output while door is closed to the
electromagnetic lock.
Relocking timer
Door Position Sensor
N.O.
Com.
N.C.
Orange:
White:
Brown:
Problem
Possible Cause
Solution
Door does not lock
No power
Poor contact between electromagnet and
armature plate
Low voltage or incorrect voltage setting
A secondary diode was installed across
the electromagnet
Misalignment between the reed switch
and its magnet
Check to make sure the wires are securely tightened to the correct terminal block
Check that the power supply is connected and operating properly
Make sure the lock switch is wired correctly
Make sure the lock switch is wired correctly.
Make sure the contact surfaces of the electromagnet and armature plate are clean
and free from dust
Check the installation of armature with supplied template.
Make sure the electromagnet and armature plate are properly aligned
Ensure the electromagnetic lock is set for the correct voltage.
Check for proper voltage at the electromagnetic locks input. If low, determine if the
correct wire gauge is being used to prevent excessive voltage drop.
Remove any diode installed across the magnet for "spike"
suppression. (The magnet is fitted with a metal oxide varistor to prevent back EMF)
Reduced holding force
Sensor output is not functioning
Trouble Shooting
2
Tighten the electromagnetic lock
on the L bracket by using the
fixing screw.
1
Find a mounting location on the
door frame for the L bracket. Make
sure that the door is still closeable.
6
Close the door. Measure the correct
position by bringing the armature
plate close to the contact surface of
the electromagnetic lock.
7
Turn on the power of EM-Lock,
and let the armature plate bonds
to the EM-lock. Adjust the position
between the Z bracket and the
door frame.
Finish
Once the position is correct,
use the screws to permanently
mount the Z bracket on the door
frame. This should be the last step.
4
Insert the guide pins into the
armature plate.
5
Put one rubber washer between
armature plate and the Z bracket.
3
Assemble the Z bracket, and make
sure that the Z bracket is adjustable.
Power
Copyright © 2008 Gianni industries, inc. All rights reserved.
Published on 2008.06.19
P-MU-AM-EM-N Ver. F


