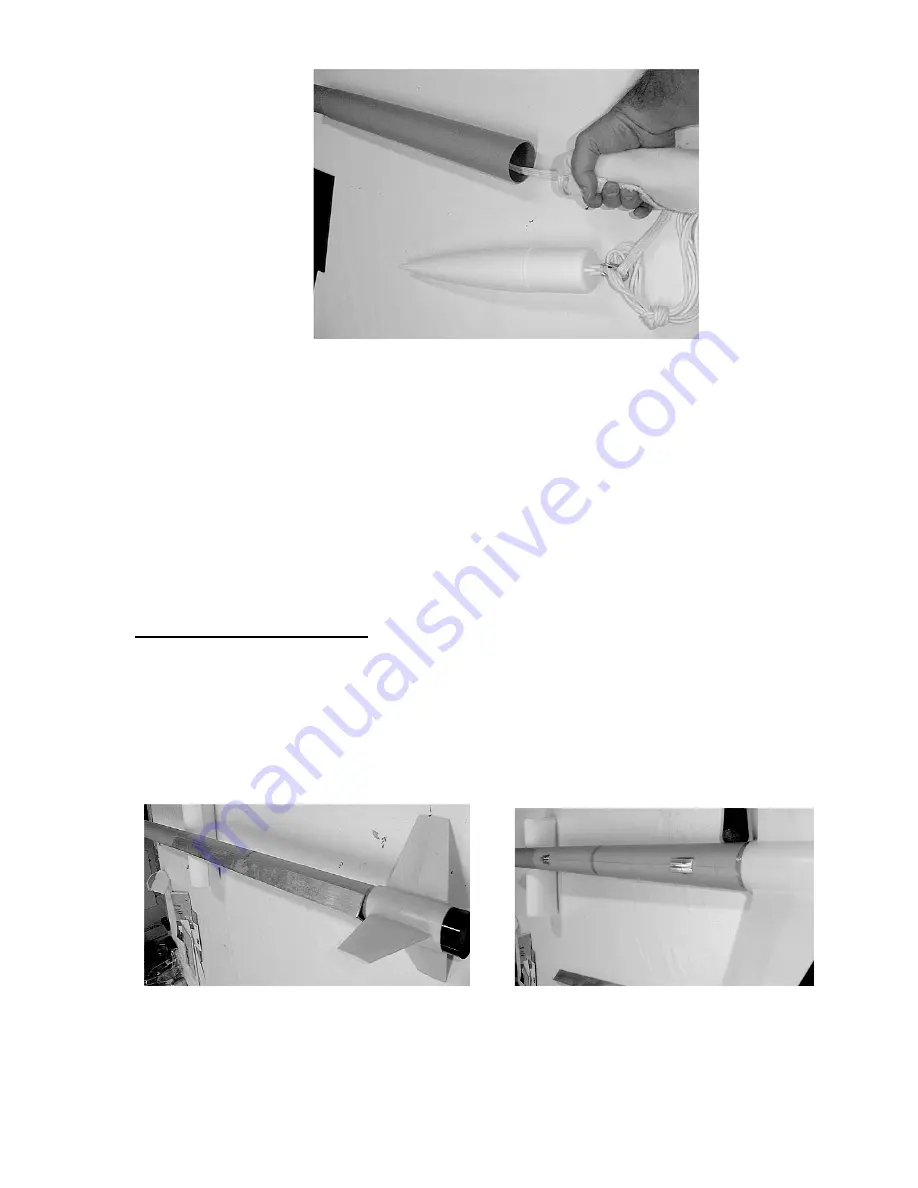
NOTE: This rocket can be used in a
single-deployment mode
, where the main chute deploys at
apogee, and there is no drogue. In this configuration, you must install the main chute in the drogue
compartment. You must also secure the nosecone for flight using our plastic rivets for a tight friction
fit, or some other method so that the nosecone does not come off during ejection. In this configuration,
the main is deployed with either motor ejection or with electronics in the avionics bay. Remember,
with motor ejection, the heat comes from the aft end of the rocket, while with avionics deployment, it
comes from the forward section. So you must position the heat pad such that it protects the main chute
from scorching.
Attaching the Rail Guides
Installation shown for Firestorm 54, but application is the same for the your kit.
The rail guides get attached only to the booster section of the rocket. Begin by marking a line along
the length of the booster section. Angle aluminum (1” by 1”) is particularly helpful because when laid
on a tube, it allows one to mark a straight line (below left). You may want to make it a permanent part
of your rocket toolbox. Make sure that the line is between two of the fins, otherwise the fins will
interfere with the rail.
Measuring from base of the rocket to base of guide, place one guide about 11” up from the aft end of
the rocket and the other about 32”. Then trace each guide on the airframe. Remove guides.
Sand the attachment points on the airframe as well as the rail guides for good adhesion. Mix J.B.Weld
and attach rail guides (above right). While curing, check them periodically to ensure that they have not


