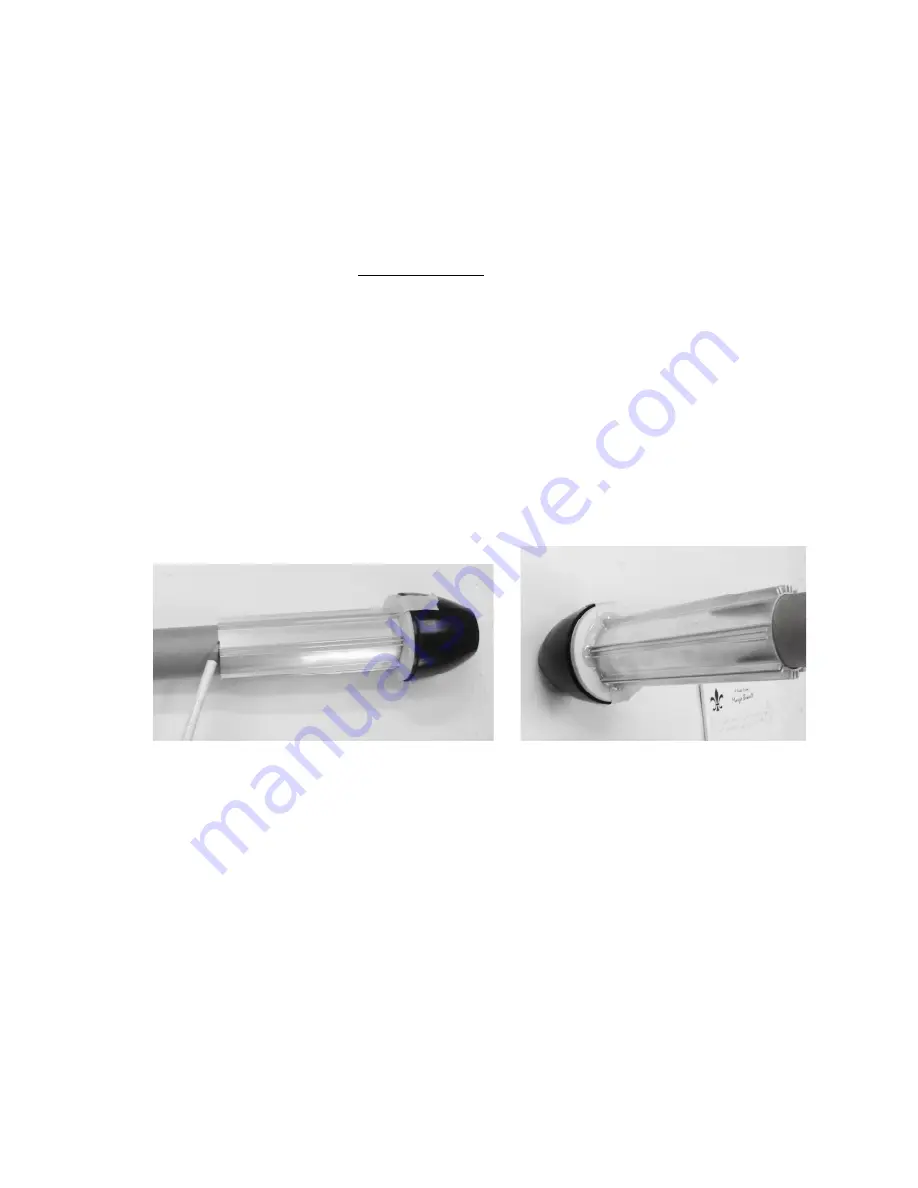
Test fit the centering ring by sliding it on from the forward (front) end of the motortube all the way
down until it buts up against the tailcone. Mark a line on the forward end of the ring (the side away
from the tailcone). Then slide the ring forward a few inches, away from the tailcone.
Apply quick-cure epoxy (6 or 12 minute) to the motortube in the area around the line you’ve just
drawn. Then slide the centering ring aft, back down into the epoxy so that it butts up against the
tailcone (see Figure above right).
Use masking tape to keep the ring butted against the tailcone. Again, if the tailcone adhesive (JB
Weld) is not fully cured check and double check that the motortube is fully butted against the internal
ring of the tailcone. Set the motortube upside - - with the tailcone up - - and allow to cure.
The Groove-Lok:
Slide on the Groove-Lok on to the motortube until it butts against the centering ring/tailcone assembly.
Make a line on the motortube marking the forward end of the Groove-Lok (see Figure below left).
Then remove Groove-Lok and apply quick-cure epoxy to the motortube in the area between the line
you’ve just made and the aft (rear) centering ring (don’t apply it to the inside of the Groove-Lok).
Don’t use too much epoxy otherwise it will smear and drip all over when you slide on the Groove-
Lok. It only requires a thin film of epoxy to adhere the Groove-Lok. In fact, avoid putting epoxy
within about 1” of the aft ring. The epoxy will naturally spread over that area as you slide on the
Groove-Lok.
Slide the Groove-Lok onto the motortube and ROTATE it as you bring it down toward the centering
ring. This spreads the epoxy evenly. Wipe off excess adhesive and try not to let it pool into the fin
channels of the Groove-Lok. Butt it against the aft centering ring. Stand the assembly up right
(tailcone down) and allow to cure. See figure above right.
Testing Fitting the Fins and Airframe:
Make four marks on the motortube that correspond to the fin channels that you are going to use with
this particular kit. In our case, you need to reference the four channels that are .093 wide and each 90
degrees apart (see Figure below left).


