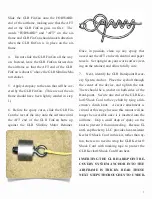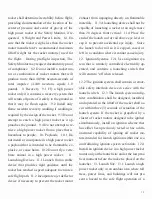
14. Grab the swivel and tie a small loop into
the GLR Kevlar® Shock Cord about 36” from
the GLR Pinnacle Nosecone. This loop with
the swivel will be the parachute attachment
point. BE SURE THAT THE GLR KEVLAR®
PARACHUTE HEAT SHIELD IS BELOW OR
AFT OF THE LOOP (ON THE OTHER SIDE
OF THE GLR Pinnacle Nosecone). The se-
quence is a follows: GLR Pinnacle Nosecone,
eyebolt, GLR Kevlar® Parachute Heat Shield,
loop with swivel, shock cord, chute protector,
shock cord and airframe.
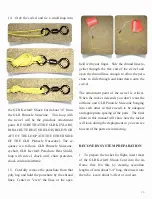
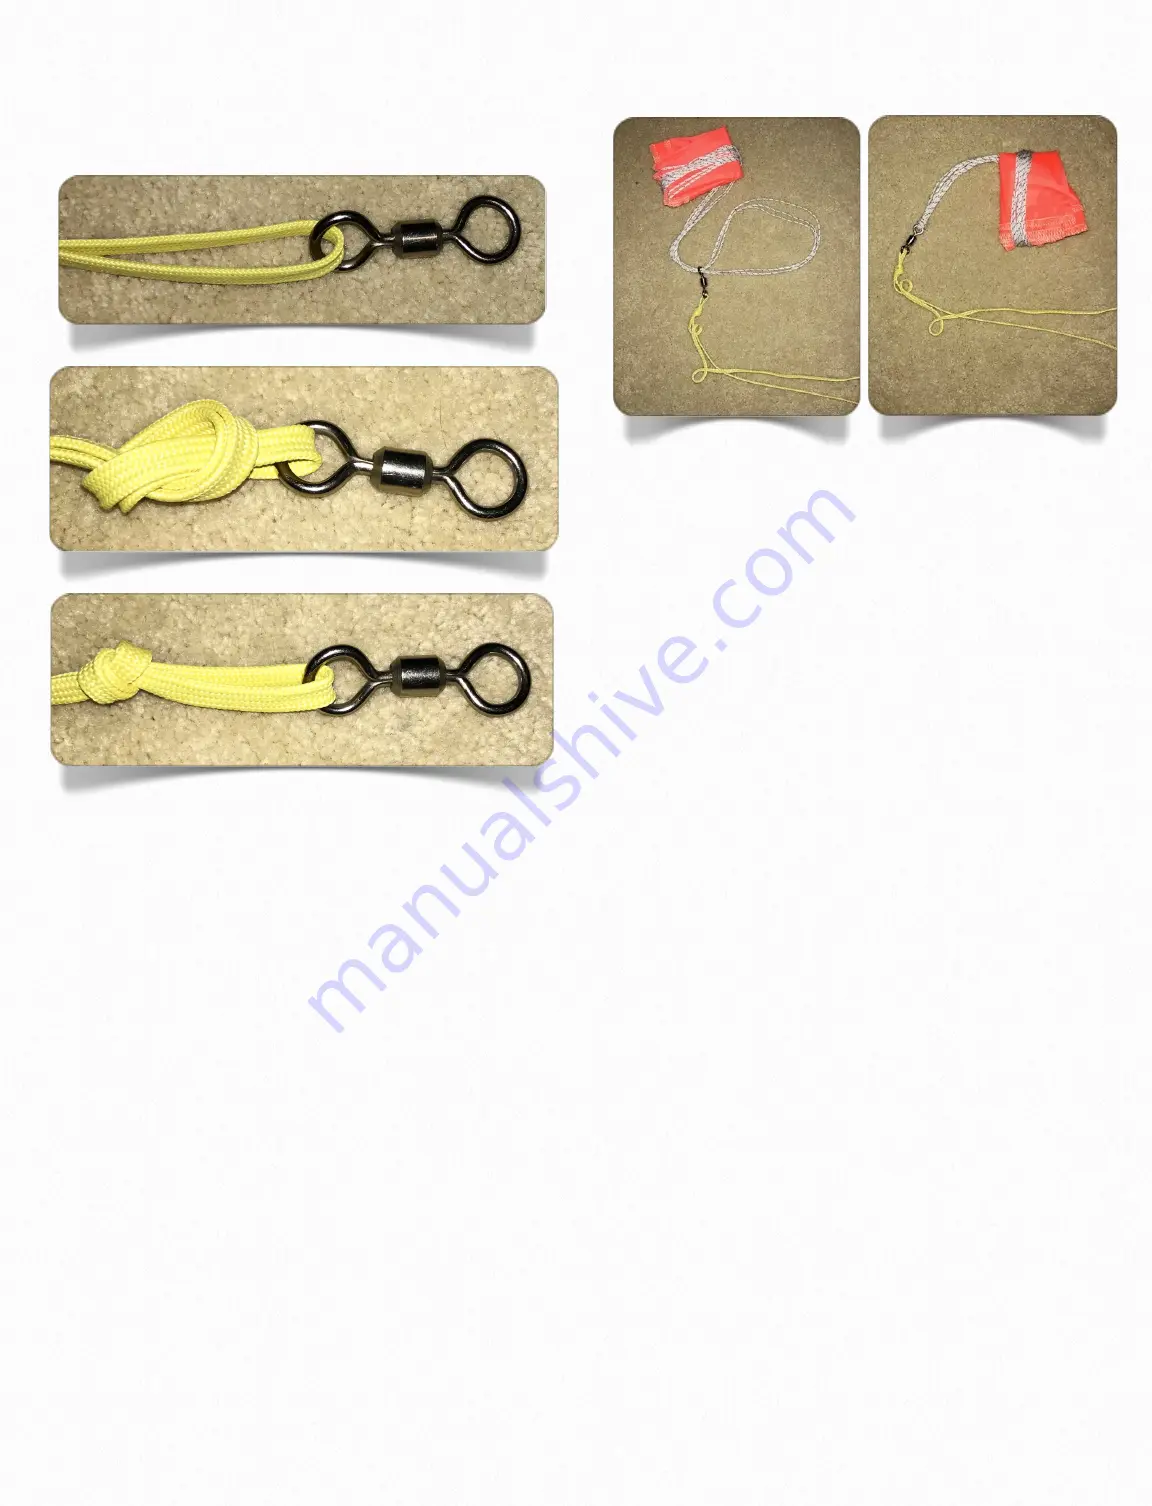
15. Carefully remove the parachute from that
poly bag and hold the parachute by the shroud
lines. Center or "even" the lines at the apex
held with your finger. Side the shroud lines to-
gether through the free end of the swivel and
open the shroud lines enough to allow the para-
chute to slide through and knot down onto the
swivel.
The attachment point of the swivel is critical.
When the rocket descends you don’t want the
airframe and GLR Pinnicle Nosecone banging
into each other so there needs to be adequate
and appropriate spacing of the parts. The final
photo in this manual will show how the rocket
will look during the deployment so you can see
how all of the parts are interacting.
RECOVERY SYSTEM PREPARATION
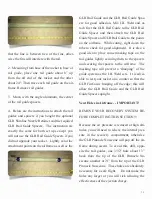
1. To prepare the rocket for flight, insert most
of the GLR Kevlar® Shock Cord into the air-
frame first. Do this by creating accordion
lengths of cord about 3-4" long, then insert into
the tube. Leave about 3-4 feet of cord out.
10


