background image

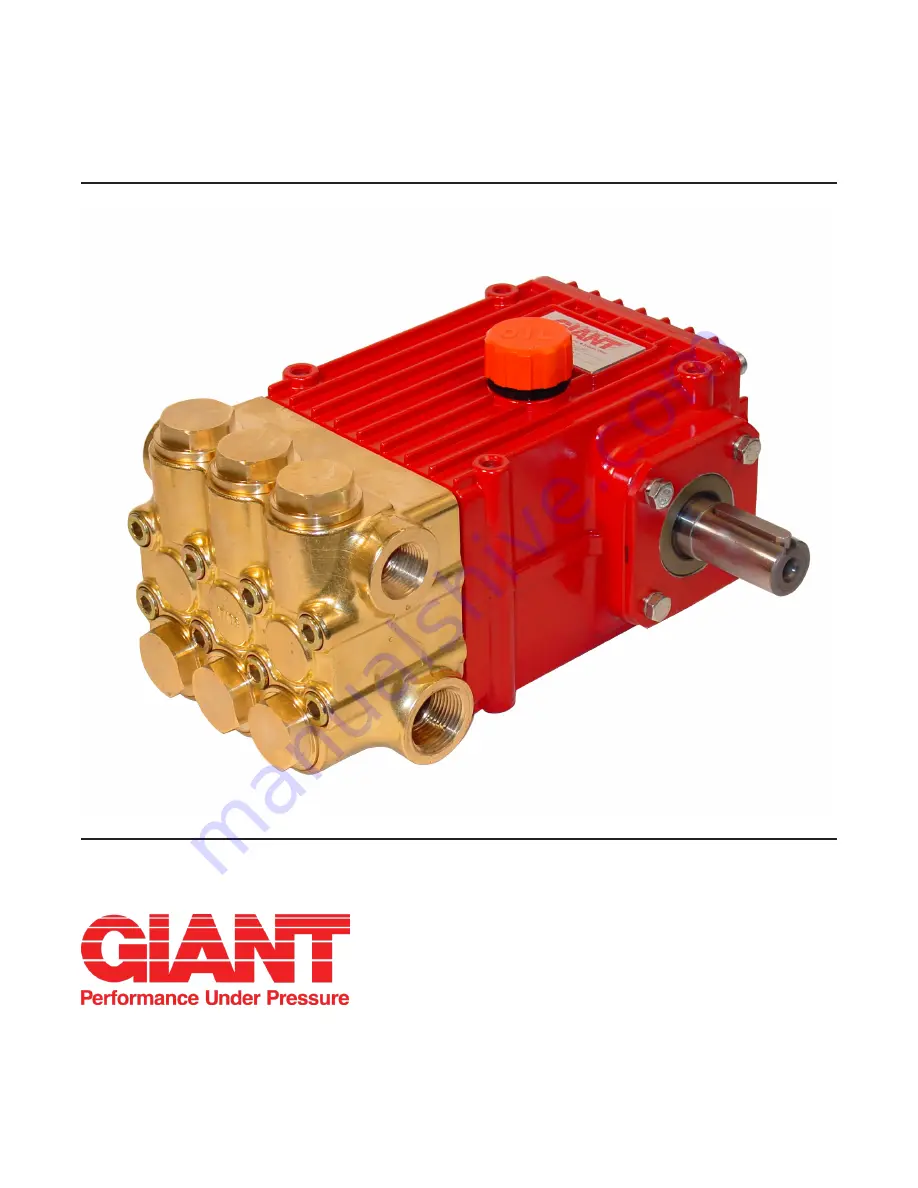
P435 

P455B Pumps

Triplex Ceramic

Plunger Pump

Operating Instructions/ 

Repair and Service Manual

Contents:

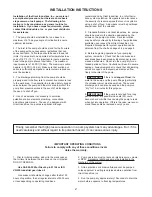
Installation Instructions: 

page 2

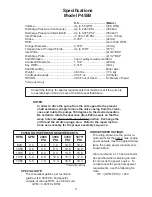
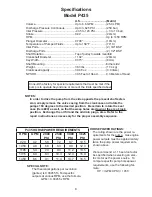
Pump Specifications: 

pages 3 & 6

Exploded View: 

page 4

Parts List/Kits: 

page 5

Repair InstructionsTorque Specs.: 

pages 7-9

Trouble Shooting Chart: 

page 10

Recommended Spare Parts List: 

page 10

Dimensions: 

page 11

Warranty Information 

back page

Updated 01/18

Summary of Contents for P435

Page 1: ...al Contents Installation Instructions page 2 Pump Specifications pages 3 6 Exploded View page 4 Parts List Kits page 5 Repair InstructionsTorque Specs pages 7 9 Trouble Shooting Chart page 10 Recommen...

Page 2: ...nation to ensure optimum lubrication 2 The inlet to the pump should be sized for the flow rate of the pump with no unnecessary restrictions that can cause cavitation Teflon tape should be used to seal...

Page 3: ...m the crank case and rotate the pumps 180 degrees to the desired position Be certain to rotate the seal case item 20 as well so that the weep holes are down at the six o clock position Exchange the oi...

Page 4: ...4 EXPLODED VIEW P435 P455B...

Page 5: ...PTION QTY 16B 08397 Plunger Pipe 18mm 3 16D 08399 Tension Screw 3 16E 07023 O Ring 3 16F 07203 Backup Ring 3 16G 07258 Copper Washer 3 16H 06431 Oil Scraper 3 17 06790 Crosshead Pin 3 19 05444 Oil Sea...

Page 6: ...ankcase and rotate the pumps 180 degrees to the desired position Be certain to rotate the seal case item 20 as well so that the weep holes are down at the six o clock position Exchange the oil fill an...

Page 7: ...ver between the valve seat 27 and the valve spring retainer 30 the valve assembly can be separated 4 Remove the o ring 31 Inspect all parts for wear and replace as necessary Apply one drop of loctite...

Page 8: ...screw or through damage to front surface of plunger otherwise it is liable to fracture 11 After installation of high pressure seals 23 place seal adaptor 20 with weep seals pressure ring installed we...

Page 9: ...seal 19 using a screwdriver Examine plunger sur faces 16A and replace if necessary To re assemble first press the oil seal 19 into the crankcase Then insert connecting rods with plung ers remembering...

Page 10: ...n inlet of pump for restrictions Unloader Check for proper operation Water in crankcase High humidity Reduce oil change interval Worn seals Replace seals Noisy Operation Worn bearings Replace bearings...

Page 11: ...11 P435 P455B Dimensions in mm...

Page 12: ...ar to standard wear parts 3 Use of repair parts other than those manufactured or authorized by Giant 4 Improper use of the product as a component part 5 Changes or modifications made by the customer o...

Reviews: