User’s Manual
GT-650 BIOS Setup 4 - 15
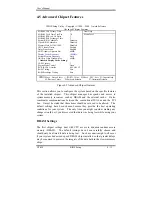
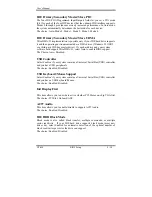
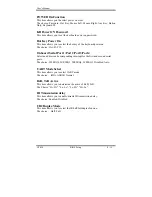
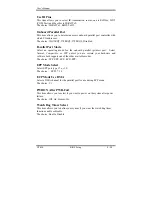
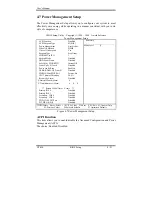
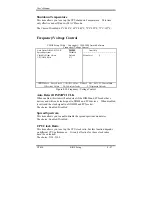
Memory Hole At 15M-16M
You can reserve this area of system memory for ISA adapter ROM. When
this area is reserved, it cannot be cached. The user information of peripherals
that need to use this area of system memory usually discusses their memory
requirements.
The Choice: Enabled, Disabled.
CPU Latency Timer
When enabled this item, the CPU cycle will only be deferred after it has been
held in a “Snoop Stall” for 31 clocks and another ADS# has arrived. When
disabled, the CPU cycle will be deferred immediately after the GMCH receives
another ADS#.
The Choice: Enabled, Disabled.
Delayed Transaction
The chipset has an embedded 32-bit posted write buffer to support delay
transactions cycles. Select
Enabled
to support compliance with PCI
specification version 2.1.
The Choice: Enabled, Disabled.
AGP Graphics Aperture Size
This field determines the effective size of the Graphic Aperture used for a
particular GMCH configuration. It can be updated by the GMCH-specific
BIOS configuration sequence before the PCI standard bus enumeration
sequence takes place. If it is not updated then a default value will select an
aperture of maximum size.
The choice: 4, 8, 16, 32, 64, 128, 256
Display Cache Frequency
You can use this item to select the frequency of the display cache.
The Choice: 100MHZ, 133MHZ.
System Memory Frequency
You can use this item to select the operating frequency for the main system
memory.
The Choice: Auto, 100MHZ, 133MHZ.
On-Chip Video Window Size
Select the on-chip video window size for VGA drives use.
The Choice: 32MB, 64MB, Disabled.
Summary of Contents for GT-650
Page 1: ...GT 650 Pentium III Celeron w VGA LAN Audio w Video Capture GPIO Embedded Board User s Manual ...
Page 59: ...User s Manual GT 650 Software Setup 5 2 Click on Yes Click on Next ...
Page 60: ...User s Manual GT 650 Software Setup 5 3 Click Finish to restart computer ...
Page 61: ...User s Manual GT 650 Software Setup 5 4 For Windows NT 4 0 system Click on Yes Click on Next ...
Page 62: ...User s Manual GT 650 Software Setup 5 5 Click Finish to restart computer ...
Page 64: ...User s Manual GT 650 Software Setup 5 7 Click Finish to restart computer ...
Page 67: ...User s Manual GT 650 Software Setup 5 10 Click on Next Click on Next ...
Page 68: ...User s Manual GT 650 Software Setup 5 11 Click Finish ...
Page 74: ...User s Manual GT 650 Software Setup 5 17 Click on Finish Click on Yes to restart computer ...
Page 75: ...User s Manual GT 650 Software Setup 5 18 5 4 2 For Windows 2000 system Click on System ...
Page 78: ...User s Manual GT 650 Software Setup 5 21 Click on Next Click on Next ...
Page 79: ...User s Manual GT 650 Software Setup 5 22 Specify the PATH by Browser Locate the INF file ...
Page 80: ...User s Manual GT 650 Software Setup 5 23 Click on Next Click on Finish ...
Page 81: ...User s Manual GT 650 Software Setup 5 24 Click on Close ...
Page 83: ...User s Manual GT 650 Software Setup 5 26 Click on Add Click on Have Disk ...
Page 88: ...User s Manual GT 650 Software Setup 5 31 Click on Next Click Browse to specify PATH ...
Page 89: ...User s Manual GT 650 Software Setup 5 32 Click on Next Click OK ...
Page 93: ...User s Manual GT 650 Software Setup 5 36 Click on Next Click on Next ...
Page 94: ...User s Manual GT 650 Software Setup 5 37 Click on Next Click on Finish ...
Page 111: ...User s Manual GT 650 Mechanical drawing E 1 Appendix E Mechanical Drawing ...

