User’s Manual
GT-650 BIOS Setup 4 - 31
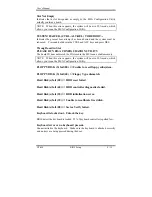
4.13 POST Messages
During the Power On Self-Test (POST), if the BIOS detect an error requiring
you to do something to fix, it will either sound a beep code or display a
message.
If a message is displayed, it will be accompanied by:
PRESS F1 TO CONTINUE, CTRL-ALT-ESC OR DEL TO ENTER SETUP
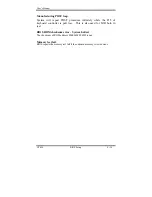
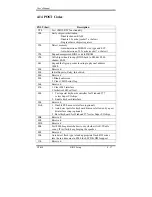
POST Beep
Currently there are two kinds of beep codes in BIOS. This code indicates that
a video error has occurred and the BIOS cannot initialize the video screen to
display any additional information. This beep code consists of a single long
beep followed by two short beeps. The other code indicates that your DRAM
error has occurred. This beep code consists of a single long beep repeatedly.
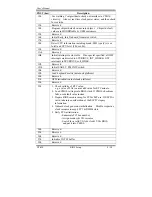
Error Messages
One or more of the following messages may be displayed if the BIOS detect an
error during the POST. This list includes messages for both the ISA and the
EISA BIOS.
CMOS BATTERY HAS FAILED
CMOS battery is no longer functional. It should be replaced.
CMOS CHECKSUM ERROR
Checksum of CMOS is incorrect. This can indicate that CMOS has become
corrupt. A weak battery may have caused this error. Check the battery and
replace if necessary.
DISK BOOT FAILURE, INSERT SYSTEM DISK AND PRESS
ENTER
No boot device was found. This could mean that either a boot drive was not
detected or the drive does not contain proper system boot files. Insert a
system disk into Drive A: and press <Enter>. If you assumed the system
would boot from the hard drive, make sure the controller is inserted correctly
and all cables are properly attached. Also be sure the disk is formatted as a
boot device. Then reboot the system.
Summary of Contents for GT-650
Page 1: ...GT 650 Pentium III Celeron w VGA LAN Audio w Video Capture GPIO Embedded Board User s Manual ...
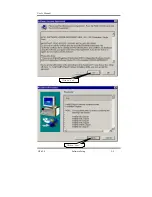
Page 59: ...User s Manual GT 650 Software Setup 5 2 Click on Yes Click on Next ...
Page 60: ...User s Manual GT 650 Software Setup 5 3 Click Finish to restart computer ...
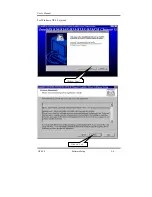
Page 61: ...User s Manual GT 650 Software Setup 5 4 For Windows NT 4 0 system Click on Yes Click on Next ...
Page 62: ...User s Manual GT 650 Software Setup 5 5 Click Finish to restart computer ...
Page 64: ...User s Manual GT 650 Software Setup 5 7 Click Finish to restart computer ...
Page 67: ...User s Manual GT 650 Software Setup 5 10 Click on Next Click on Next ...
Page 68: ...User s Manual GT 650 Software Setup 5 11 Click Finish ...
Page 74: ...User s Manual GT 650 Software Setup 5 17 Click on Finish Click on Yes to restart computer ...
Page 75: ...User s Manual GT 650 Software Setup 5 18 5 4 2 For Windows 2000 system Click on System ...
Page 78: ...User s Manual GT 650 Software Setup 5 21 Click on Next Click on Next ...
Page 79: ...User s Manual GT 650 Software Setup 5 22 Specify the PATH by Browser Locate the INF file ...
Page 80: ...User s Manual GT 650 Software Setup 5 23 Click on Next Click on Finish ...
Page 81: ...User s Manual GT 650 Software Setup 5 24 Click on Close ...
Page 83: ...User s Manual GT 650 Software Setup 5 26 Click on Add Click on Have Disk ...
Page 88: ...User s Manual GT 650 Software Setup 5 31 Click on Next Click Browse to specify PATH ...
Page 89: ...User s Manual GT 650 Software Setup 5 32 Click on Next Click OK ...
Page 93: ...User s Manual GT 650 Software Setup 5 36 Click on Next Click on Next ...
Page 94: ...User s Manual GT 650 Software Setup 5 37 Click on Next Click on Finish ...
Page 111: ...User s Manual GT 650 Mechanical drawing E 1 Appendix E Mechanical Drawing ...

