Controls
16
Controls
Starting the Engine
WARNING! Never start or leave the
engine running in an unventilated
building - exhaust gases contain carbon
monoxide, which can cause
unconsciousness and may even be fatal.
WARNING! Gasoline vapors can
explode. Before starting the engine,
operate the ventilation blower for 4
minutes by turning the ignition key to the
ON position. Remove the seat and check
the engine compartment for gasoline
vapors.
WARNING! Never operate the amphibian
if the battery does not have sufficient
power to start the engine or shows other
signs of decreased power (for example,
long or slow engine cranking). Loss of
battery power when riding could leave
you stranded.
To start the engine:
1.
Insert the key in the ignition switch and turn
the key to the On position. A buzzer will
briefly sound to indicate that the ignition is
On.
2.
Check that the steering column lock has
disengaged by moving the handlebars from
left to right.
3.
Make sure the engine safety cut-off is
inserted under the engine off button and that
the lanyard is secured to your wrist or your
personal flotation device (PFD). If the rider
falls off the amphibian the engine will stop
when the safety cut-off is removed.
4.
Make sure the throttle lever is not pressed.
5.
When on land, apply and hold the brake
lever(s).
6.
Press and hold the engine start button until
the engine is running.
7.
Release the start button once the engine has
started.
WARNING! When the engine is started,
gear 1 is automatically selected. Do not
rev the engine when the amphibian is
stationary.
WARNING! The jet impeller runs
whenever the engine speed exceeds
2000 rpm irrespective of whether the
amphibian is on land or water. Keep
others away from the intake grate and jet
nozzle when the engine is running.
Note: In cold conditions, the engine start time will
increase.
Summary of Contents for quadski
Page 2: ......
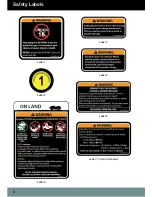
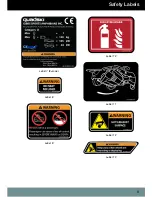
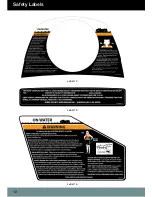
Page 13: ...Safety Labels 9 Label 7 Europe Label 8 Label 9 Label 10 Label 11 Label 12 Label 13 ...
Page 14: ...Safety Labels 10 Safety Labels Label 14 Label 15 Label 16 ...
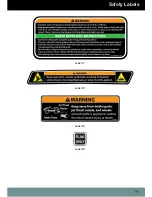
Page 15: ...Safety Labels 11 Label 17 Label 18 Label 19 Label 20 ...
Page 96: ......
Page 97: ......

