G1362
│
3-3
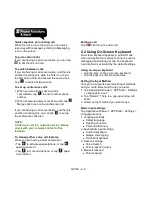
keyboard in “Type message” filed.
7. Tap
to send your message.
From Phone screen
1. Tap Application Drawer > APPS > Phone.
2. Tap
tab.
3. Tap a call in the list of the tab.
4. Tap
icon.
5. In the “To” field, and enter the recipient’s phone
number.
6. Tap
to attach pictures, capture picture,
video, capture video, audio, record audio, or
slideshow file. The message converts to a MMS
message automatically.
7. Tap “Type message”, and then, enter your
message with the on-screen keyboard.
8. Tap
to send your message.
3.3 Voice Message
Your phone can send voice message.
To create a voice message
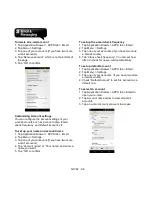
1. Tap Application Drawer > APPS tab >
Messaging.
2. Tap
to create a new message.
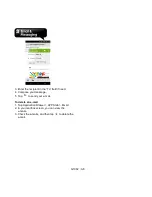
3. Enter the recipient’s phone number in the “To”
field
4. Tap
> Record audio.
5. Tap
to record an audio file.
6. Tap
to stop recording.
7. Tap
to listen to your recording.
8. Tap “Done” to continue, or tap “Discard” to
record again.
9. Tap “Play” to listen to your recording again, Tap
“Replace” to be replaced another attachment, or
tap “Remove” to delete your recording from the
MMS message.
10. Enter your message with the on-screen
keyboard in “Type message”
11. Tap
to send your message.
3.4 Email Accounts
All your received email messages are delivered to
your phone.
Setting up an Internet e-mail account
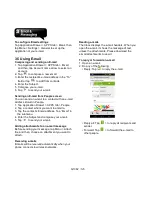
1. Tap Application Drawer > APPS tab > Email.
2. Enter your e-mail address and Password. Tap
“Next”.
3. Select the e-mail account of types.
4. The phone will retrieve the e-mail settings
automatically.
• If the e-mail settings are pre-configured, the
e-mail setup wizard displays a successful
message.
• If the e-mail settings are not found, manual
setup is in process automatically. You can
follow the instructions to complete the settings.
5. Enter Account name and then, tap “Next” to
finish the settings.
NOTE:
The Account name is the name shown on the
Email screen.
To open Email
Tap Application Drawer > APPS tab > Email
to
open your e-mail.
To add the second e-mail account
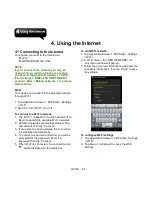
1. Tap Application Drawer > APPS tab > Email.
2. Tap Menu > Settings > ADD ACCOUNT.
3. Please follow the “Account setup” steps to finish
the settings
Summary of Contents for G1362
Page 1: ...G1362 ...

