8
En
g
lis
h
4.Installation Instruction
4-1 Installation of Power Supply
To facilitate the installation, it is recommended to place
the chassis upright on the table.
Required Tools: Power supply securing screw x 4; Cross screwdriver.
4-1.1 Remove side panel (see step 1-3.1 on page 5).
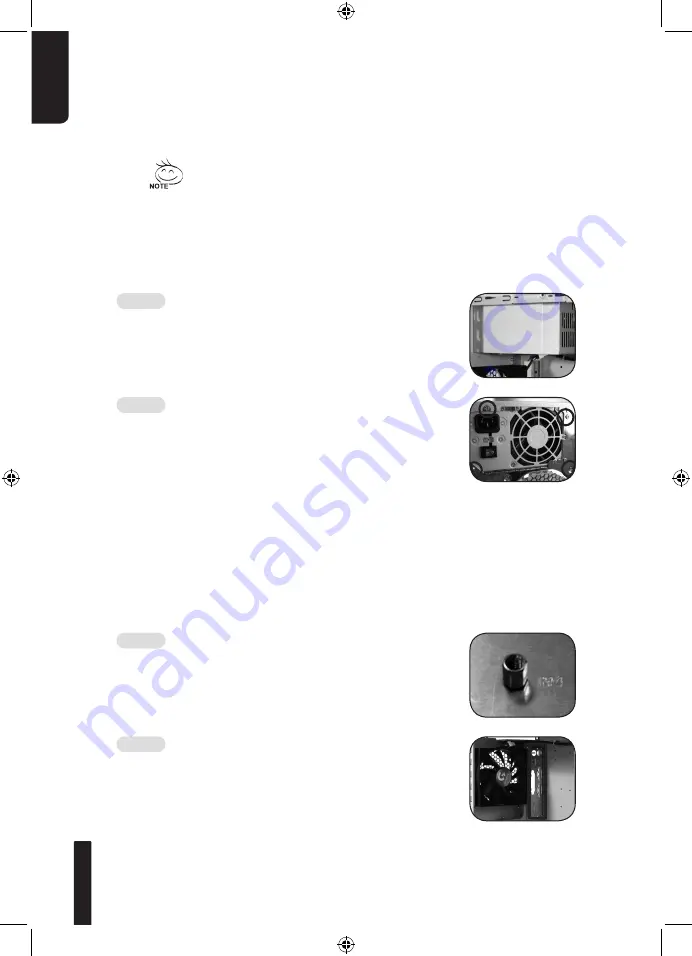
Place the power supply into the power
supply bay.
4-1.2 Use the 4 x securing screws to secure the
power supply to the rear of the chassis.
4-2 Installation of Motherboard
The iSolo 230 can support ATX / Micro ATX / Flex-ATX
motherboards. Please confirm the dimension and specifications
of the motherboard before installation.
Required Tools: Cross screwdriver, Copper stand offs x 9
and Motherboard screws x 9.
4-2.1 According to the motherboard specifications,
select the proper screw holes. First screw the
copper stand offs into the corresponding
holes of the chassis.
4-2.2 Install the motherboard rear I/O panel
(supplied by the motherboard manufacturer).
Please follow the reference sections in order
for installation


