19
First steps
Gigaset N720 DECT IP Multicell System / engbt / A31008-M2314-L101-2-7619 / starting.fm / 06.02.2012
V
e
rsion 2, 06.0
8
.2010
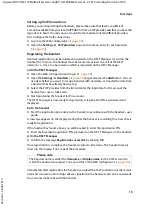
Setting up VoIP connections
Before you start registering the handsets, please make sure that there are sufficient
accounts available from your local VoIP PABX or from a VoIP provider, and that you have the
login data to hand. You can set up accounts from a maximum of ten different providers.
First configure the VoIP connections.
¤
Log in to the Web configurator (
Settings
¢
VoIP providers
page and create an entry for each provider
Registering the handset
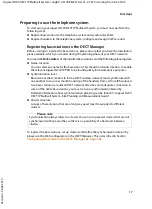
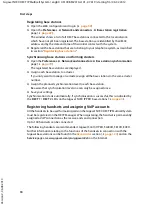
Handset registration must be initiated in parallel on the DECT Manager (a) and on the
handset (b). To do so, the handset must be located in at least one cell of the DECT
network, i.e., close to a base station which is registered on the DECT Manager.
a) On the DECT Manager
¤
Open the Web configurator and log in (
¤
Open the
Settings
¢
Handsets
) page and press the
Add
button. You can
decide whether you want to set up a handset with new data, or transfer the data from
a handset that has already been set up.
¤
Select the VoIP provider from the list and enter the login data for the account the
handset is to use to make calls.
¤
Start registering the handset for this account.
The DECT Manager is now ready for registering. A registration PIN is generated and
displayed.
b) On the handset
¤
Start the registration procedure on the handset in accordance with the handset's user
guide.
A message appears on the display stating that the handset is searching for a base that is
ready for registration.
If the handset has found a base, you will be asked to enter the registration PIN.
¤
Enter the four-digit registration PIN, produced on the DECT Manager, on the handset.
c) On the DECT Manager
¤
Confirm the message
Registration successful.
by clicking
OK
.
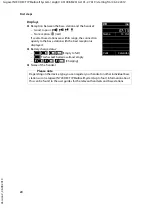
Once registration is complete, the handset returns to idle status. The handset name is
shown in the display. If not, repeat the procedure.
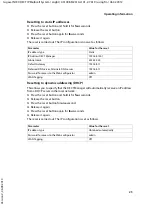
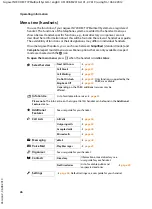
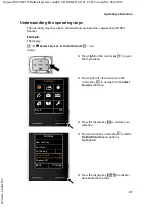
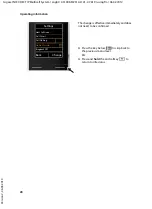
Immediately after registration, the handset is assigned the VoIP connection as the receive
and send connection (incoming calls are signalled on the handset and can be answered).
You can now make calls with the handset.
Please note
The handset name is either the
Username
or
Display name
for the VoIP account to
which the handset is assigned. You can set this in the Web configurator (

