background image

Installing the Assembled Canopy (The Advantage Series and Encore Units)

© 2012 Gilbarco Inc. 
7300 West Friendly Avenue · Post Office Box 22087
Greensboro, North Carolina 27420 
Phone (336) 547-5000 · 

http://www.gilbarco.com

 · Printed in the U.S.A.

MDE-2636D Canopy Kits (K35496 and K35498) for The Advantage® Series and Canopy Kit (K96632-02) for 
Encore® · September 2012

The Advantage

® 

Series, Encore

®

, and Legacy

® 

are registered trademarks of Gilbarco Inc.

Installing the Assembled Canopy (The Advantage Series 
and Encore Units)

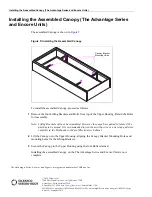
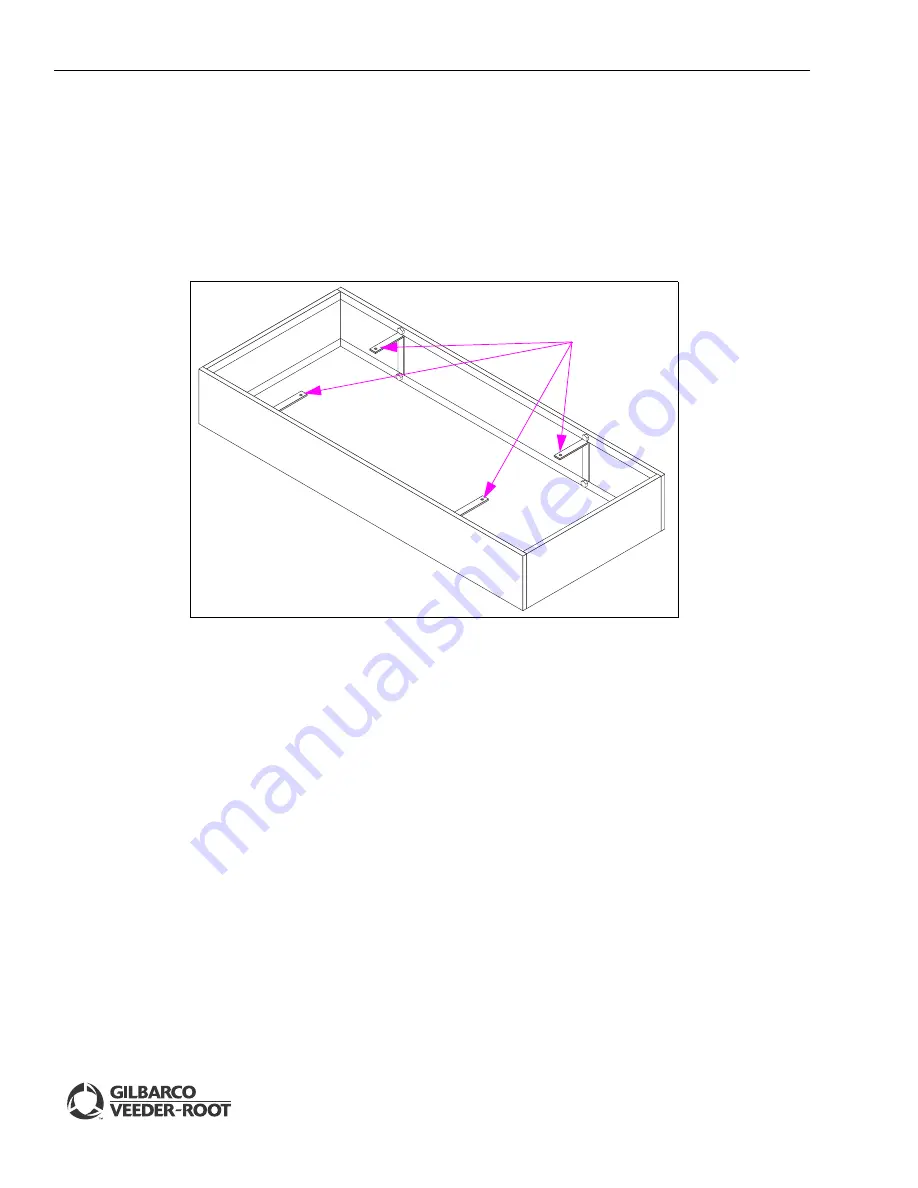
The assembled Canopy is shown in 

Figure 5

.

Figure 5: Installing the Assembled Canopy

Canopy Bracket 
Mounting Holes

To install the assembled Canopy, proceed as follows:

1

Remove the four Lifting Brackets and Bolts from top of the Upper Housing. Retain the Bolts 
for reassembly.

Note: Lifting Brackets will not be reinstalled. However, they may be required in future if the 

unit has to be moved. It is recommended to join them with a wire or a tie wrap and store 
carefully in the Hydraulics or Main (Electronics) Cabinet.

2

Lift the Canopy onto the Upper Housing, aligning the Canopy Bracket Mounting Holes and 
mounting holes for the Lifting Brackets.

3

Secure the Canopy to the Upper Housing using the four Bolts retained.

Installing the assembled Canopy on the The Advantage Series and Encore Units is now 
complete.

Summary of Contents for Advantage K35496

Page 1: ...aching the Canopy Bracket M00780B001PB0 For Encore Units Only 9 Installing the Assembled Canopy The Advantage Series and Encore Units 10 Required Tools Following tools are required for the installatio...

Page 2: ...ote K94106 10 is available as part of K35496 01 and K35498 01 K94106 02 Kit Following table lists the parts included in the K94106 02 Kit Description Part Number Quantity Washer Flat M6 M00959B010 32...

Page 3: ...0 24 Bolt Hex M6 x 16 M01115B004 16 Washer Lock M6 M01020B001 16 Nut Hex M6 M01114B004 8 Related Documents Document Number Title GOLD Library MDE 2530 Pump and Dispenser Installation Manual Advantage...

Page 4: ...8 It is imperative to your safety and the safety of others to understand the procedures before beginning work Follow the Regulations Applicable information is available in National Fire Protection Ass...

Page 5: ...nel Location of accident for example address front back of building and so on Nature of accident for example possible heart attack run over by car burns and so on Age of victim for example baby teenag...

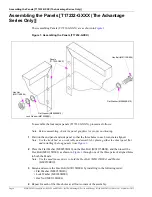
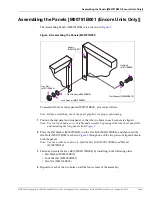
Page 6: ...the panel graphics for proper positioning 1 Position the end panel and side panel so that the three holes in each corner are aligned Note Use the truck bed as a work table and assemble by placing eit...

Page 7: ...l graphics for proper positioning 1 Position the end panel and side panel so that the two holes in each corner are aligned Note Use the truck bed as a work table and assemble by placing either the sho...

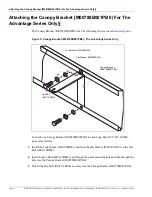
Page 8: ...3 Canopy Bracket M00780B001PB0 The Advantage Series Only Canopy Bracket M00780B001PB0 Hex Bolt M01115B004 Flat Washer M00959B010 Lock Washer M01020B001 To attach one Canopy Bracket M00780B001PB0 to ea...

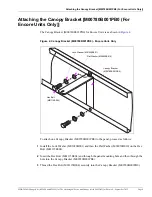
Page 9: ...4 Canopy Bracket M00780B001PB0 Encore Units Only Canopy Bracket M00780B001PB0 Hex Bolt M01115B004 Flat Washer M00959B010 Lock Washer M01020B001 To attach one Canopy Bracket M00780B001PB0 to the panel...

Page 10: ...Installing the Assembled Canopy Canopy Bracket Mounting Holes To install the assembled Canopy proceed as follows 1 Remove the four Lifting Brackets and Bolts from top of the Upper Housing Retain the B...

Reviews: