Brakes & Wheels
274
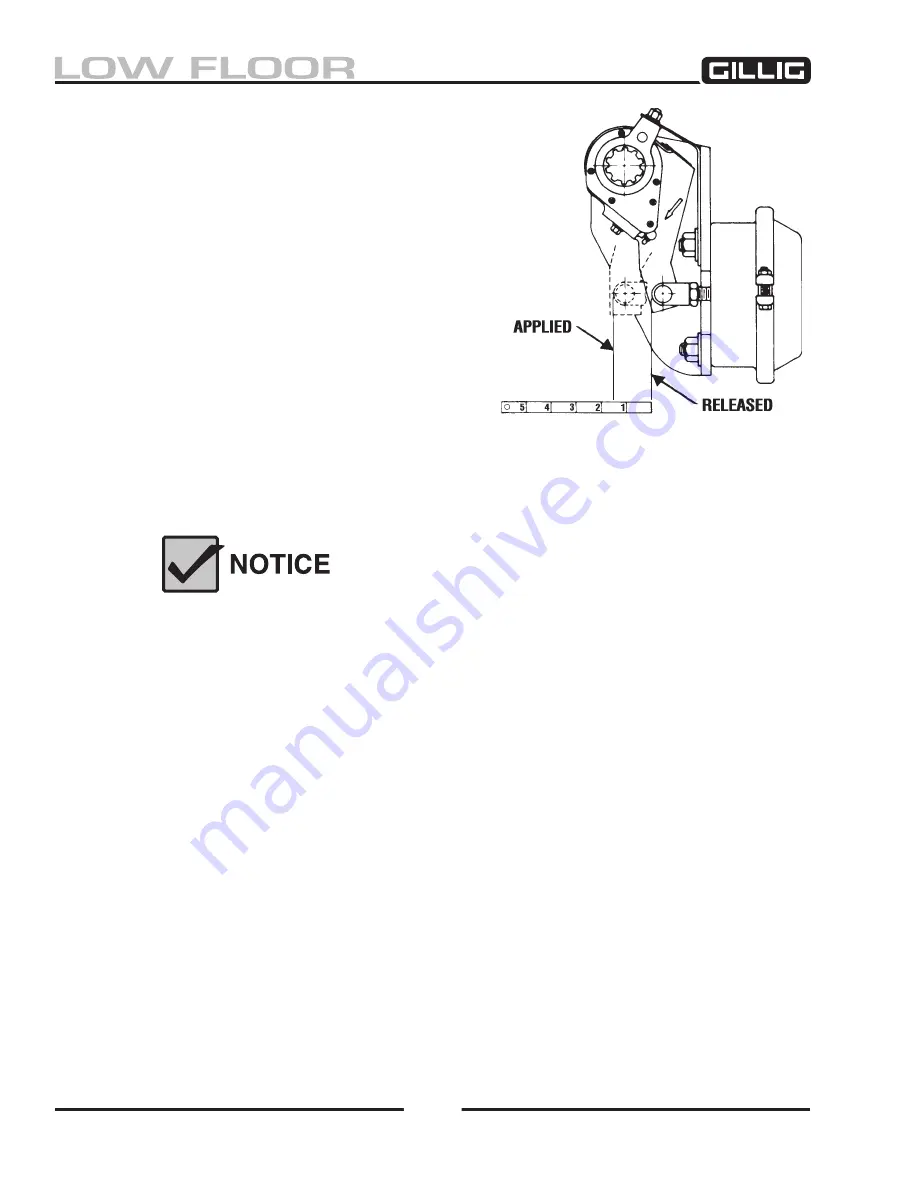
Figure 7-3, Slack Adjuster Pushrod Stroke
Automatic Slack Adjuster Release
and Removal
1. Remove the control arm nut from the anchor
bracket. Remove the anchor bracket mounting
nut from the brake chamber bracket and re-
move the anchor bracket.
2. Remove the cotter pin from the clevis pin and
then remove the clevis pin from the clevis.
3. Using a 7/16" wrench, turn the adjusting nut
counterclockwise until the slack adjuster clears
the clevis.
4. Remove the slack adjuster from the cam shaft.
For the rear slack adjuster,
push in on the
slack adjuster, and while pushing, tilt/bind it to
your left or right to push the cam shaft in little
by little, just enough so the slack adjuster will
clear the axle housing when pulled off the S-
cam.
Push the camshaft in as little as possible to avoid having the S-cam push
in beyond the brake shoe rollers.
Summary of Contents for LOW FLOOR
Page 18: ...Specifications 18...
Page 58: ...Preventive Maintenance 58...
Page 110: ...Engine 110...
Page 138: ...Transmission Driveline Rear Axle 138...
Page 182: ...Suspension 182...
Page 260: ...Air System 260...
Page 420: ...Electrical System 420 Deutsch DT Series Connectors...
Page 421: ...Electrical System 421...
Page 422: ...Electrical System 422 Deutsch HD 10 Series Connectors...
Page 423: ...Electrical System 423...
Page 424: ...Electrical System 424 Deutsch HD 30 Series Connectors...
Page 425: ...Electrical System 425...
Page 442: ...Heating Air Conditioning 442...
Page 492: ...Body and Interior 492 Figure 11 33 USSC Seat Assembly...
Page 493: ...Body and Interior 493 Figure 11 34 USSC Seat Suspension Assembly...
Page 495: ...Body and Interior 495 Figure 11 37 Seat Air Connections...


