MI07PYRU – rev.00/2017
GIUNTO
ISPEZIONE
Per poter estrarre il carrello occorre:
1.
Disconnettere eventuali collegamenti elettrici e meccanici del
carrello da rimuovere.
2.
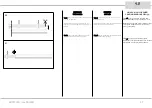
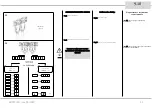
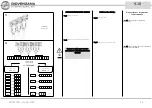
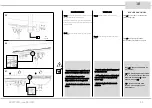
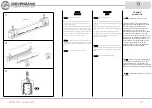
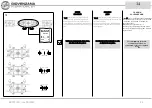
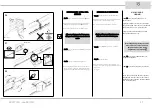
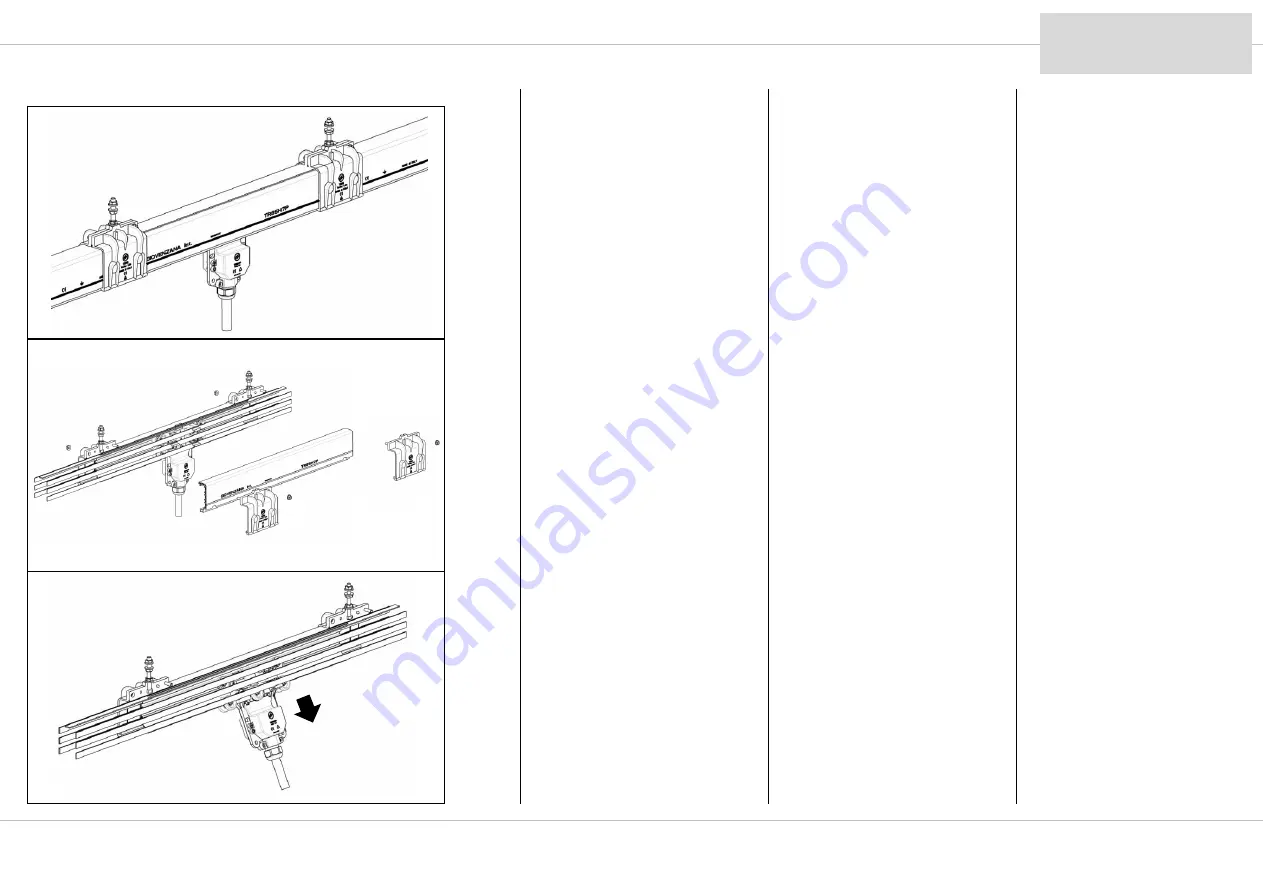
Posizionare il carrello nel giunto di ispezione (dis. 74).
3.
Rimuovere un semiguscio di entrambe le giunzioni.
4.
Rimuovere la gomma adesiva.
5.
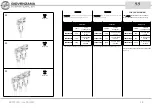
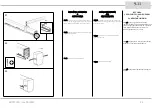
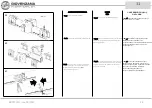
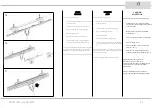
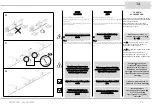
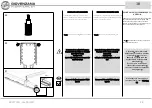
Rimuovere la meta barra senza nervature (dis. 75).
6.
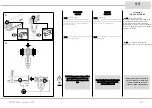
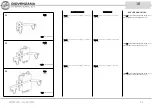
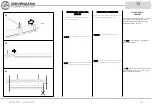
Estrarre il carrello premendo sui pattini e allargando i
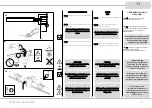
conduttori resi liberi dall’ assenza della barra (dis. 76).
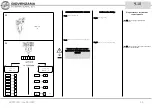
Se l ‘operazione risulta difficoltosa si consiglia di rimuovere entrambe
le giunzioni e anche l’ altra metà profilo barra in modo da avere
completamente liberi i conduttori per meglio sfilare il carrello.
Per l’ inserimento del nuovo carrello seguire il procedimento inverso.
13
74
75
76
41
СЕКЦИЯ
КОНТРОЛЯ
Чтобы
извлечь
токосъемник
,
необходимо
:
1.
Отключить
подачу
электроэнергии
и
отсоединить
любые
механические
детали
с
токосъемника
.
2.
Переместить
токосъемник
в
секцию
контроля
(
рис
. 74).
3.
Снять
по
одной
половинке
с
обеих
муфт
.
4.
Снять
клейкую
ленту
.
5.
Снять
половину
секции
без
загнутых
выступов
(
рис
. 75)
6.
Извлечь
токосъемник
,
надавливая
на
ролики
и
раздвигая
проводники
(
рис
.76).
При
возникновении
трудностей
,
рекомендуется
снять
обе
муфты
,
а
также
вторую
половинку
секции
контроля
,
чтобы
было
легче
снять
токосъемник
с
проводников
.
Чтобы
установить
новый
токосъемник
,
следуйте
инструкциям
в
обратном
порядке
.
INSPECTION
JOINT
To extract the trolley, it is necessary to:
1.
Disconnect any electrical or mechanical connections on the
trolley to be removed.
2.
Position the trolley in the inspection joint (Dwg. 74).
3.
Remove a half-shell from both joints.
4.
Remove adhesive rubber.
5.
Remove the half-rail without ribbing (Dwg. 75).
6.
Extract the trolley by pressing on the shoes and spreading
out the conductors freed due to the absence of the rail (Dwg.
76).
If the operation proves difficult, it is advised to remove both joints
and also the other half-rail in order to completely free the conductors
for easier removal of the trolley.
To insert the trolley again, follow the steps in reverse order.
Summary of Contents for TR85H7P
Page 52: ...Note Notes Заметки MI07PYRU rev 00 2017 52 ...
Page 53: ...Note Notes Заметки MI07PYRU rev 00 2017 53 ...
Page 54: ......

