HOMEDEPOT.COM/GLACIERBAY
Undermount Installation (continued)
10
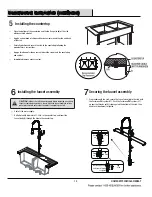
6
7
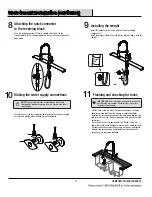
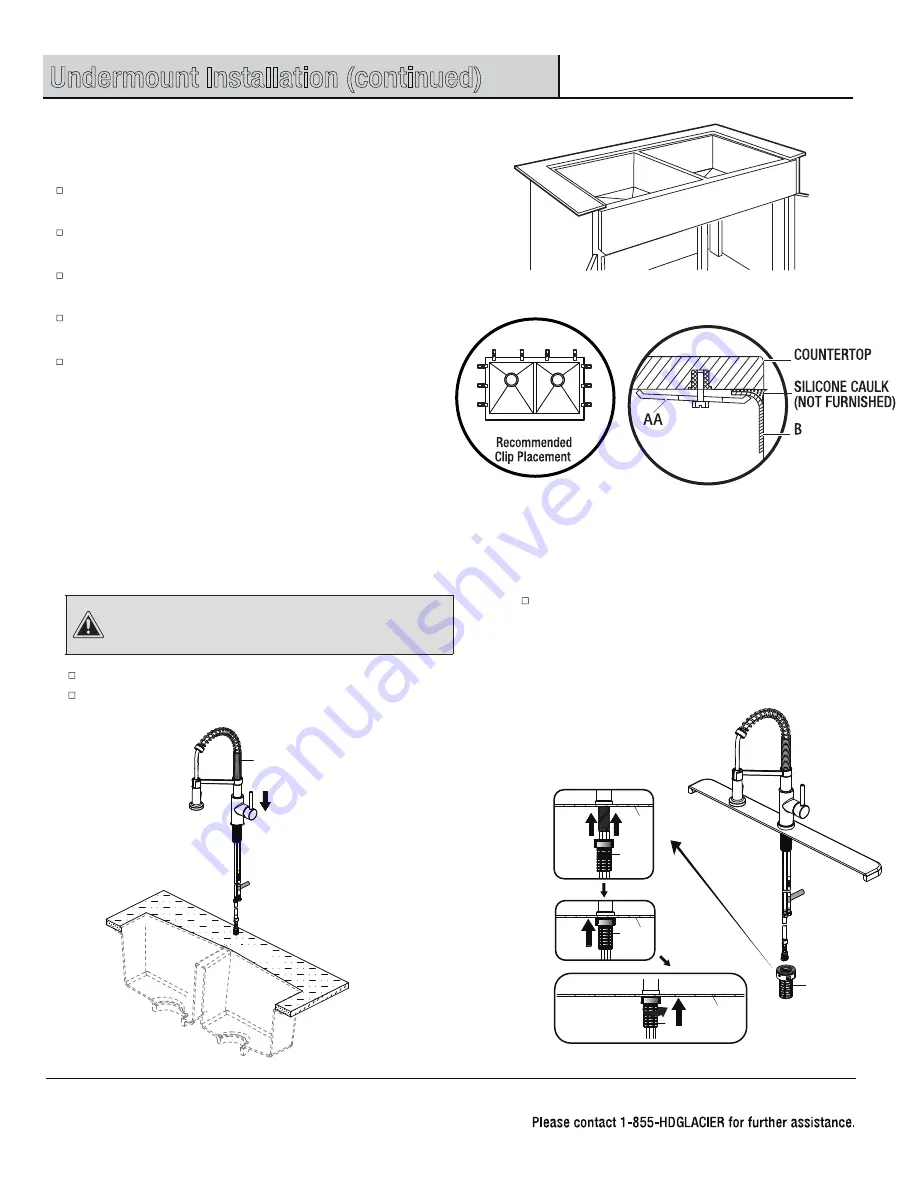
Securing the faucet assembly
Installing the faucet assembly
L
21
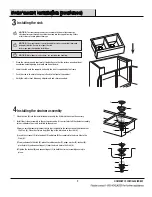
Sink
Push
up
21
1
1
Push
up
21
2
3
3
Sink
21
Sink
Continue to push up
and turn clockwise
to tighten
Installing the countertop
5
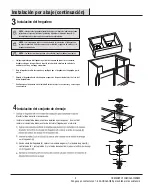
Clean the bottom of the countertop and the top flange (or lip) of the sink
with denatured alcohol.
Apply a narrow bead of silicone adhesive seaiant around the side and back
of the sink.
Carefully position and secure the sink to the countertop following the
manufacturer's instructions.
Apply a thin bead of silicone sealant where the sink meets the countertop
and cabinet.
Immediately remove excess sealant.
Shut off the water supply.
Drill a hole with diameter of 1.38 in. in the counter top, and Insert the
faucet body (L) through the hole in the counter top.
From underneath the sink, secure the faucet assembly to the sink with
the FastmountTM system (21). Push the FastmountT M system (21 )
up over the threads until it stops against the bottom of the sink, then
hand turn (clockwise) to tighten.
CAUTION:
Always shut off the water supply before removing an existing
faucet or replacing any part of a faucet. Open the faucet handle to relieve
water pressure and ensure that the water is completely shut off.


