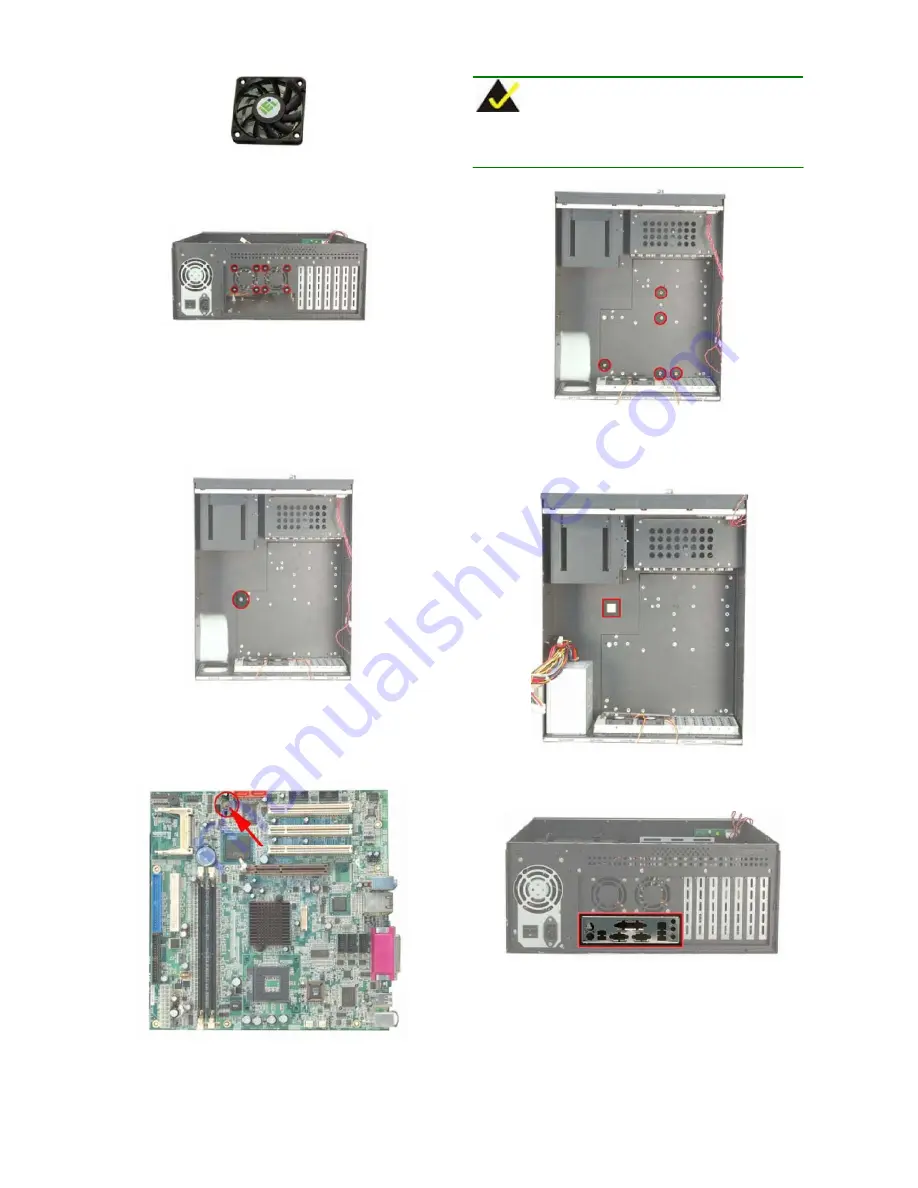
Figure 35: 6cm fan
NOTE:
The pillars needed for motherboard installation differ from
motherboard to motherboard.
Step 2:
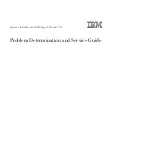
To secure the two fans to the rear panel, insert four
retention screws for each fan, one into each corner.
Figure 36: Fan Retention Screws
Step 3:
Mount the motherboard onto the base of the chassis to
find out the corresponding holes in the base of the
chassis.
Step 4:
Install five copper pillars and one plastic pillar into the
corresponding holes in the base of the chassis.
Figure 37: Copper Pillars
Figure 38: Plastic Pillar
Step 5:
Install one plastic pillar into the motherboard and stick one
plastic pillar on the base of the chassis correspond to the
front right corner of the motherboard.
Figure 40: Plastic Pillar Stuck on the Base of the Chassis
Step 6:
Install the I/O connector bracket at the rear of the chassis.
Figure 41: I/O Connector Bracket
Figure 39: Plastic Pillar in the Motherboard
Step 7:
Mount the motherboard onto the base of the chassis.
Make sure the I/O connectors of the motherboard are
installed in the corresponding holes in the I/O connector
bracket.
1404150 QIG
Page 12


