System Installation
3-4 Installing the Single Board Computer
To install your 3307114 into standard chassis or proprietary environment,
you need to perform the following:
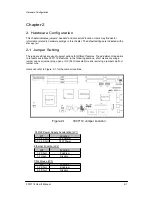
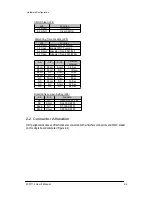
Step 1 : Check all jumpers setting on proper position
Step 2 : Install and configure CPU and memory module on right position
Step 3 : Place 3307114 into the dedicated position in your system
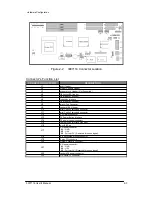
Step 4 : Attach cables to existing peripheral devices and secure it
WARNING
Please ensure that your SBC is properly inserted and fixed by mechanism.
Otherwise, the system might be unstable or do not work due to bad contact of
golden finger and ISA-bus slot. It is recommended to apply 4-pin 5-1/4” IDE
device power connectors from your power supply onto J22 to ensure a
sufficient current supply.
NOTE : Please refer to section 3-4-1 to 3-4-3 to install INF/ VGA/ LAN drivers.
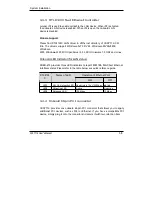
3-4-1 Chipset Component Driver
The chipset on 3307114 is a new chipset that a few old operating systems might
not be able to recognize. To overcome this compatibility issue, for Windows
Operating Systems such as Windows-95/ 98/ 98SE/ 2000, please install VIA 4-in-
1 driver before any of other Drivers are installed. You can find very easily this
chipset component driver in 3307114 CD-title.
3307114 User’s Manual
3-
4

