24
PARTS REQUIRED
q
{1} Molded Clear Canopy
CANOPY
CANOPY PREPARATION
q
1) Using a sharp knife or Lexan Canopy Scis-
sors, trim out the canopy along the molded scribe lines.
Carefully sand the edges of the canopy smooth using
220 grit sandpaper.
q
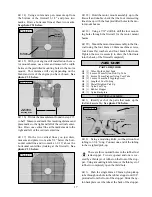
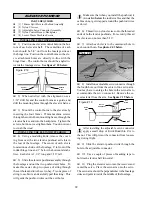
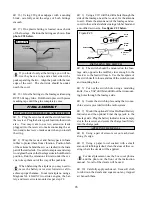
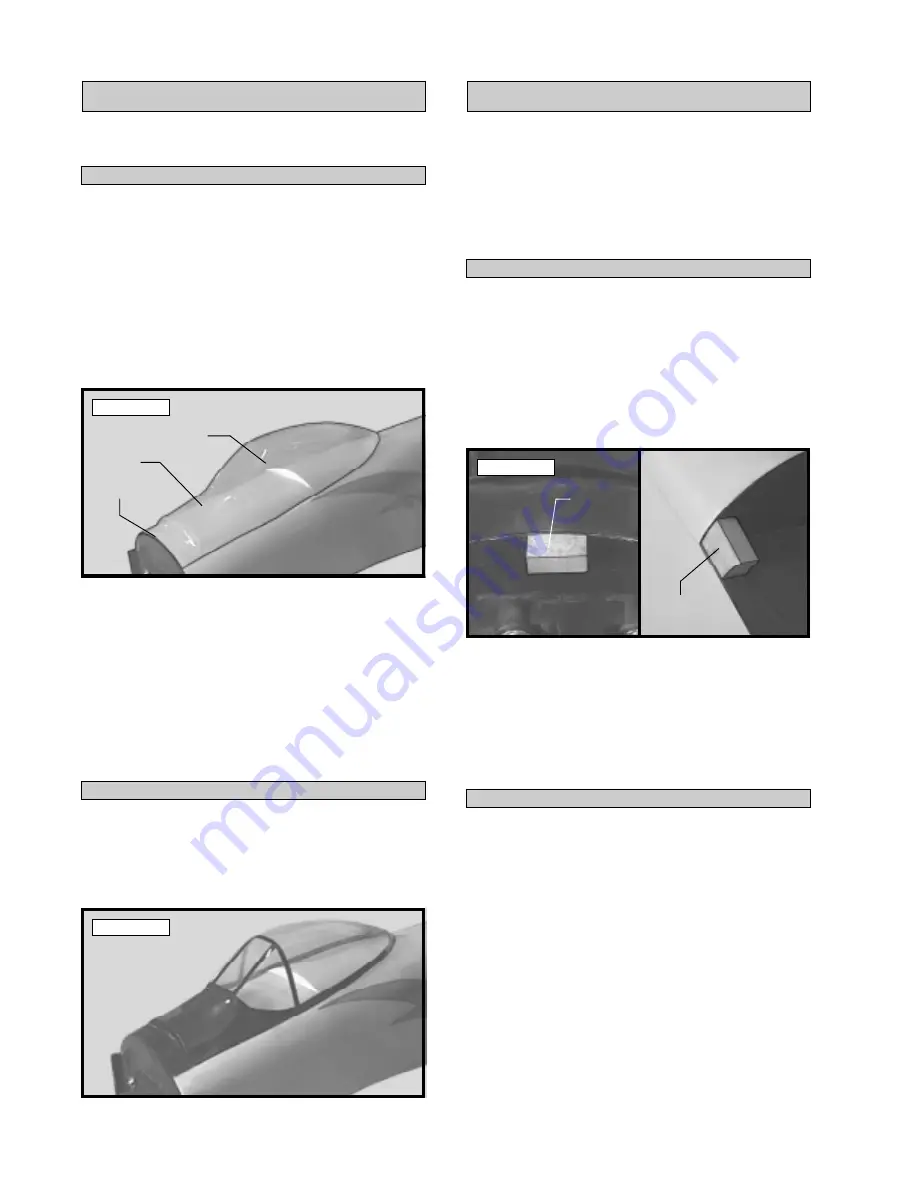
2) Test fit the canopy to the fuselage. The
canopy should be centered over the top of the fuse-
lage and the front edge of the canopy deck should
be flush with the front edge of the firewall. See
photo # 46 below.
Photo # 46
q
3) When satisfied with the fit, remove the
canopy. Wash the canopy with a soft cloth using warm
water and liquid soap. Dry off the canopy and then
allow it to air dry for about 15 minutes.
q
4) Using 3M Fineline masking tape, mask off
the window panels so that only the canopy frame and
the canopy deck are exposed. Paint the canopy using
Topflite Lusterkote black spray paint. Allow the paint
to cure and remove the masking tape.
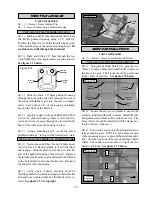
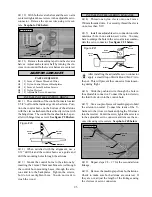
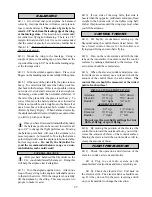
Photo # 47
PARTS REQUIRED
q
{1} Molded Fiberglass Cowling
q
{2} Molded Plastic Cowl Fairings
q
{3} 10mm x 10mm x 20mm Hardwood Blocks
q
{3} 3mm x 10mm Wood Screws
q
{1} Nylon Fuel Filler Housing
q
{1} Nylon Fuel Filler Snap Ring
q
{1} Nylon Fuel Filler Plug
COWL
INSTALLING THE COWL BLOCKS
q
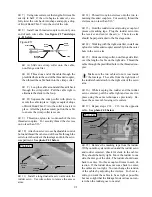
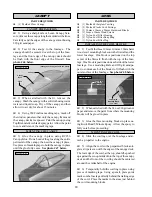
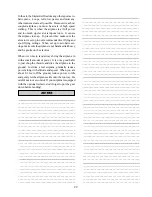
1) Test fit the three 10mm x 10mm x 20mm hard-
wood cowl mounting blocks onto the firewall and the
lower fuselage. One block is positioned on the top
center of the firewall, flush with the top of the fuse-
lage. One block is positioned on each side of the lower
fuselage. Use a modeling knife and 220 grit sandpa-
per to contour each of the blocks to fit flush with the
outer surface of the fuselage. See photo # 48 below.
Photo # 48
q
2) When satisfied with the fit, use 220 grit sand-
paper and remove the paint from where the mounting
blocks will be glued in place.
q
3) Glue the three mounting blocks in place us-
ing Kwik Bond 5 Minute Epoxy. Allow the epoxy to
fully cure before proceeding.
MOUNTING THE COWL
q
4) Slide the cowling over the fuselage and at-
tach a propeller to the engine.
q
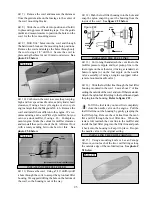
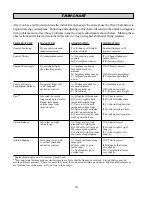
5) Align the cowl so the prepainted black anti-
glare stripe is even with the edges of the canopy deck.
The rear edge of the cowl, at the top, should be pushed
up against the scoop molded into the top of the canopy
deck and the front of the cowling should be centered
around the crankshaft of the engine.
q
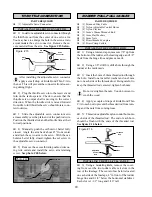
6) Temporarily hold the cowling in place using
pieces of masking tape. Using a pencil, place guide
marks on the fuselage directly behind the trailing edge
of the cowl. Place the marks in the areas just behind
the cowl mounting blocks.
MOUNTING THE CANOPY
q
5) Glue the canopy in place using RC256
Canopy Glue. Run a bead of the glue along the entire
perimeter of the canopy, then set the canopy it place.
Use pieces of masking tape to hold the canopy in place
until the glue fully cures. See photo # 47 below.
Canopy
Flush
Top Cowl
Mounting
Block
Lower Side
Mounting Block
(1 ea. side)
Canopy
Deck
(Canopy and canopy deck are one piece)


